This is QNAP newest venture into creating the worlds first smart PoE switch, where they have combined their NAS expertise into a switch. This product was very interesting to me, as I was planning to replace my Synology router RT2600ac for a standalone Mini-PC with pfSense firewall solution. The Synology router would therefore by used as a standalone access point for WiFi connection to the network, until it is replaced with a PoE access point in the near future.
I know that QNAP can actually run pfSense as a Virtual Machine but I did not want the main server to be the center point of all failure when the server require an restart. Meaning I needed a separate system that is energy efficient in handling the routing of traffic.
All this started because of the flexibility of the Synology router, as it lacks the ability to install Docker, or to have reverse proxy, to handle the different domain traffic coming from the WLAN. Nowadays you can find Mini-PC with multiple Gigabit port to help utilise pfSense, but this product can potentially replace my current switch on the rack and save space.
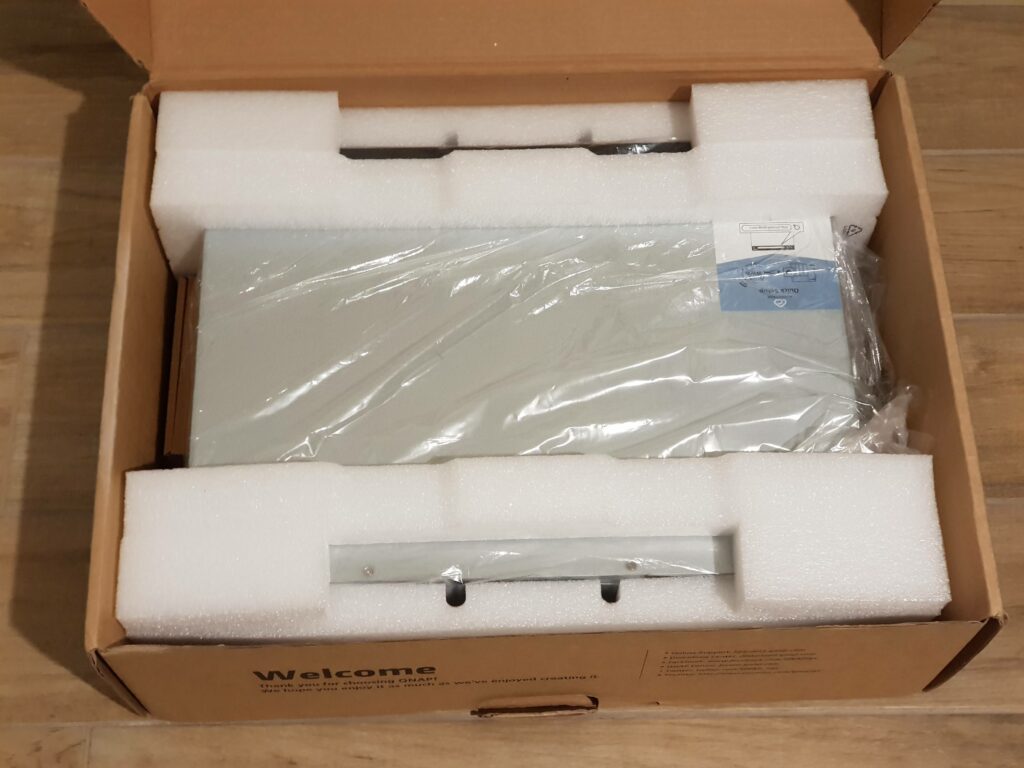
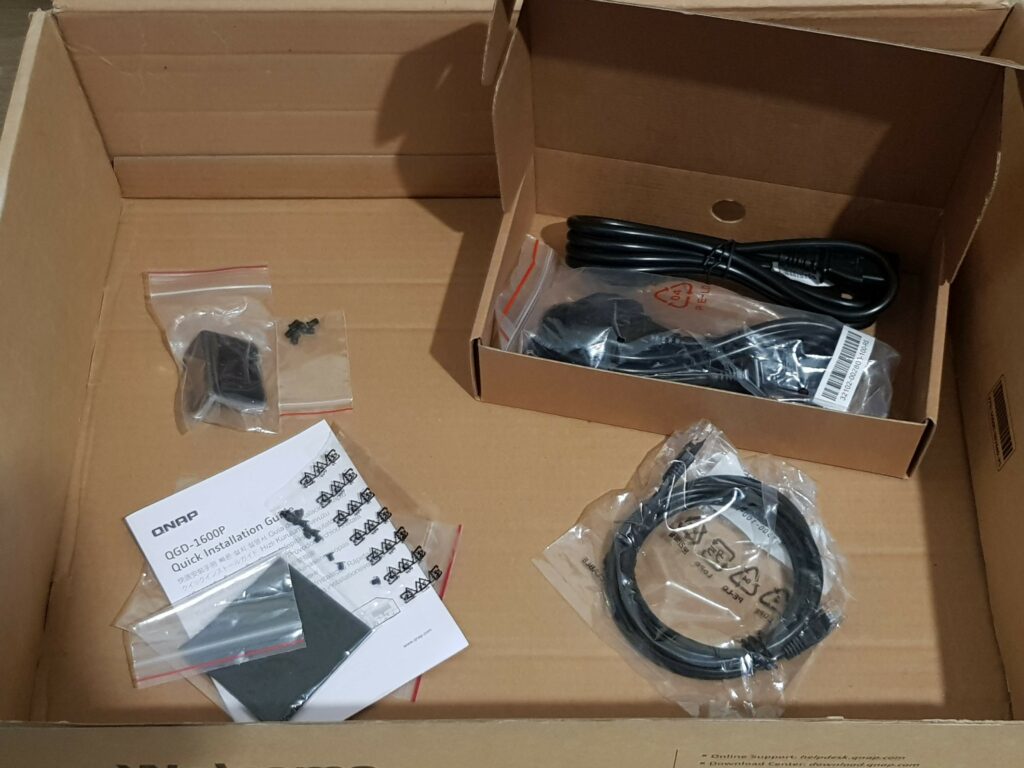
Contents: rack ear mount, HDD/SSD screws for 2.5″, adhesive rubber feet, Ethernet cable, UK power cable, EU power cable
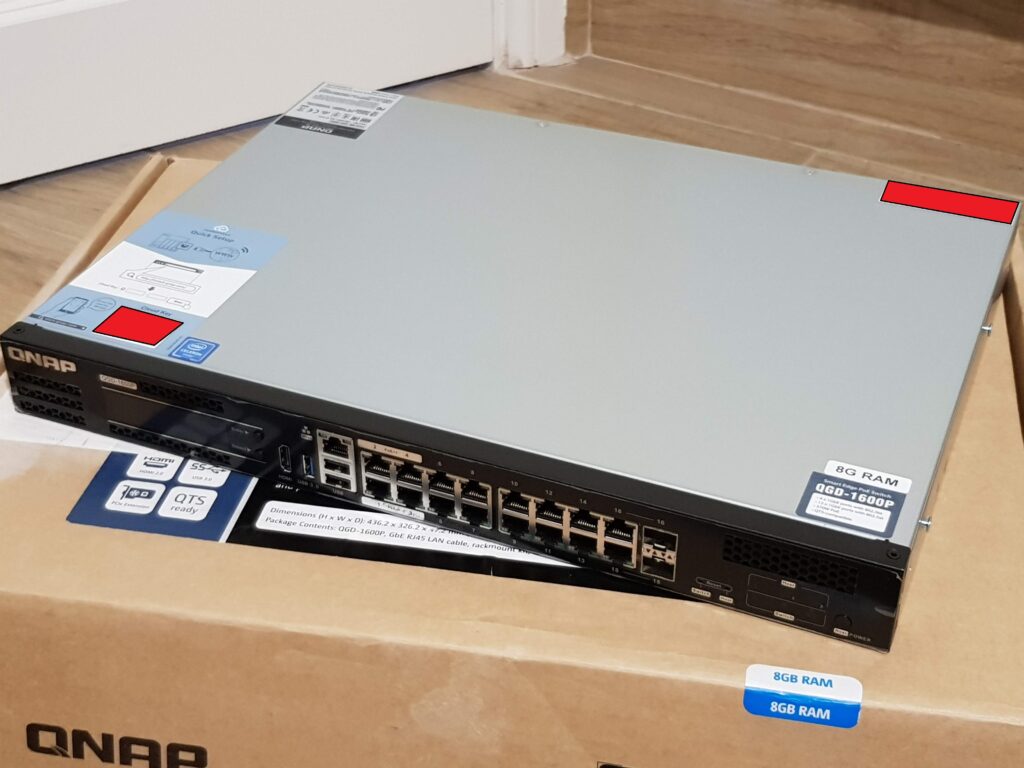
Starting from the left HDMI 2.0, USB 3.2 Gen 1, 1GbE (Host), 2x USB 2.0, 4x PoE++ 1GbE, 12x PoE+ 1GbE, 2x 1GbE SFP (shared port 15 & 16)
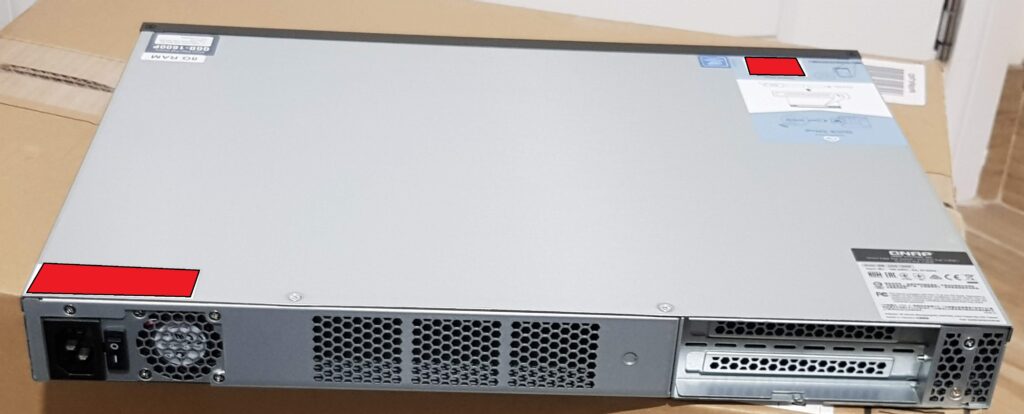
There is 2 expansion slots, where you can connect, either WiFi adapter, additional USB 3 ports, and 10GbE with the 2x PCIe Gen2 x2 slot
To remove the top panel, there are four screws to remove, two on the top rear and one on either side. You push the panel away from the front panel, and then you pull up.
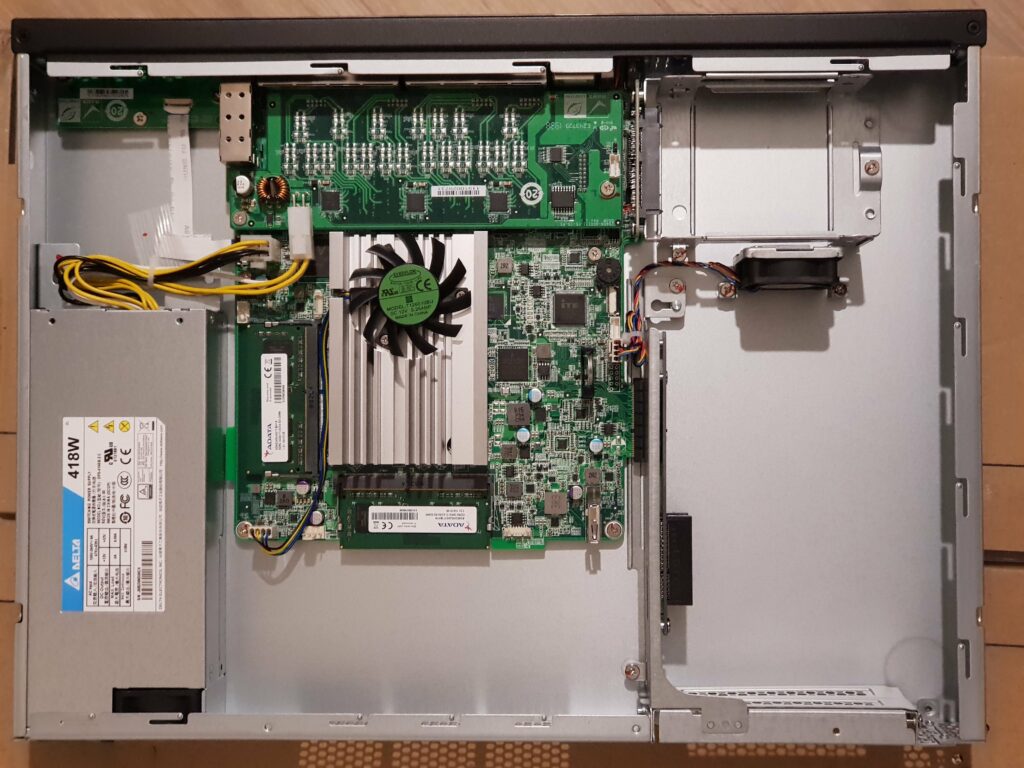
Lower left power supply, middle section is main motherboard, top board is for the upper tier Ethernet, right side is the 2.5″ storage and PCIe slot
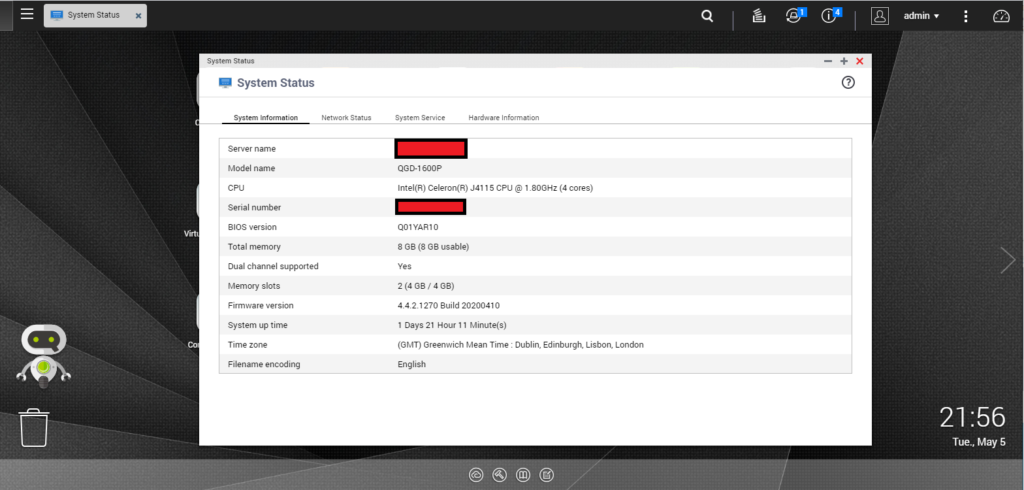
The motherboard has two removable memory slots regardless whether you bought the 4GB or 8GB, this model is the 8GB which populate the slots as 4GB + 4GB.
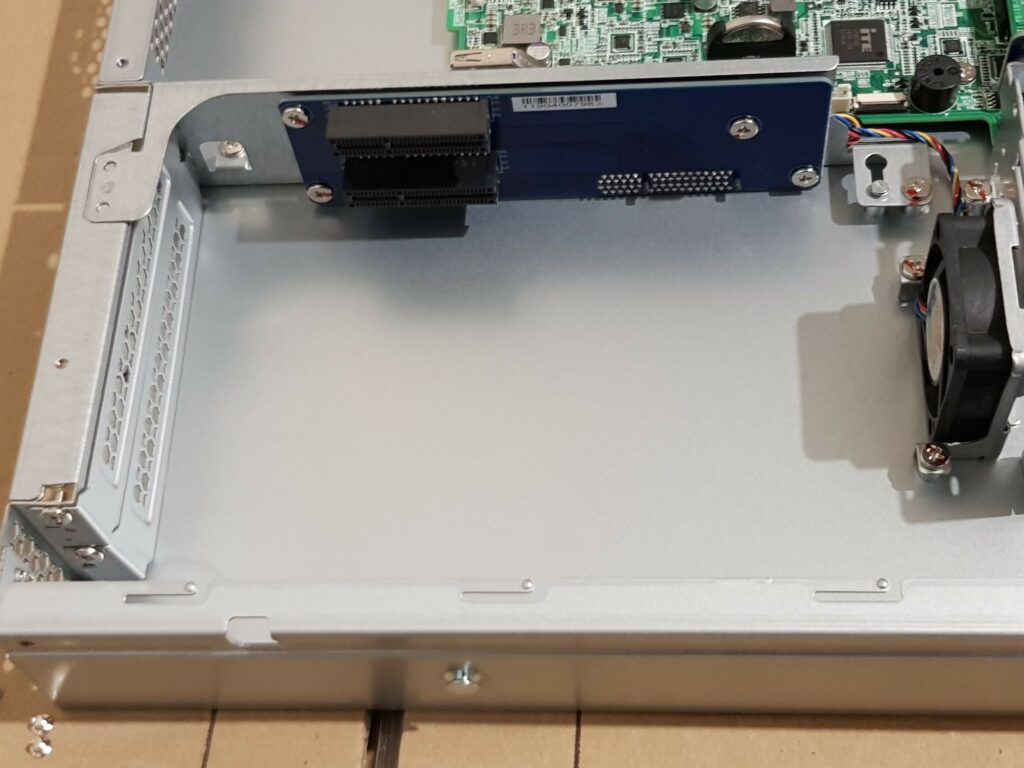
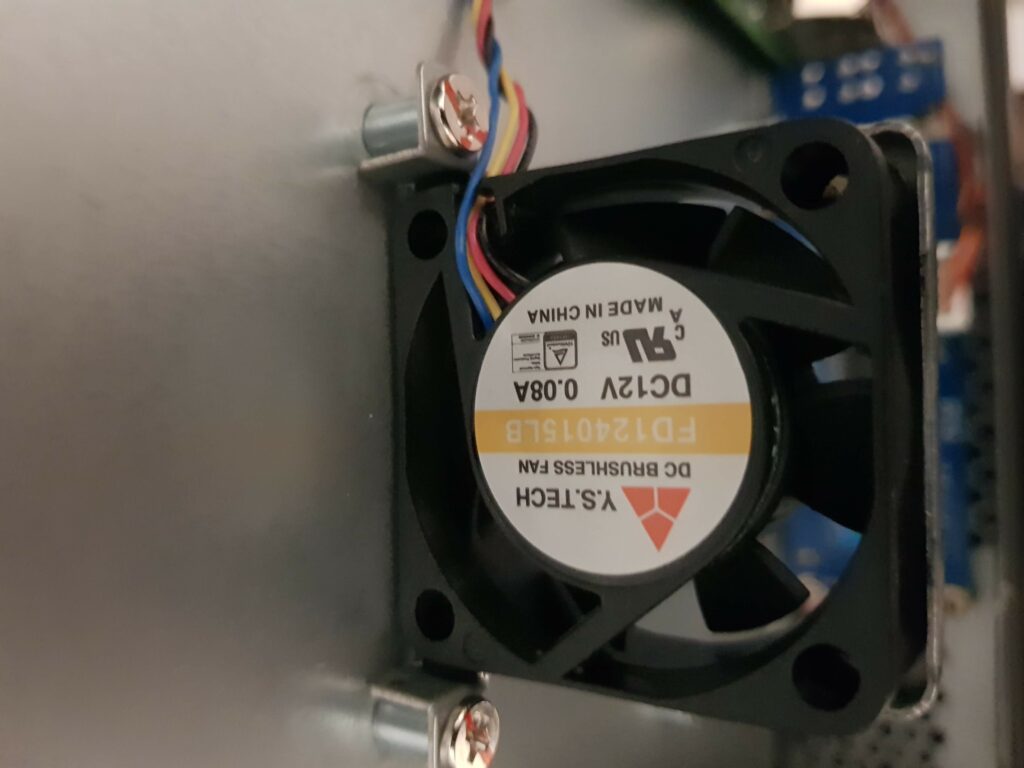
Two PCIe Gen2 x2 and a active cooling fan model Y.S.Tech CD Brushless Fan FD124015LB
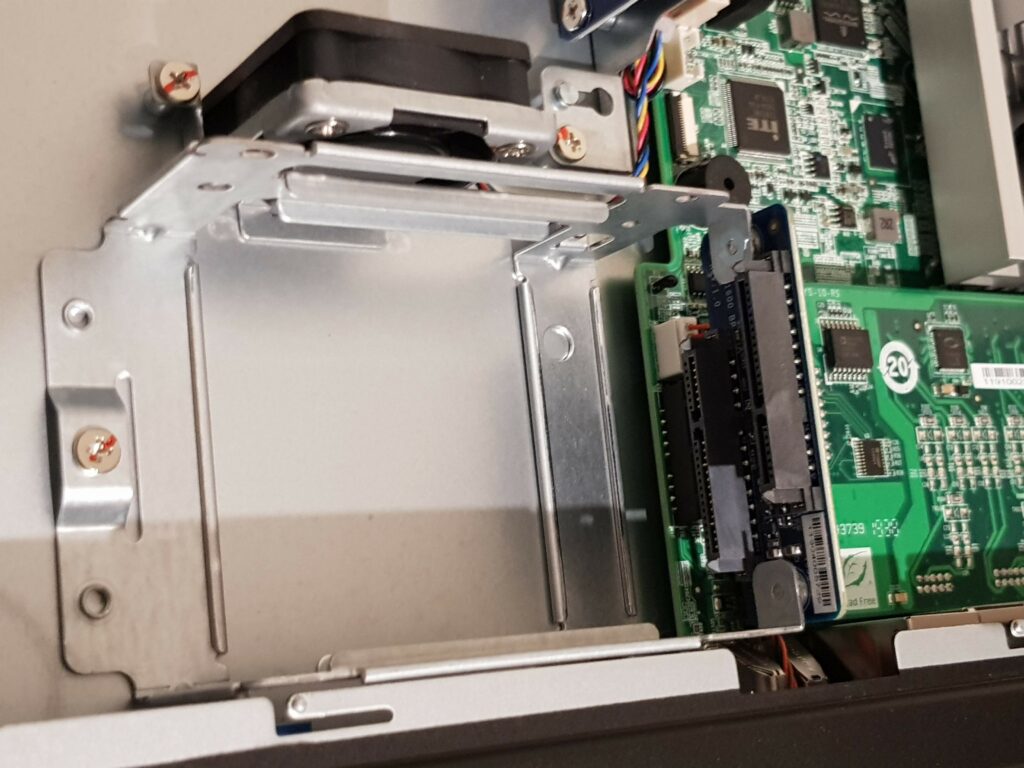
Drive top slot is numbered 1, bottom slot is 2. There is no visible port numbering on the 2.5″ caddy nor stated on the manual.
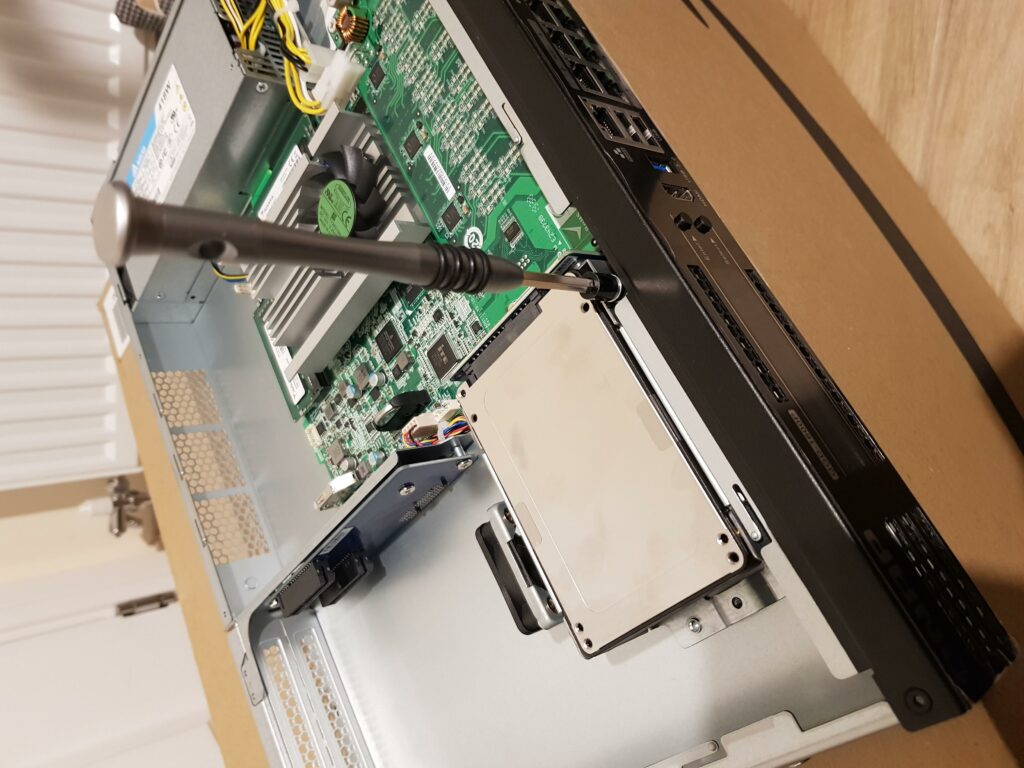
There are 3 screws to remove the caddy from the case, one of the the screw is located close to the outer frame of the case.
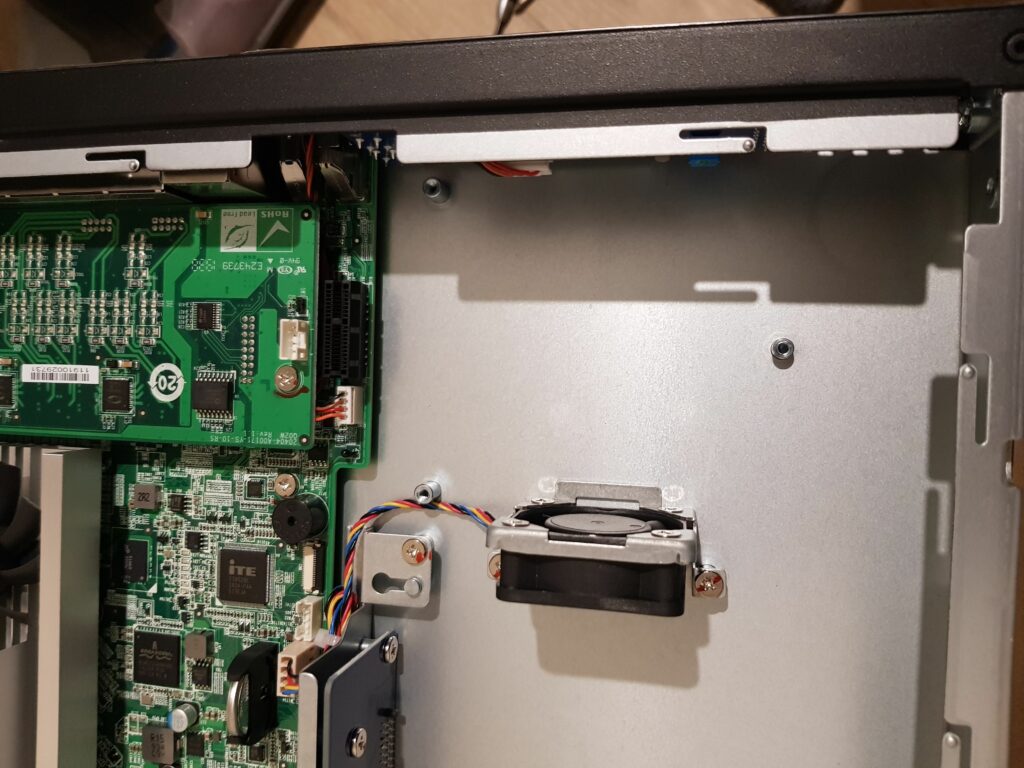
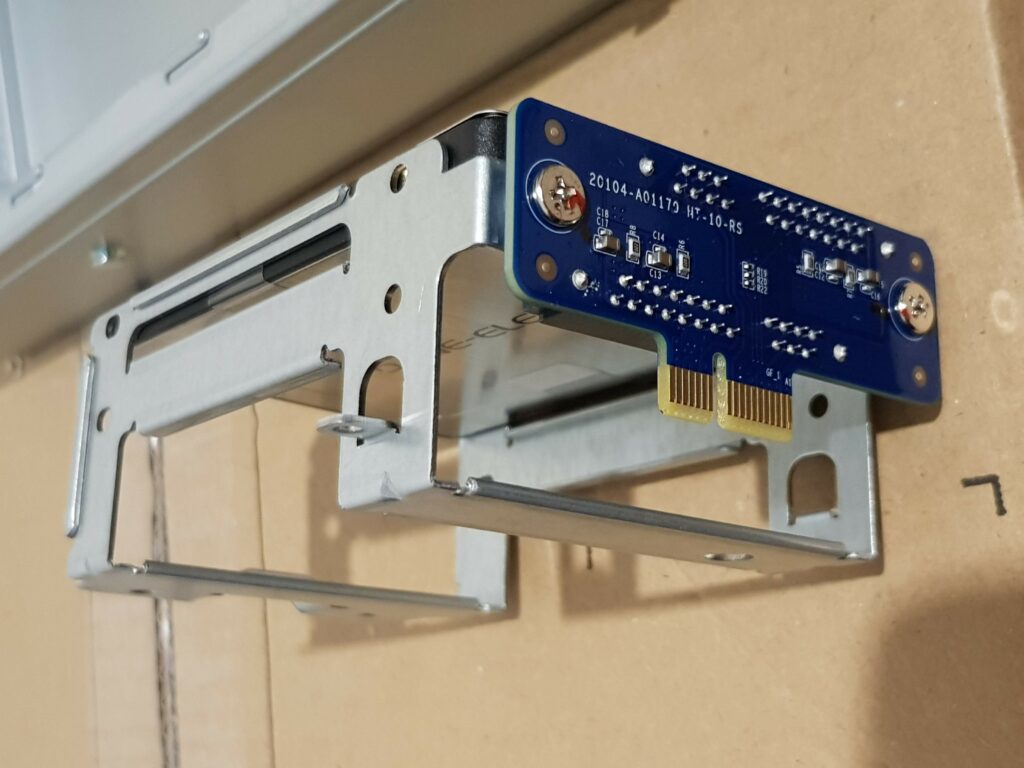
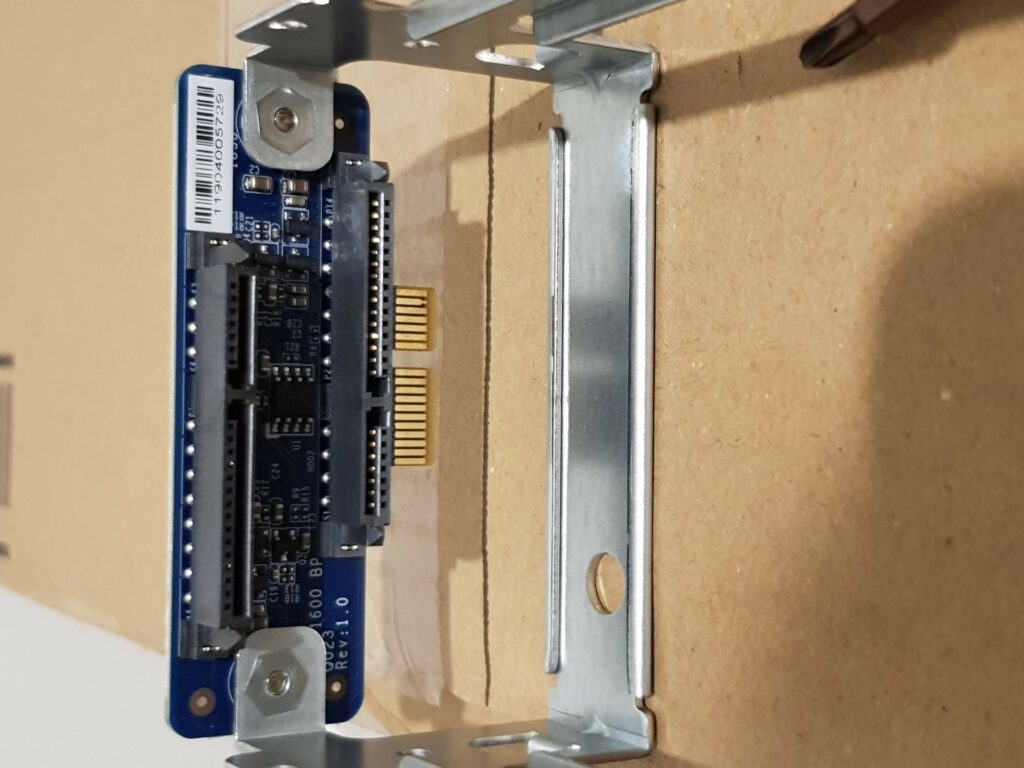
SATA slots are positioned in a way that you cannot install any storage taller than 10mm
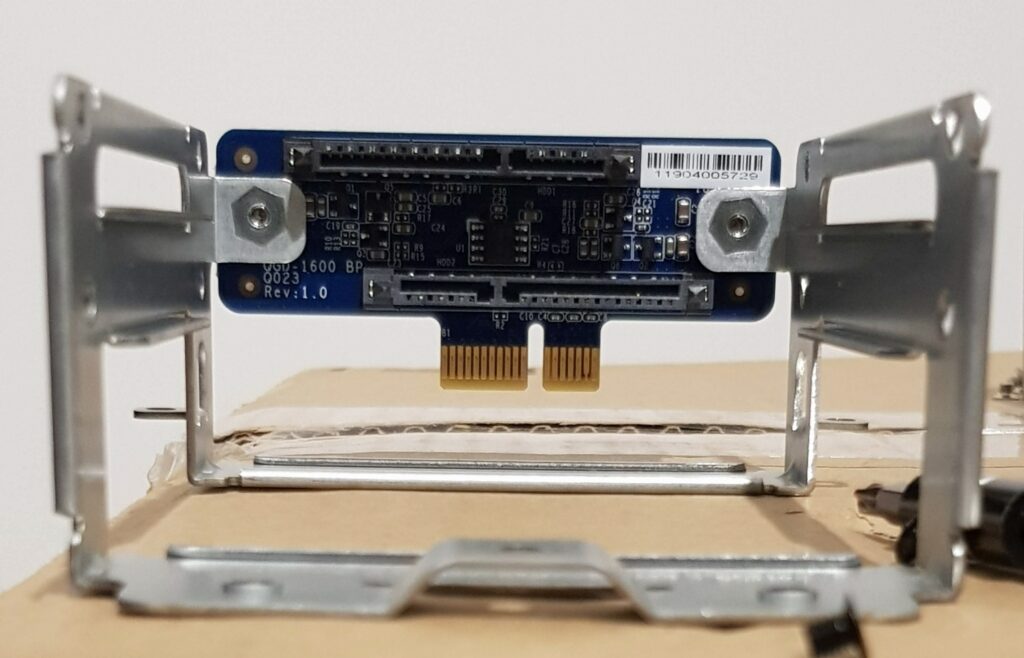
Top slot 1, bottom slot 2
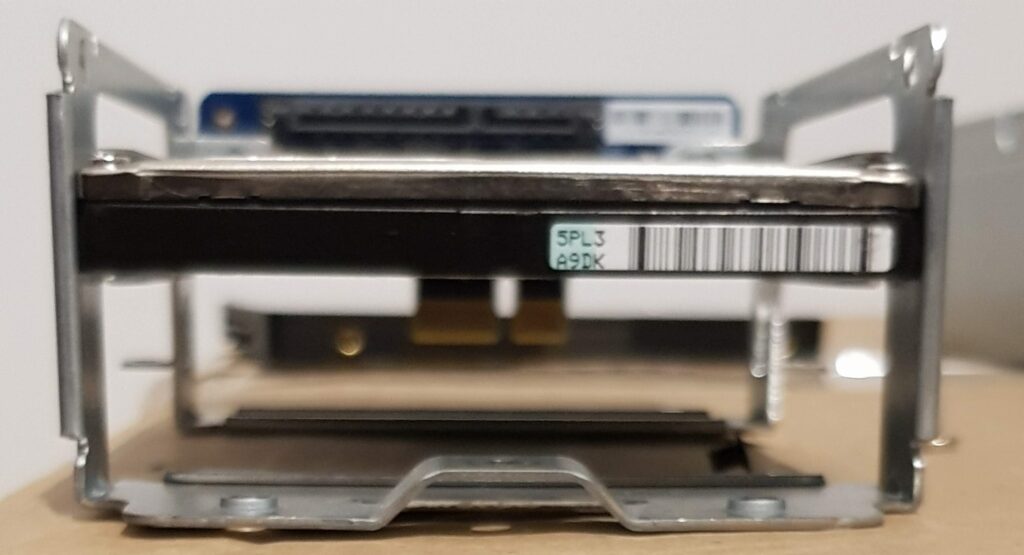
Seagate Momentus 5400.2 ST9120821AS 120GB 9.5mm
This odd arrangement is due to the size of the SATA board connector, but if they have kept the slot 1 orientation for slot 2 they could of allowed much taller storage. Though having taller drives would limit the airflow.
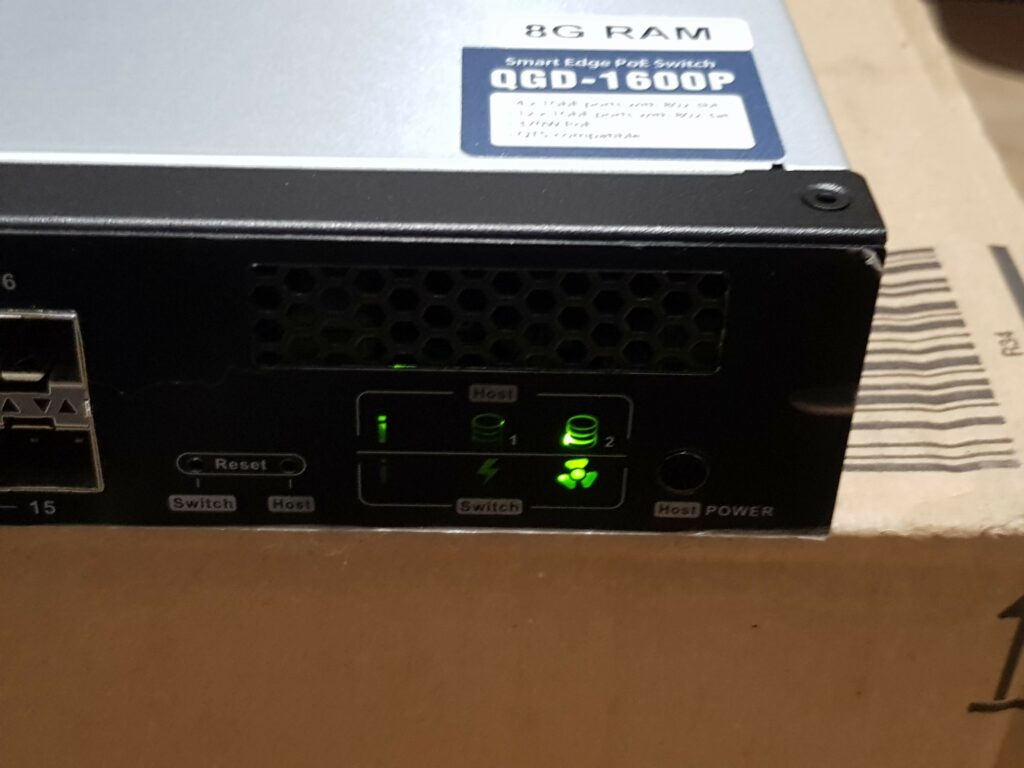
This is where you will know that you placed it in the wrong slot.
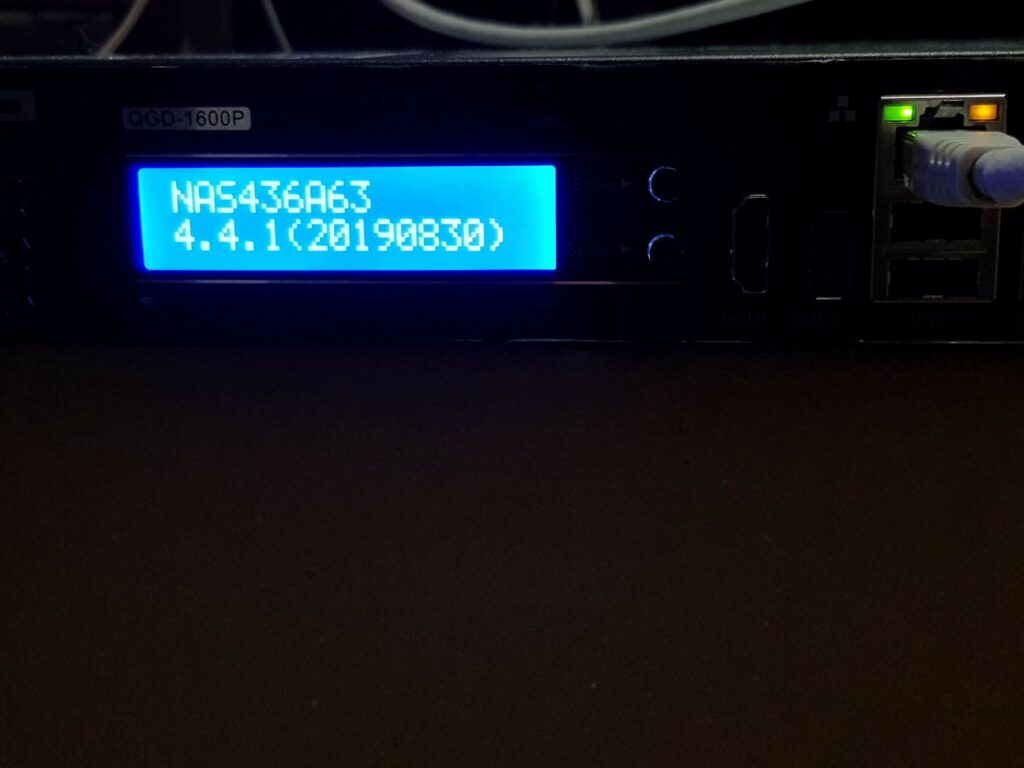
The front panel is very useful, it shows basic information with the use of the ‘Enter’ and ‘Select’ button. Shows the bootup sequence, IP address, NAS name and firmware.
Upon finding your NAS on your network, use the host Ethernet to connect to the system directly. Begin the setup via the web browser, very simple to use.
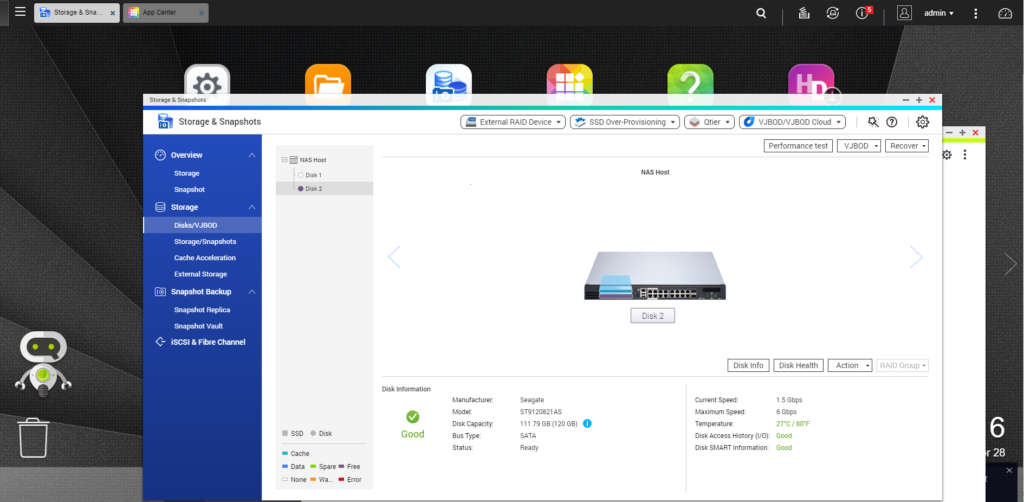
Got to love the visual aspect of how QNAP does this for every NAS.
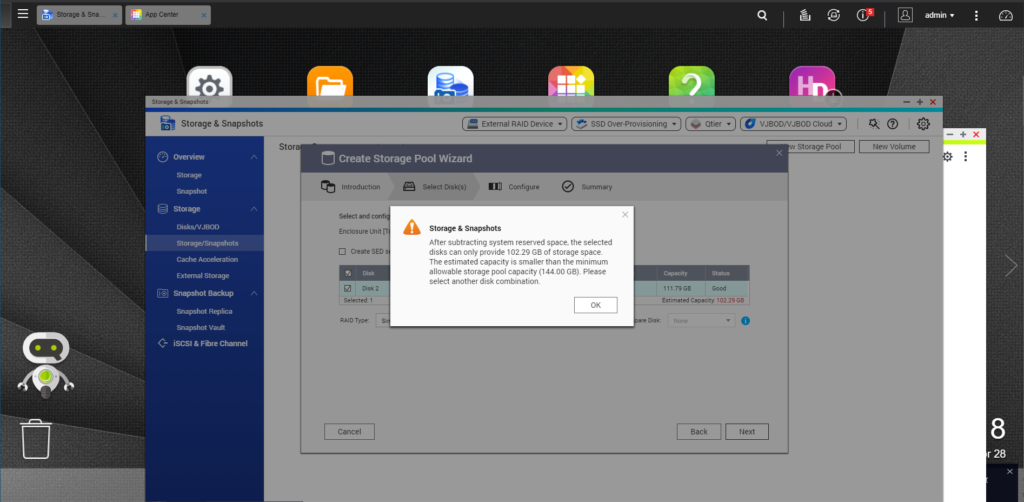
You must be able to have a minimum of 144GB storage to create a storage pool in QNAP, ever since QTS version 4.2….. doh (link)

Takes 1:38 minutes to initialise the reboot, and takes almost 4 minutes to start the device.
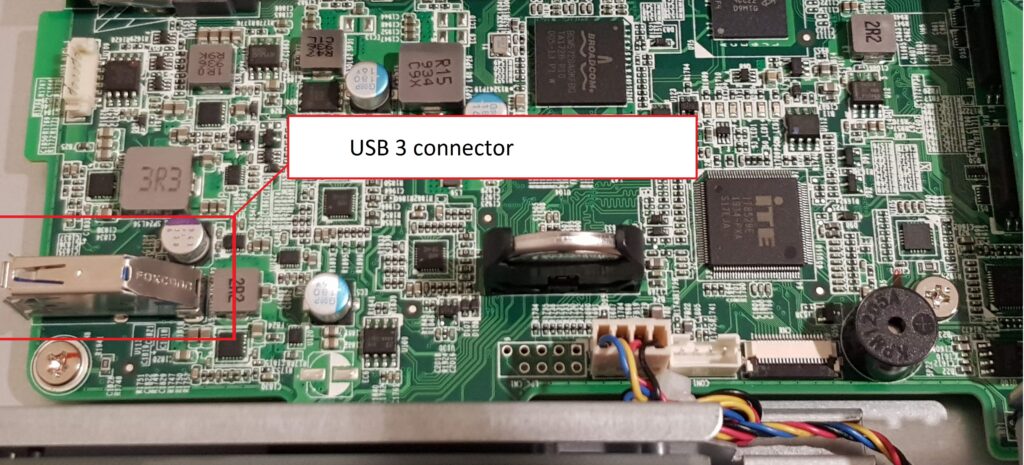
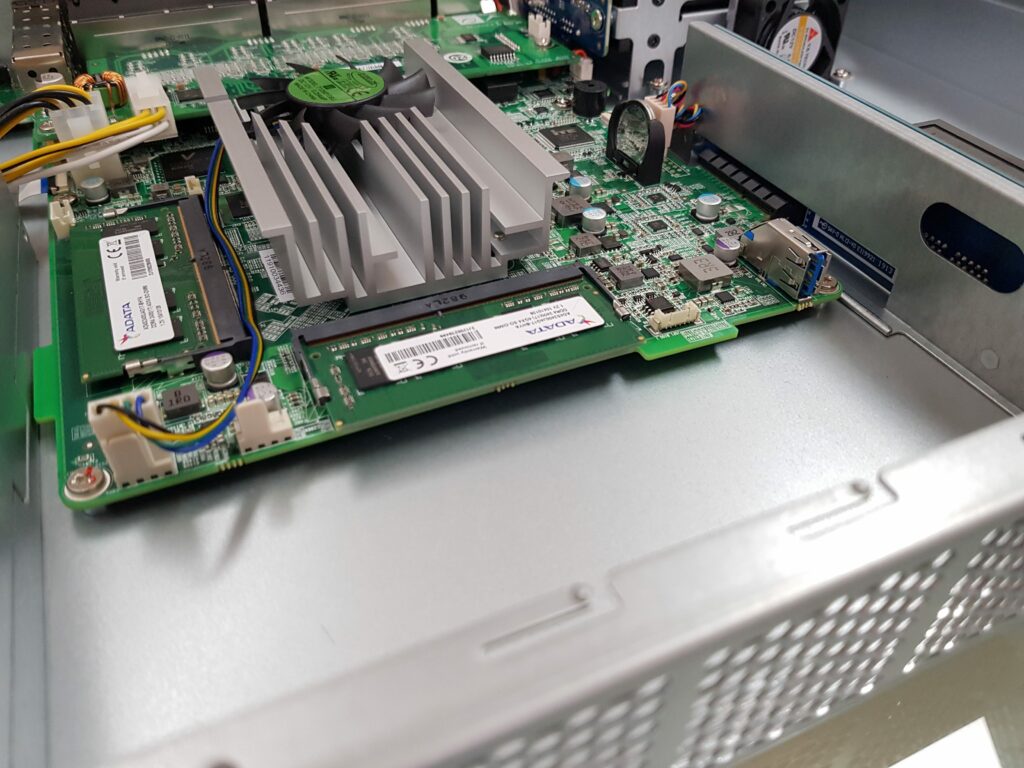
Hidden USB 3 on the bottom of the motherboard, useful for additional expansion
Specification
CPU: Intel Celeron J4115 1.80 GHz, 2.5GHz Turbo, 4 Core (10 TDP)
GPU: Intel HD Graphic 600
RAM: 2x 4GB DDR4 SO-DIMM 2400MHz AD4S2400J4G17-B (Upgrade-able to 32GB of RAM Link)
Storage: 2x 2.5″ HDD/SDD SATA 6Gb
Dimensions: 47.2mm x 436.2mm x 326.2mm
Ports:
16x 1GbE (4x PoE++, 12x PoE+, 2x SFP – shared with port 15 & 16)
1x 1Gbe (Host)
1x USB 3.2 (Gen 1)
1x USB 3 (version?) inside on motherboard
2x USB 2.0
2x PCIe Gen2 (x2)
1x HDMI (2.0 stated in user guide)
Warranty: 2 Years
Storage Expansion
TL-D800C USB 3.2 Gen 2 (Type-C) – Tower
TL-R1200C-RP USB 3.2 Gen 2 (Type-C) – Rackmount
TR-002 USB 3.2 Gen 2 (Type-C) – Tower
TR-004 USB 3.2 Gen 1 (Type-C) – Tower
TR-004U USB 3.2 Gen 1 (Type-C) – Rackmount
M.2 SSD Expansion:
QM2-2P-344
QM2-2P-384
Network Expansion:
QXG-10G2T-107 Dual-port (10GBASE-T) 10Gb
QXG-10G1T Single-port (10GBASE-T) 10Gb
LAN-10G1TA Single-port (10GBASE-T) 10Gb
LAN-1G2T-I210 Dual-port 1Gb Intel
LAN-10G1SR Single-port (SFP+) 10GbE
LAN-10G2T-X550 Dual-port (10GBASE-T) 10GbE
Intel X520-SR2 Dual-port (SFP+) 10GbE
Intel X520-T2 Dual-port 10 Gigabit
Other Expansion:
QWA-AC2600 Wireless Adapter
USB-U31A2P01 Dual-port (Type-A) USB3.1
So far I was unable to try out any of it features as there was a storage pool minimum requirement, which is needed to create the volume for installing any application. But overall I’m impressed with the design, looks just like an ordinary switch. But the left side of the switch they manage to put the ports of the system at the front. The size is similar to my HP 24 port switch (2530-24G, dimension 44.5mm x 443mm x 254mm) that this will replace. With all the ports located at the front it make it easier to connect all type of relevant devices such as keyboard, mouse and monitor.
While all switches has air ventilation on the side of the device, this has the ventilation at the front to bring in fresh air effectively. Even though the ports are taking most of the space, this is a best way to bring it cool air into the cabinet. Though I do feel that they could of made the installation of the storage easier, such as implementing a two front replaceable bays which will give you hot swap-able.
This device could possibly be able to upgrade to 32GB of RAM as I’ve read from random sites that the Intel J4115 Germini Lake can cater for 2x 16GB RAM, which I will do at a later date.
What’s important right now is to find alternative storage for the QNAP and continue to setting up the system.


