It was time to change my setup to a proper enclosure, due to the noise and heat generated. I’ve decided to move from a StarTech 12U (4POSTRACK12U) open frame to a XRackPro2 12U (XRP2-12U or XR-NRE2-US) Cabinet. This was the cause of the downtime for the site, which has taken longer than I original thought.
Removing the front door enclosure that consist of Ikea BESTÅ frame 60x20x64, SINDVIK glass door and STUBBARP legs.

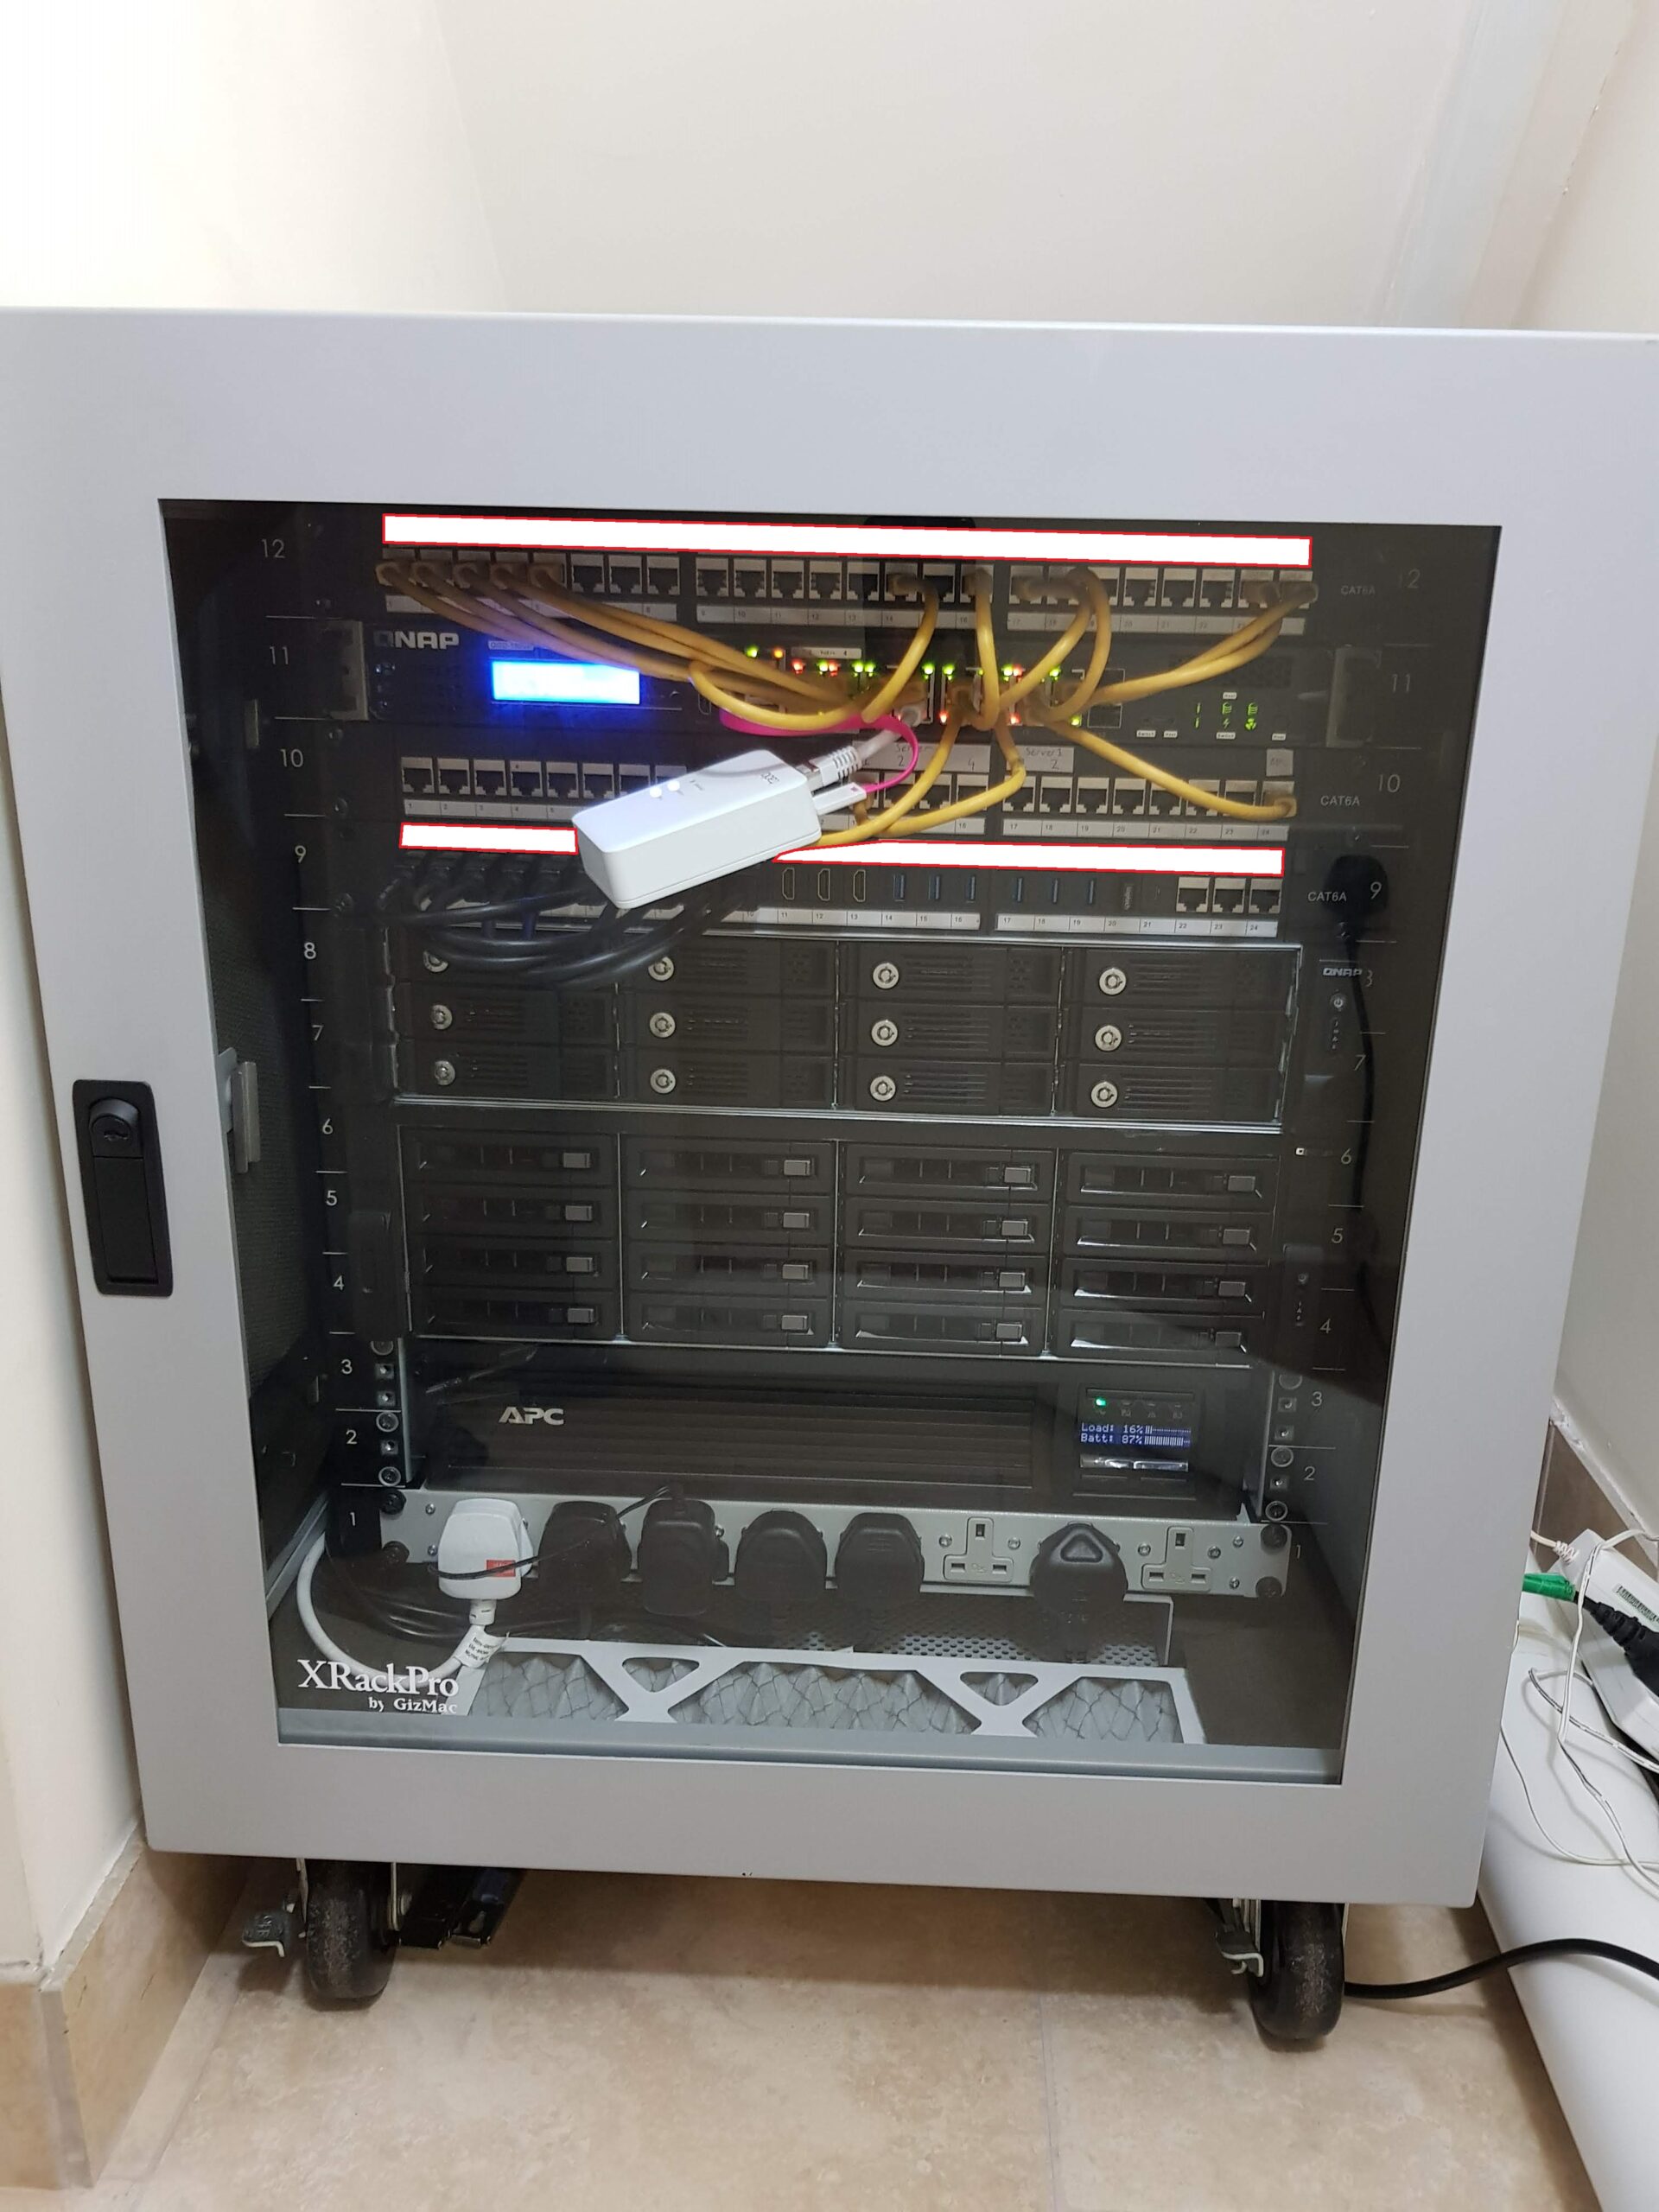
The 12U consist of
12) Blank Plate
11) Kenable 24 Port RJ45 CAT6A Coupler
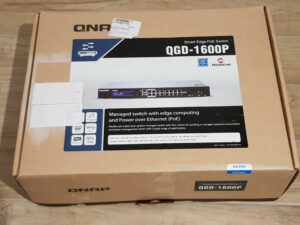
10) QNAP QGD-1600P-4G
9 ) Kenable 24 Port RJ45 CAT6A Coupler
8 ) Kenable 24 Port RJ45 CAT6A Coupler with keystone replace with 14 HDMI, 7 USB, 1 USB-C
7 ) QNAP TS-EC880U R2
6 )
5 ) QNAP TS-1683XU-RP
4 )
3 )
2 ) APC Smart-UPS 1000 UPS
1 )

Removing the equipment one by one.

Next is to sort out the cables

Using coupler patch panels are really useful in sorting the heap of Ethernet cables

Redesign the cool airflow for the cabinet, as the inlet is located at the base of the cabinet

Going to be a tight squeeze for installing the cabinet, so it must be flat pack before hand. Power and HDMI are pushed through the bottom cable cutout.

Installing the post for the roof of the cabinet.

Installing the rack frame to stabilise the post.

Hardest part is to installed the roof, there you meet all the post bolts. Must flex the corners to help push the ‘L’ bracket in the inner corner to fully install the roof, the door just slide into place.

Ethernet wiring is fed through the top cable cutout, one by one removed from the patch panel and reinserted.

Cables are out of the way from equipment, makes it easier to put back the servers.

Populate the rack with servers, decided to remove the QNAP TS-EC880U for a QNAP TVS-1271U, and have the power outlet at the bottom. Can’t install anymore servers unless I decided to change the patch panels to a 1U 48 port.

Finishing touch was to route everything back to normal and put the front door and side panels back on.

The QNAP TS-1683XU-RP is the loudest system at 53dB (A), the whining from that server is beyond annoying which is one of the reason for the setup change. There are 3 rear exhaust fans in the XRackPro2, to help pull the hot exhaust from the servers. The fans are not quiet but they are design to help ventilate the cabinet, they make a strong whosh noise than oppose to be whining. The fan used:
US Toyo fan USTF120382302T
Size: 120 x 38mm
Acoustical Noise: 30dB (A)
Airflow: 76CFM
RPM: 1950
Bearing: Dual Shielded Ball Bearing
This cabinet is not a silent or quiet cabinet, it has sound proofing that helps dampen the higher pitch equipment. It helped reduce the whining noise, and turning on all the servers helped muffled the pitch much better than the open frame. The front glass was necessary to see all the equipment quickly and to utilise wireless peripheral such as keyboard, zwave etc. The cabinet itself is made from 1mm steel, and it has an built in air filter system. One big filter 15″ 3/4 x 26″ located at the bottom of the cabinet where you can slide and replace the filter with ease. One smaller filter 4″ 1/2 x 15″ at the front of the cabinet, where it is held by two Velcro point.
Overall I’m happy with the build quality, just that getting replacement parts to the UK is difficult where the manufacture (XRackPro) is based in the US and they do not deliver to the UK, so you must rely on a reseller.

I have been using an XrackPro2 12U myself to hold two Synology Rack NAS + Dell r720 Server.
It does the job but I wish the sound dampening was better.
Question about the PVC pipes you have on the floor for Air – are they bringing cool air into that tight area of space, or, removing the hot air?
Friend is using my old RS3412RPxs+ but is having thermal issues, and I found your old blog post about changing the CPU.
Hi Tom, the ducting is used to bring cool air, directly underneath the rack enclosure of the inlet vent. Due to the bends and travel of the piping, I’ve used a centrifugal fan to assist pulling the air from the next room. The room has a basic fan extracting the hot air out but it needs to be overhauled due to the enclosure outputting more hot air that it can extract. Eventually when I have time I will make a custom ducting for the rear fan, to make the room cooler. Though the enclosure is very good at managing the temperature inside, and blocking the hot air getting back into the system.
For your reference with the XRackPro with everything on, the inside at the front of the servers the temperature range from 27-31 (29 avg.)
Previously in the open rack the temperature was 29-37 (34 avg), and the hot air was getting trapped at the rear or the server causing additional heating to build up.
Oddly with the lower temperature for the XRackPro, the temperature for the System, CPU and HDD are very similar to the old setup. But that was with the backup server turned off, but I still believe the enclosure is helping isolate the heat away from the system.
If your friend is having issue I would suggest that you extract the hot air away from the system to outside, if not try and bring cooler air from the next room but you need to use AirCon to manage the ambient room temperature as the heat needs to go somewhere.
thank you for explaining your duct setup… very nicely done.
I have been looking to replace the very-old xRackPro2 Toyo rear fans; and have been learning a great deal about fans.
Are you still using the stock Toyo rear fans; or have you found something better to replace them with?
Hi Tom, I have yet to tweak the fans on the cabinet, due to it working perfectly fine. If I ever get to change the fans I will let you know, but for now I just wait till they fail. If you ever find a good alternative to Toyo just us know, as they are expensive to source. Though finding the right fan will take some time cause you need the correct static pressure, noise, bearing type and size to match with your use case and environment.
indeed, it is interesting (and somewhat frustrating) learning about quality fans – static pressure, harmonics of the sound, RPM; etc.
How Fan-A can be “louder” than Fan-B; but its harmonics are much less annoying. (and Harmonics are not something that can really be measured)
Have learned that Noctua are not as outstanding as I had assumed.
Yeah Noctua fans do not provide the necessary static pressure, but it very quiet. It’s not design to be a work horse, I would suggest finding AVC hydraulic bearing fans but there are loads of fake. I happened to bought several bunch of AVC hydraulic but once I got it, the sticker was fake and the housing was a Delta. This were imported from China, use eBay not AliExpress for buyers protection.
AVC hydraulic bearing fans
Hi again and belated Merry Christmas – I’ve looked for the fans you mentioned but since I don’t really know what I’m looking for fake vs non-fake; may I gently ask if you could point some out on ebay / amazon or an favorite online vendor you use.
Strongly appreciated and thank you.
Hi Tom,
Hope you had a good holiday too, are you referring to the XRackPro2 fans, AVC don’t do hydraulic bearing with 120mm x 38mm and it seems that the cabinet does not use motherboard internal connectors like 3-pin or 4-pin. So you would have to find AC fan (2-pin). In truth I have not even tried changing the cabinet fans, they works fine as they are.
Hi Poyu –
I am trying to replace my redundant ps in my QNAP TS1677XU-RP 9very similar to yours, the noise is unbearable. I just got the fanout cable from eBay. I wanted to ask if you could share what you did for a faceplate to install the 2U PSU (Dynapower Sure Star CPU)? Thanks
Santo
Hello Santo, I’ve used the Dynapower Sure Star SS-2U50ES 2U 500W, in the QNAP TVS-1271U. All I did was to remove the stock PSU, which required the entire motherboard to be removed. There was enough space to just fit the PSU upside, though there wasn’t a proper way to secure the PSU to the chassis. So the PSU is tucked in 1 inch inside the chassis, and then I use the custom QNAP power adapter that’ve made.
My main server is currently untouched for warranty reason, so I can’t say how to remove the ‘face plate’ you speak of. If the face plate is welded try and move the PSU further inside, considering there is no PSU that can bolt on the QNAP faceplate correctly unless you buy like for like. Wish you luck