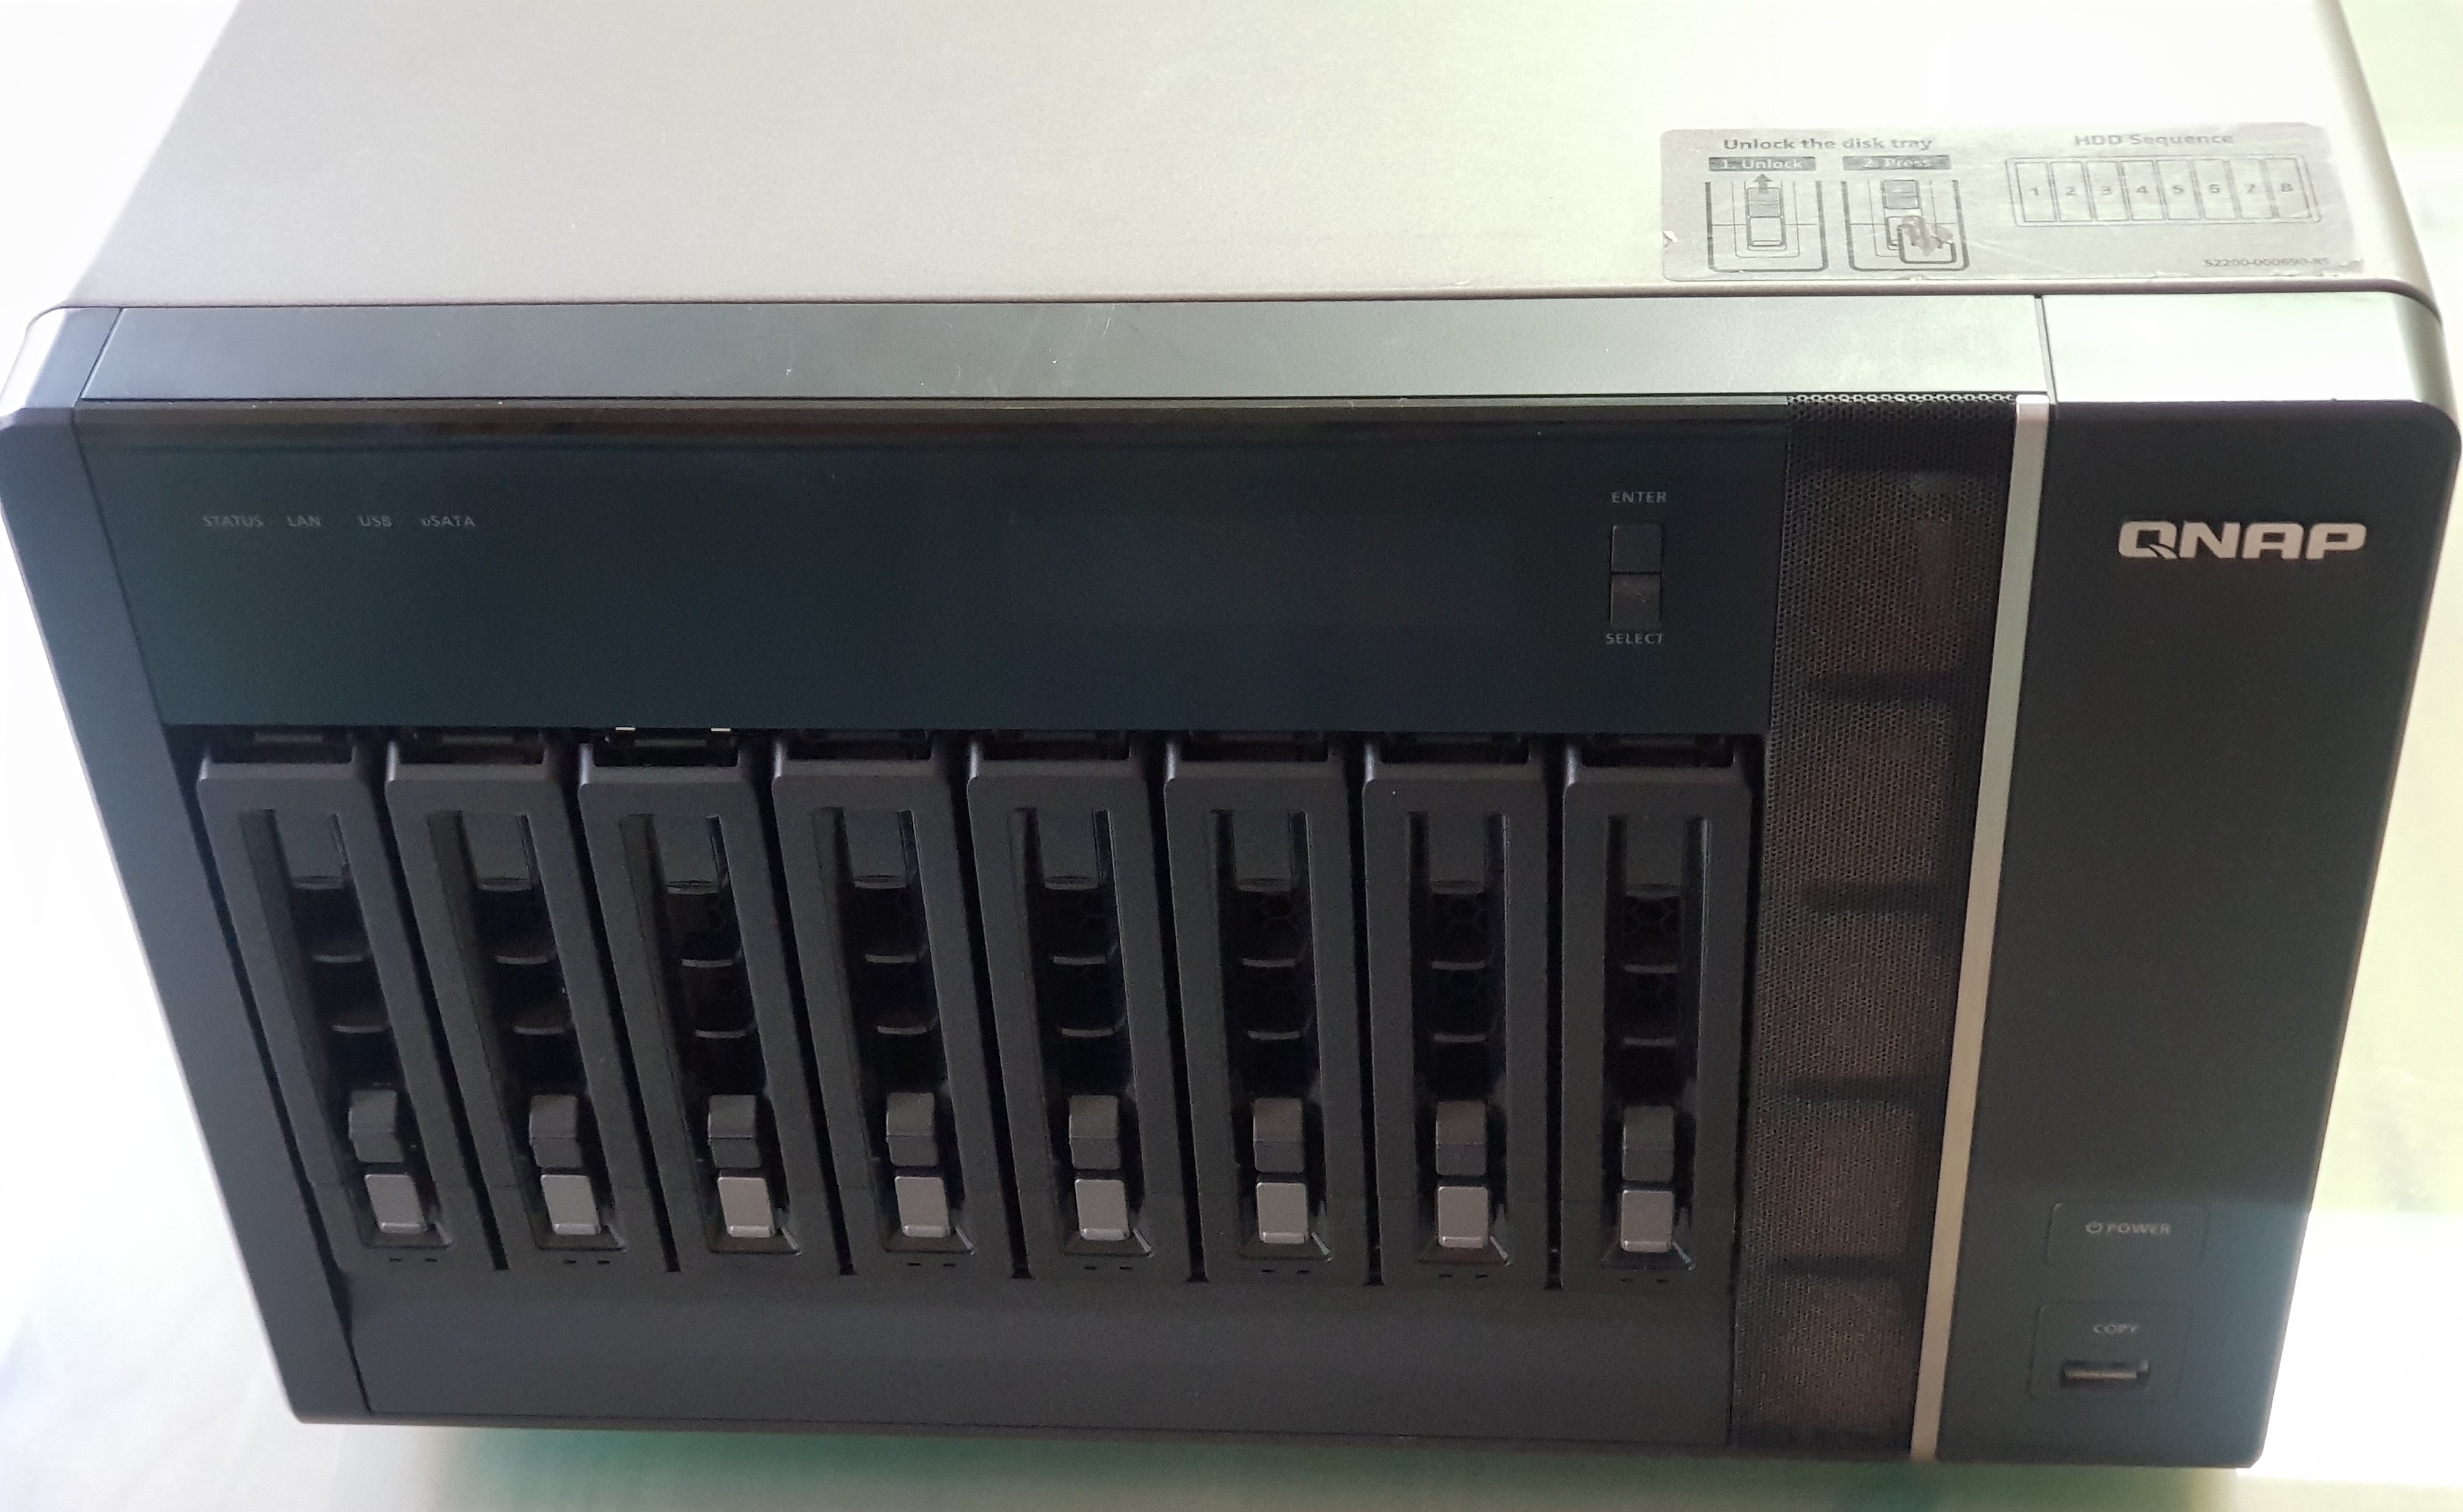
This disassembly guide is based on the TS-879 Pro, though the TS-1079 Pro is very similar to this model.
 Required Tools
- Phillips #2 Screwdriver
- Wirecutter
- 5mm spanner
Begin by removing all the caddy, label any drives in the correct slot to ensure that your QNAP will operate properly.

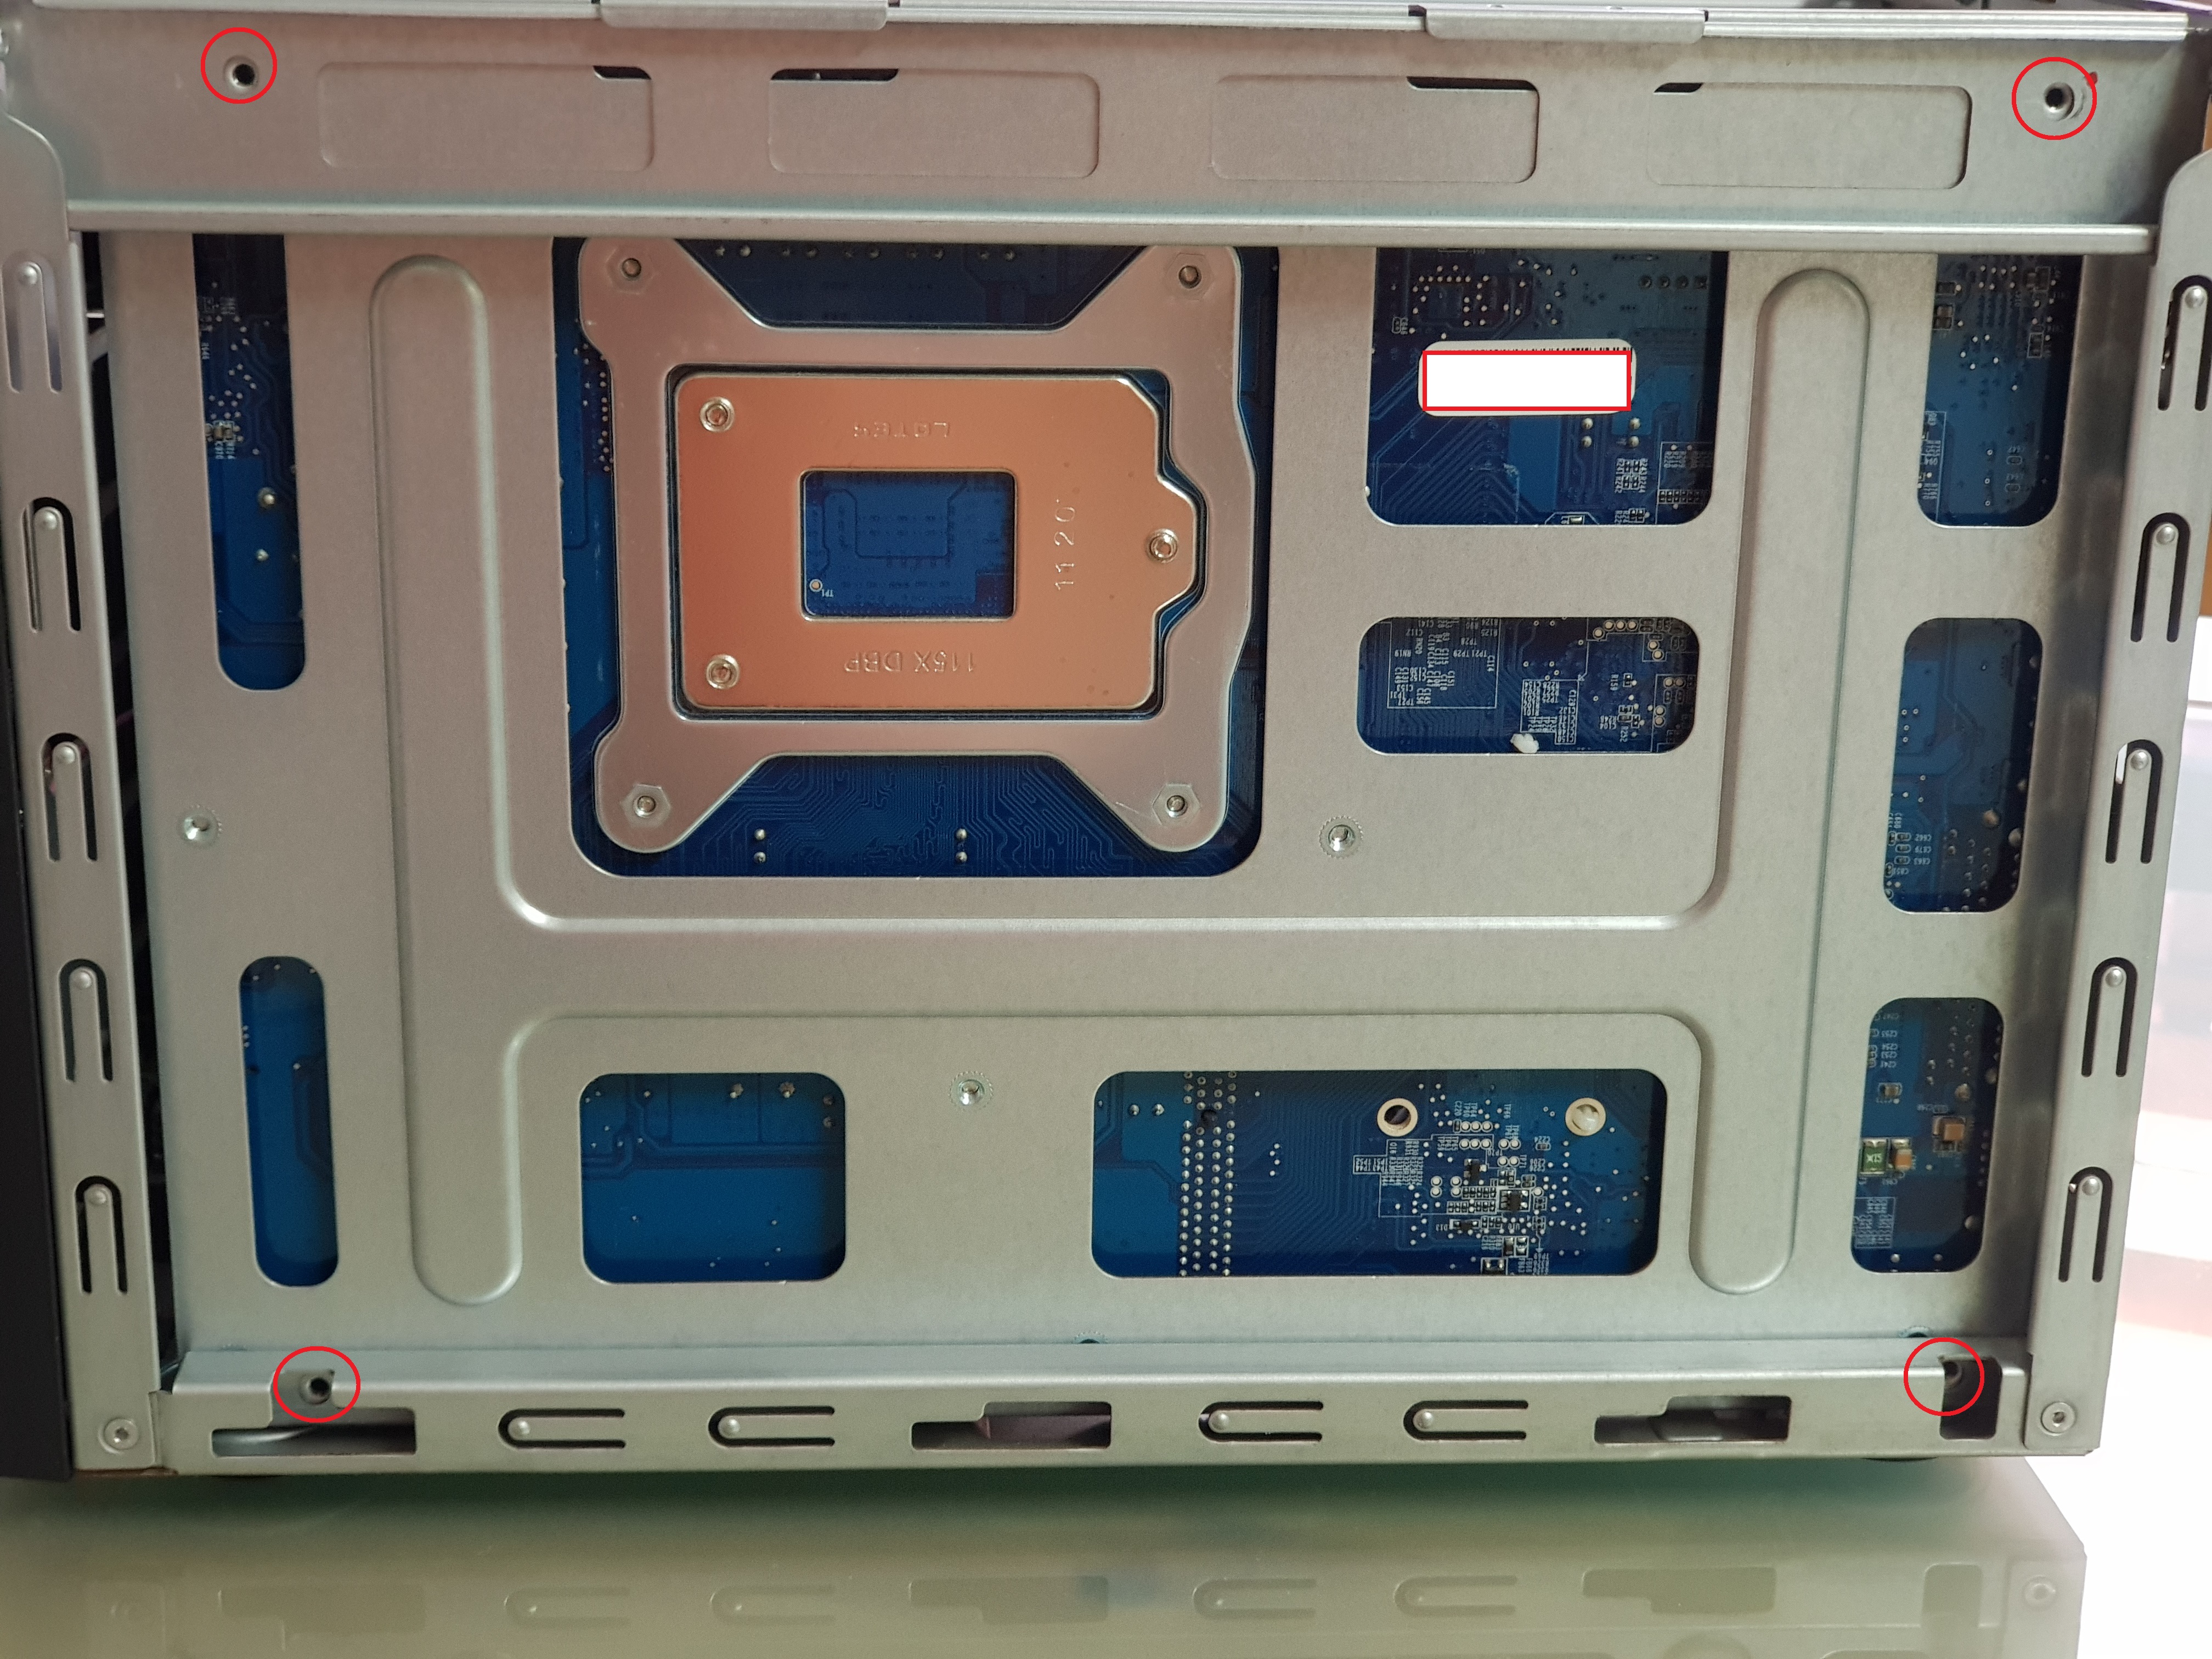
Remove 7 screws of the outer casing.

Slide the case toward you, then lift up the case.

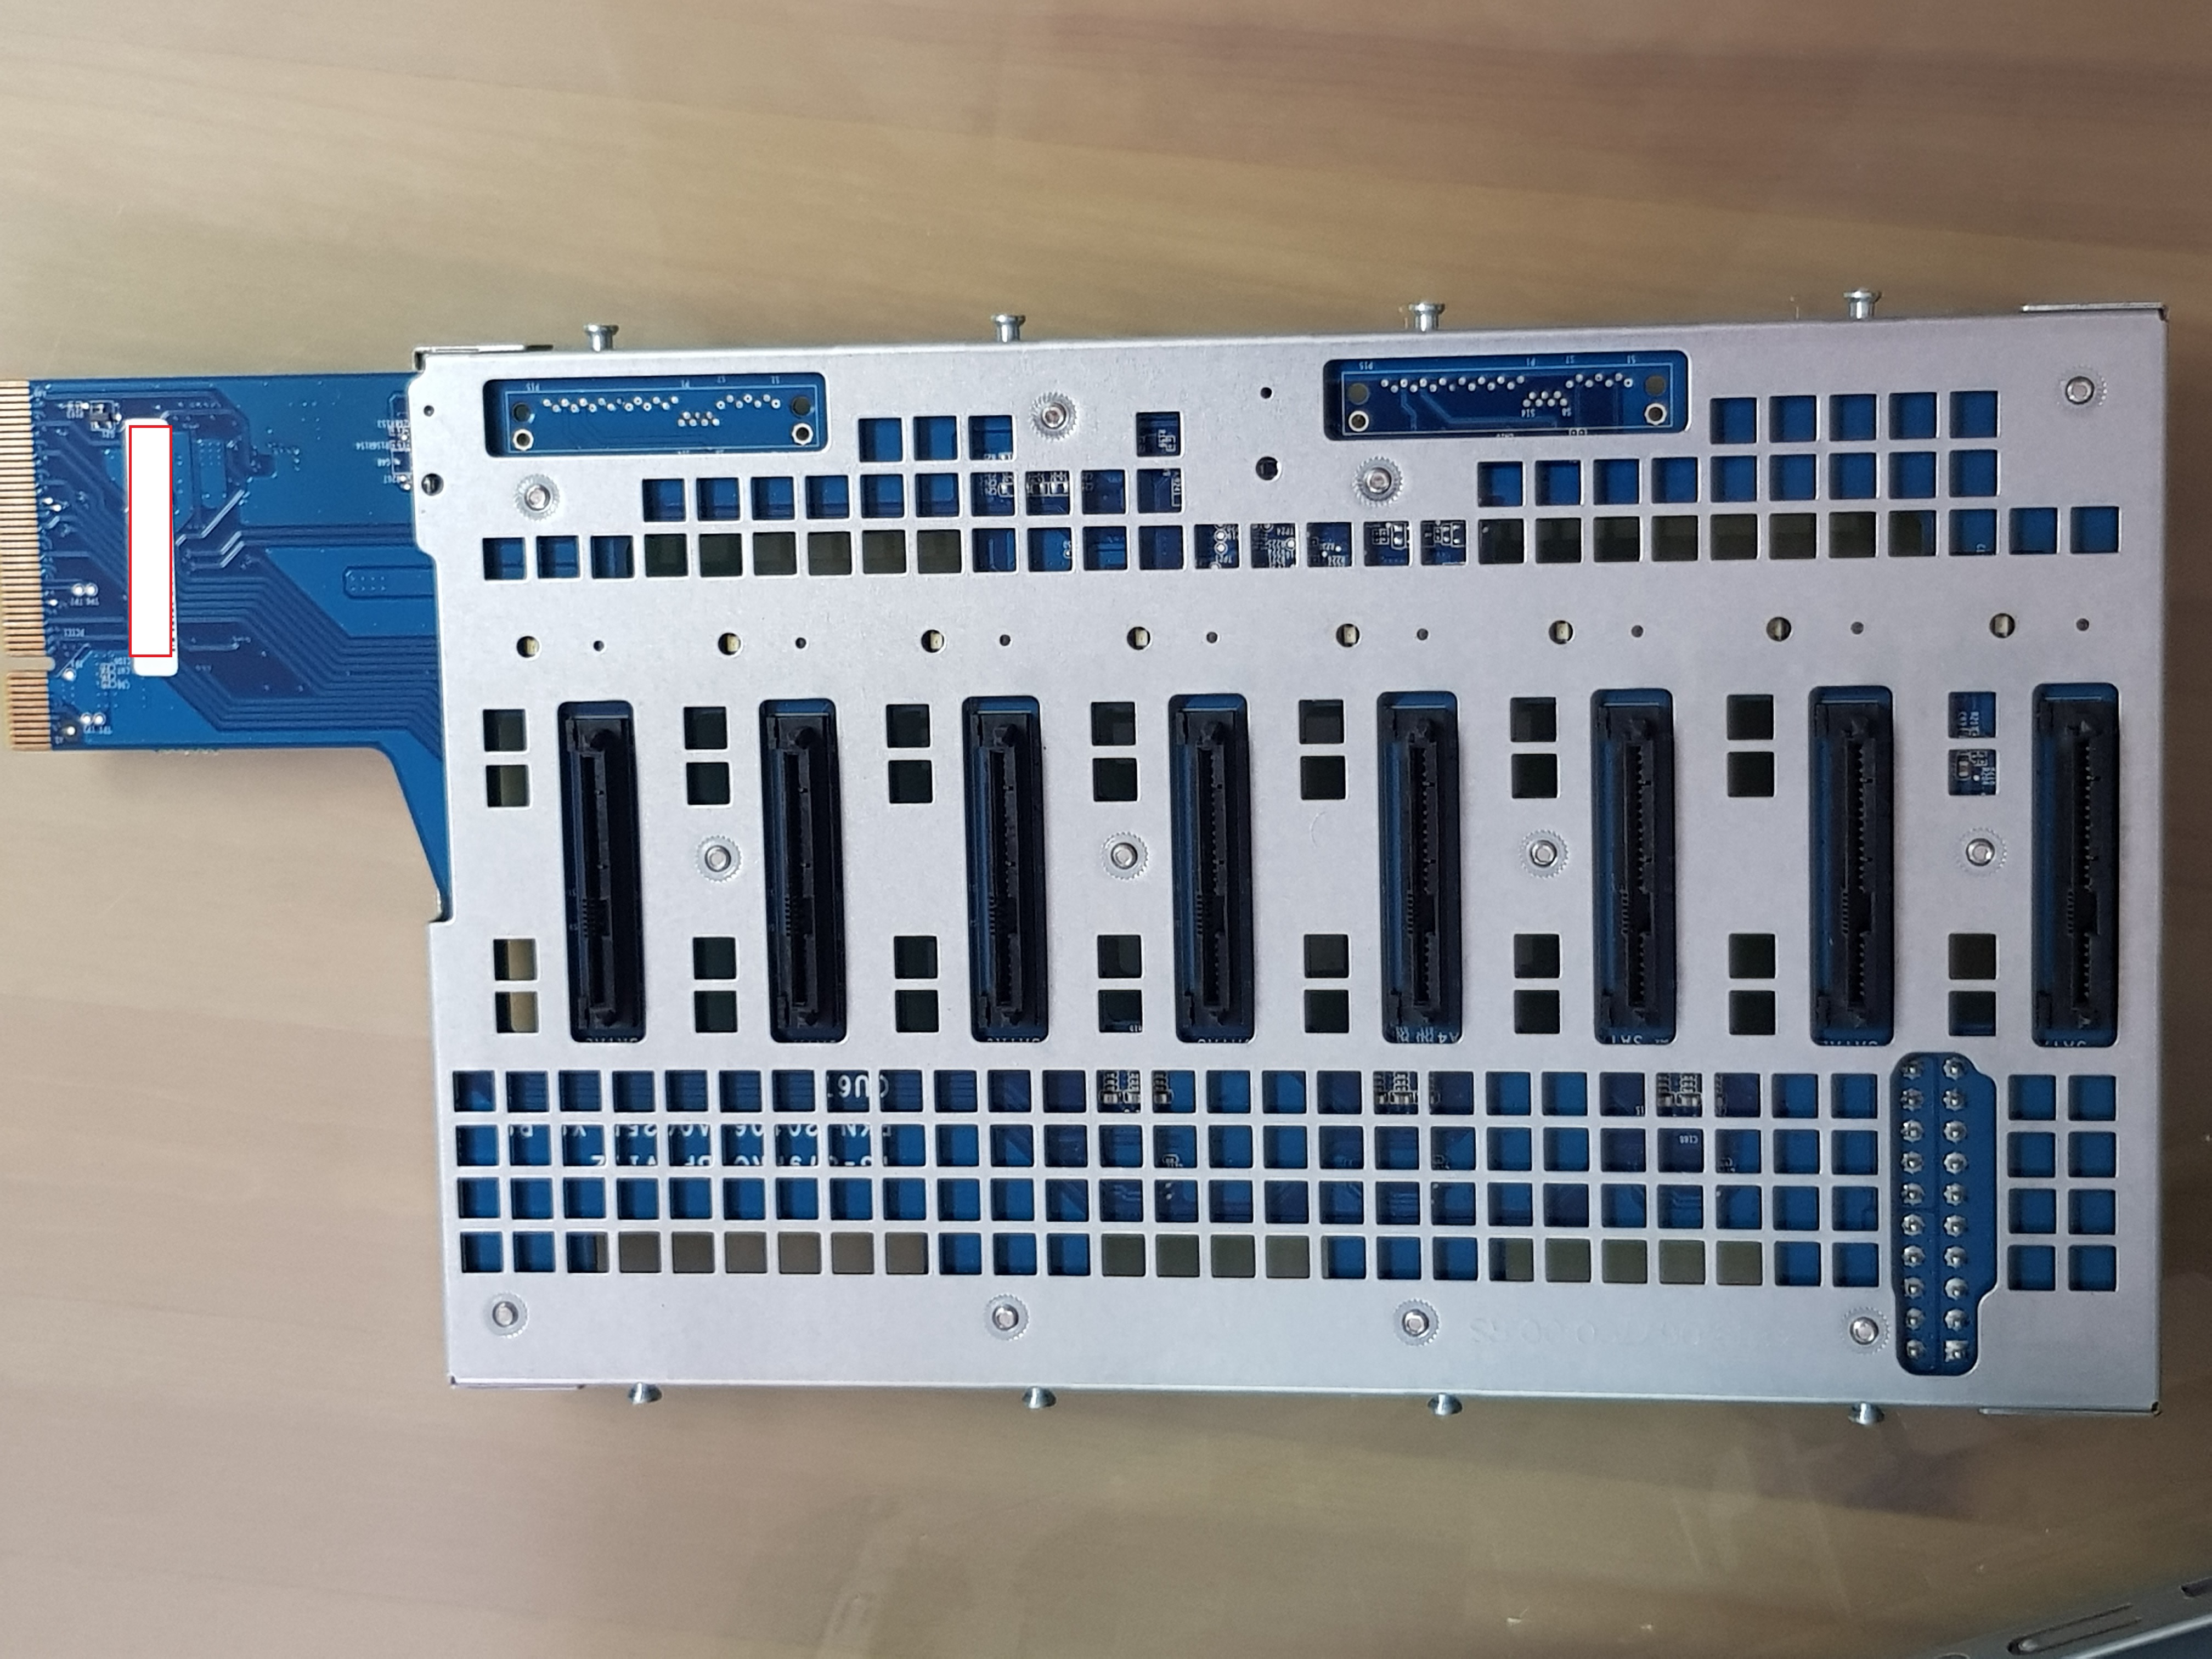
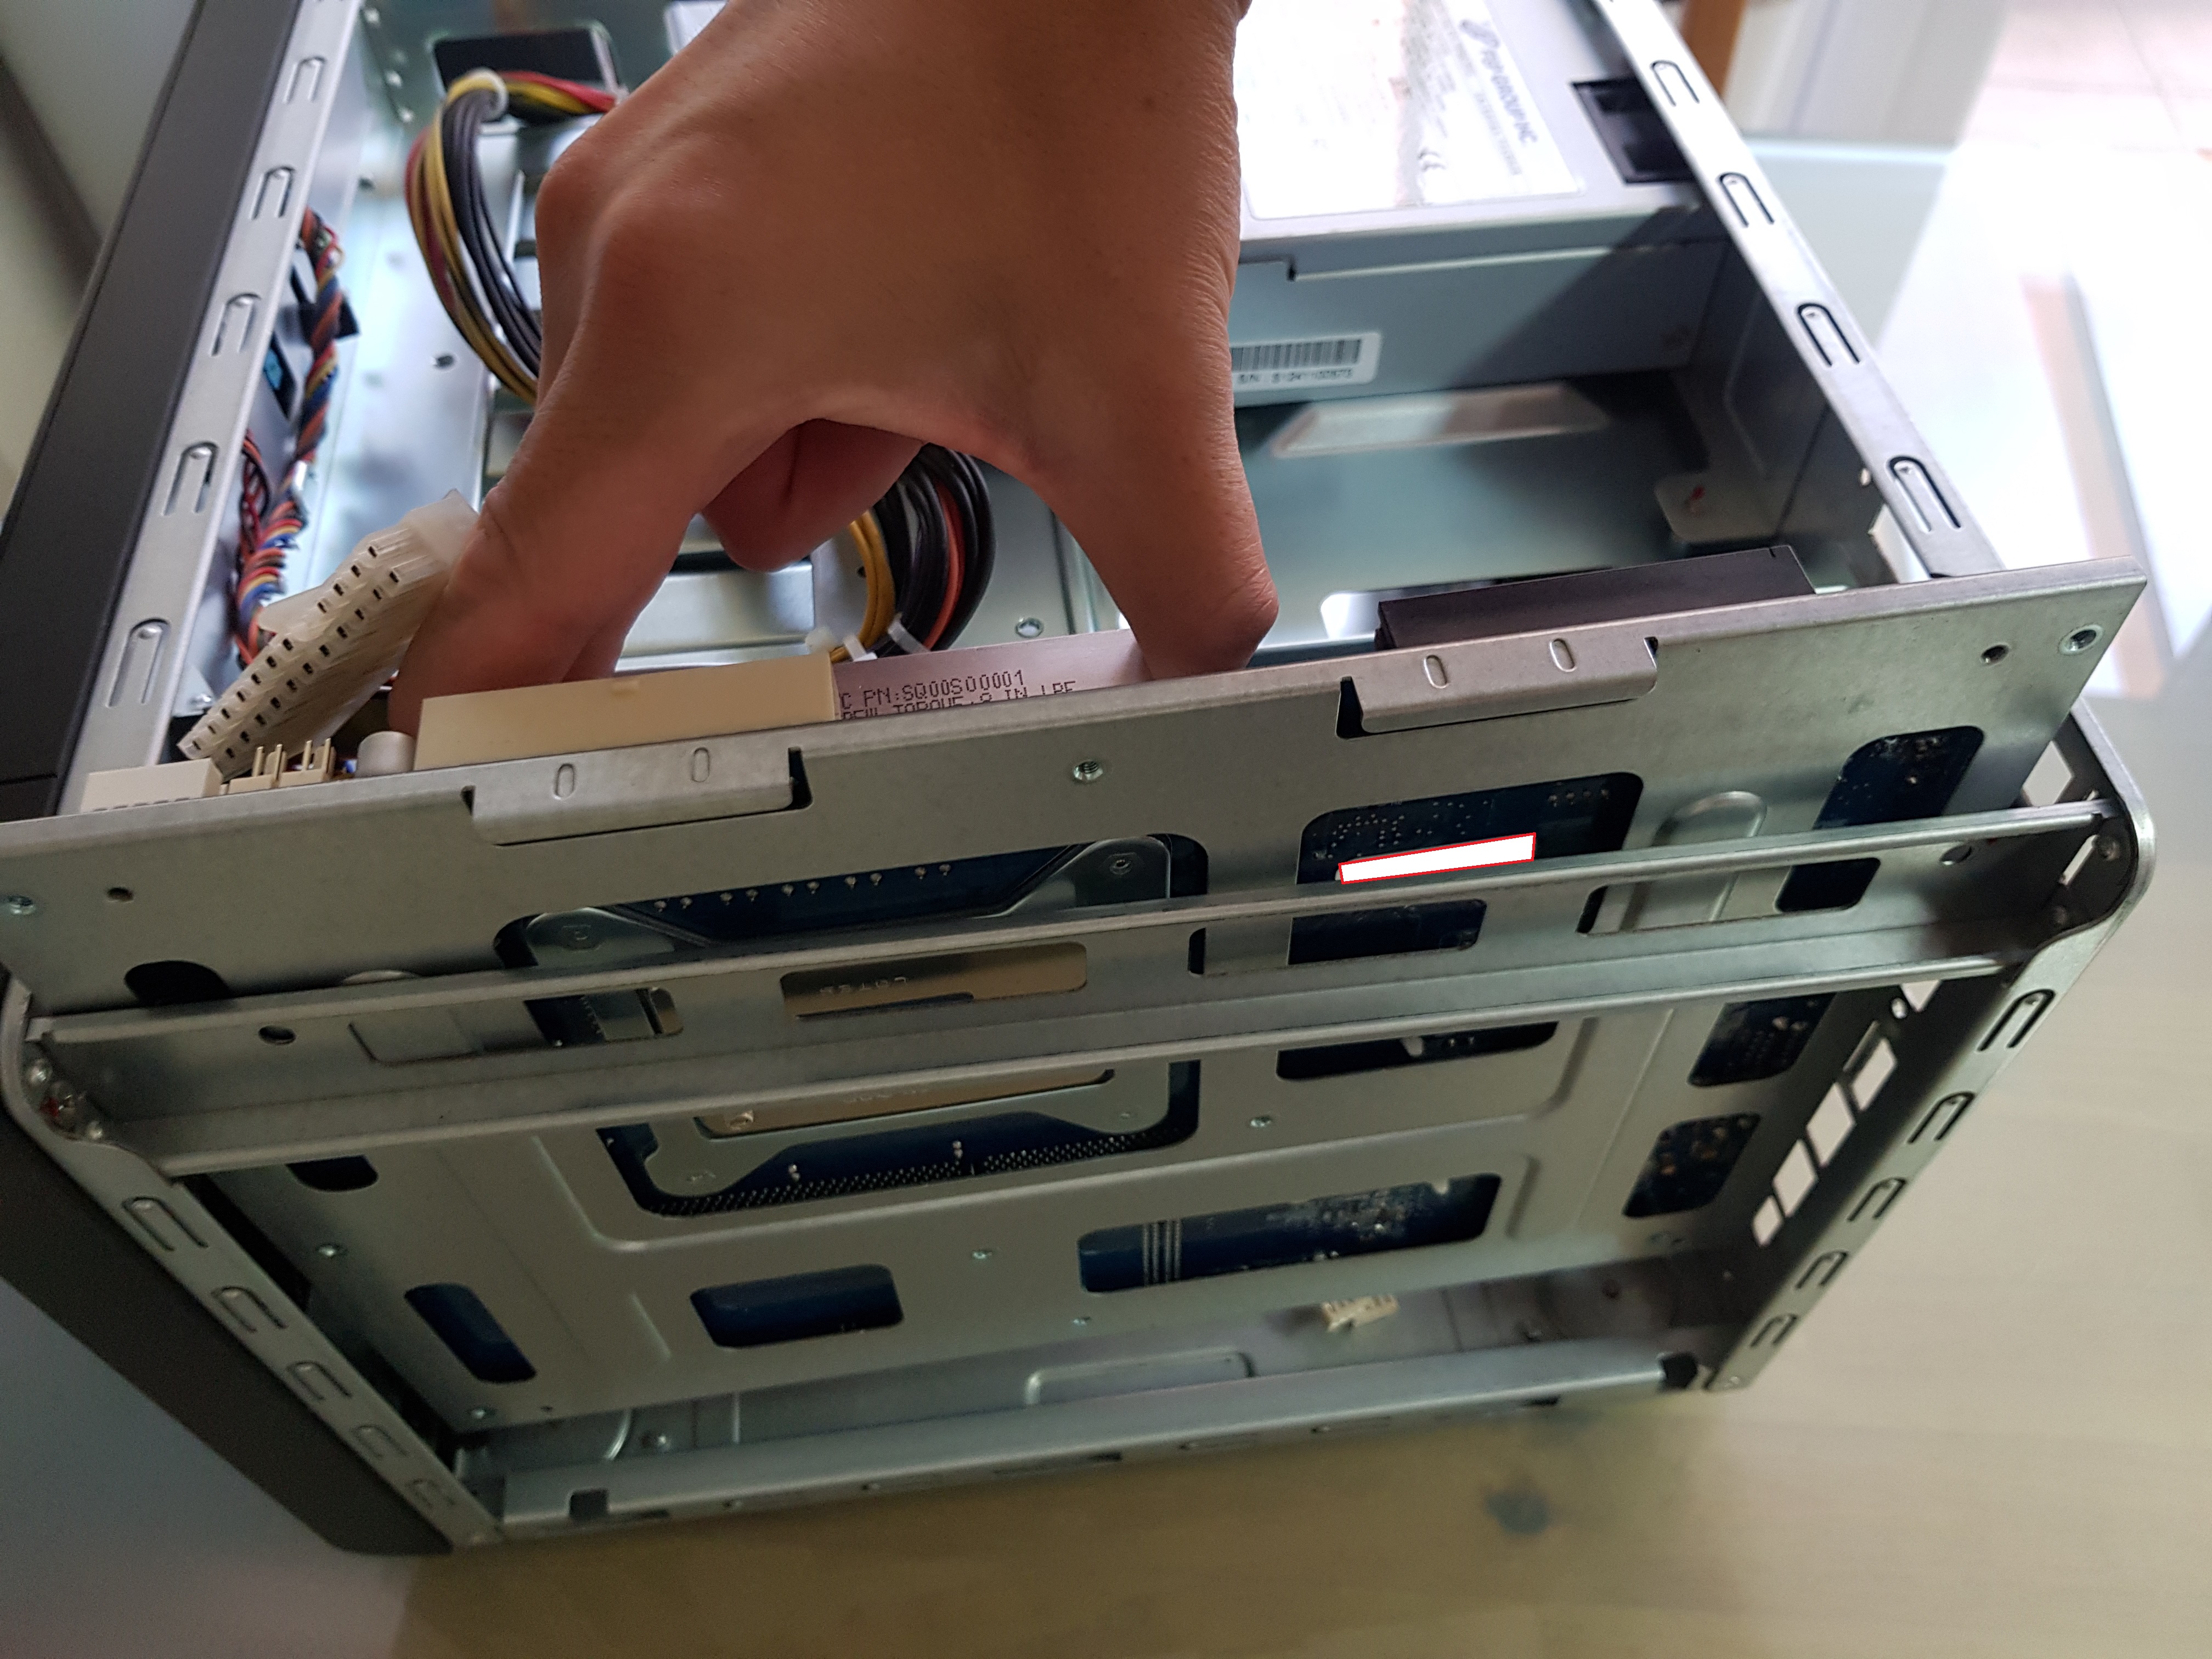
Now to remove the SATA board, first you must remove the power connector.
Remove two screws location on the top of the casing.
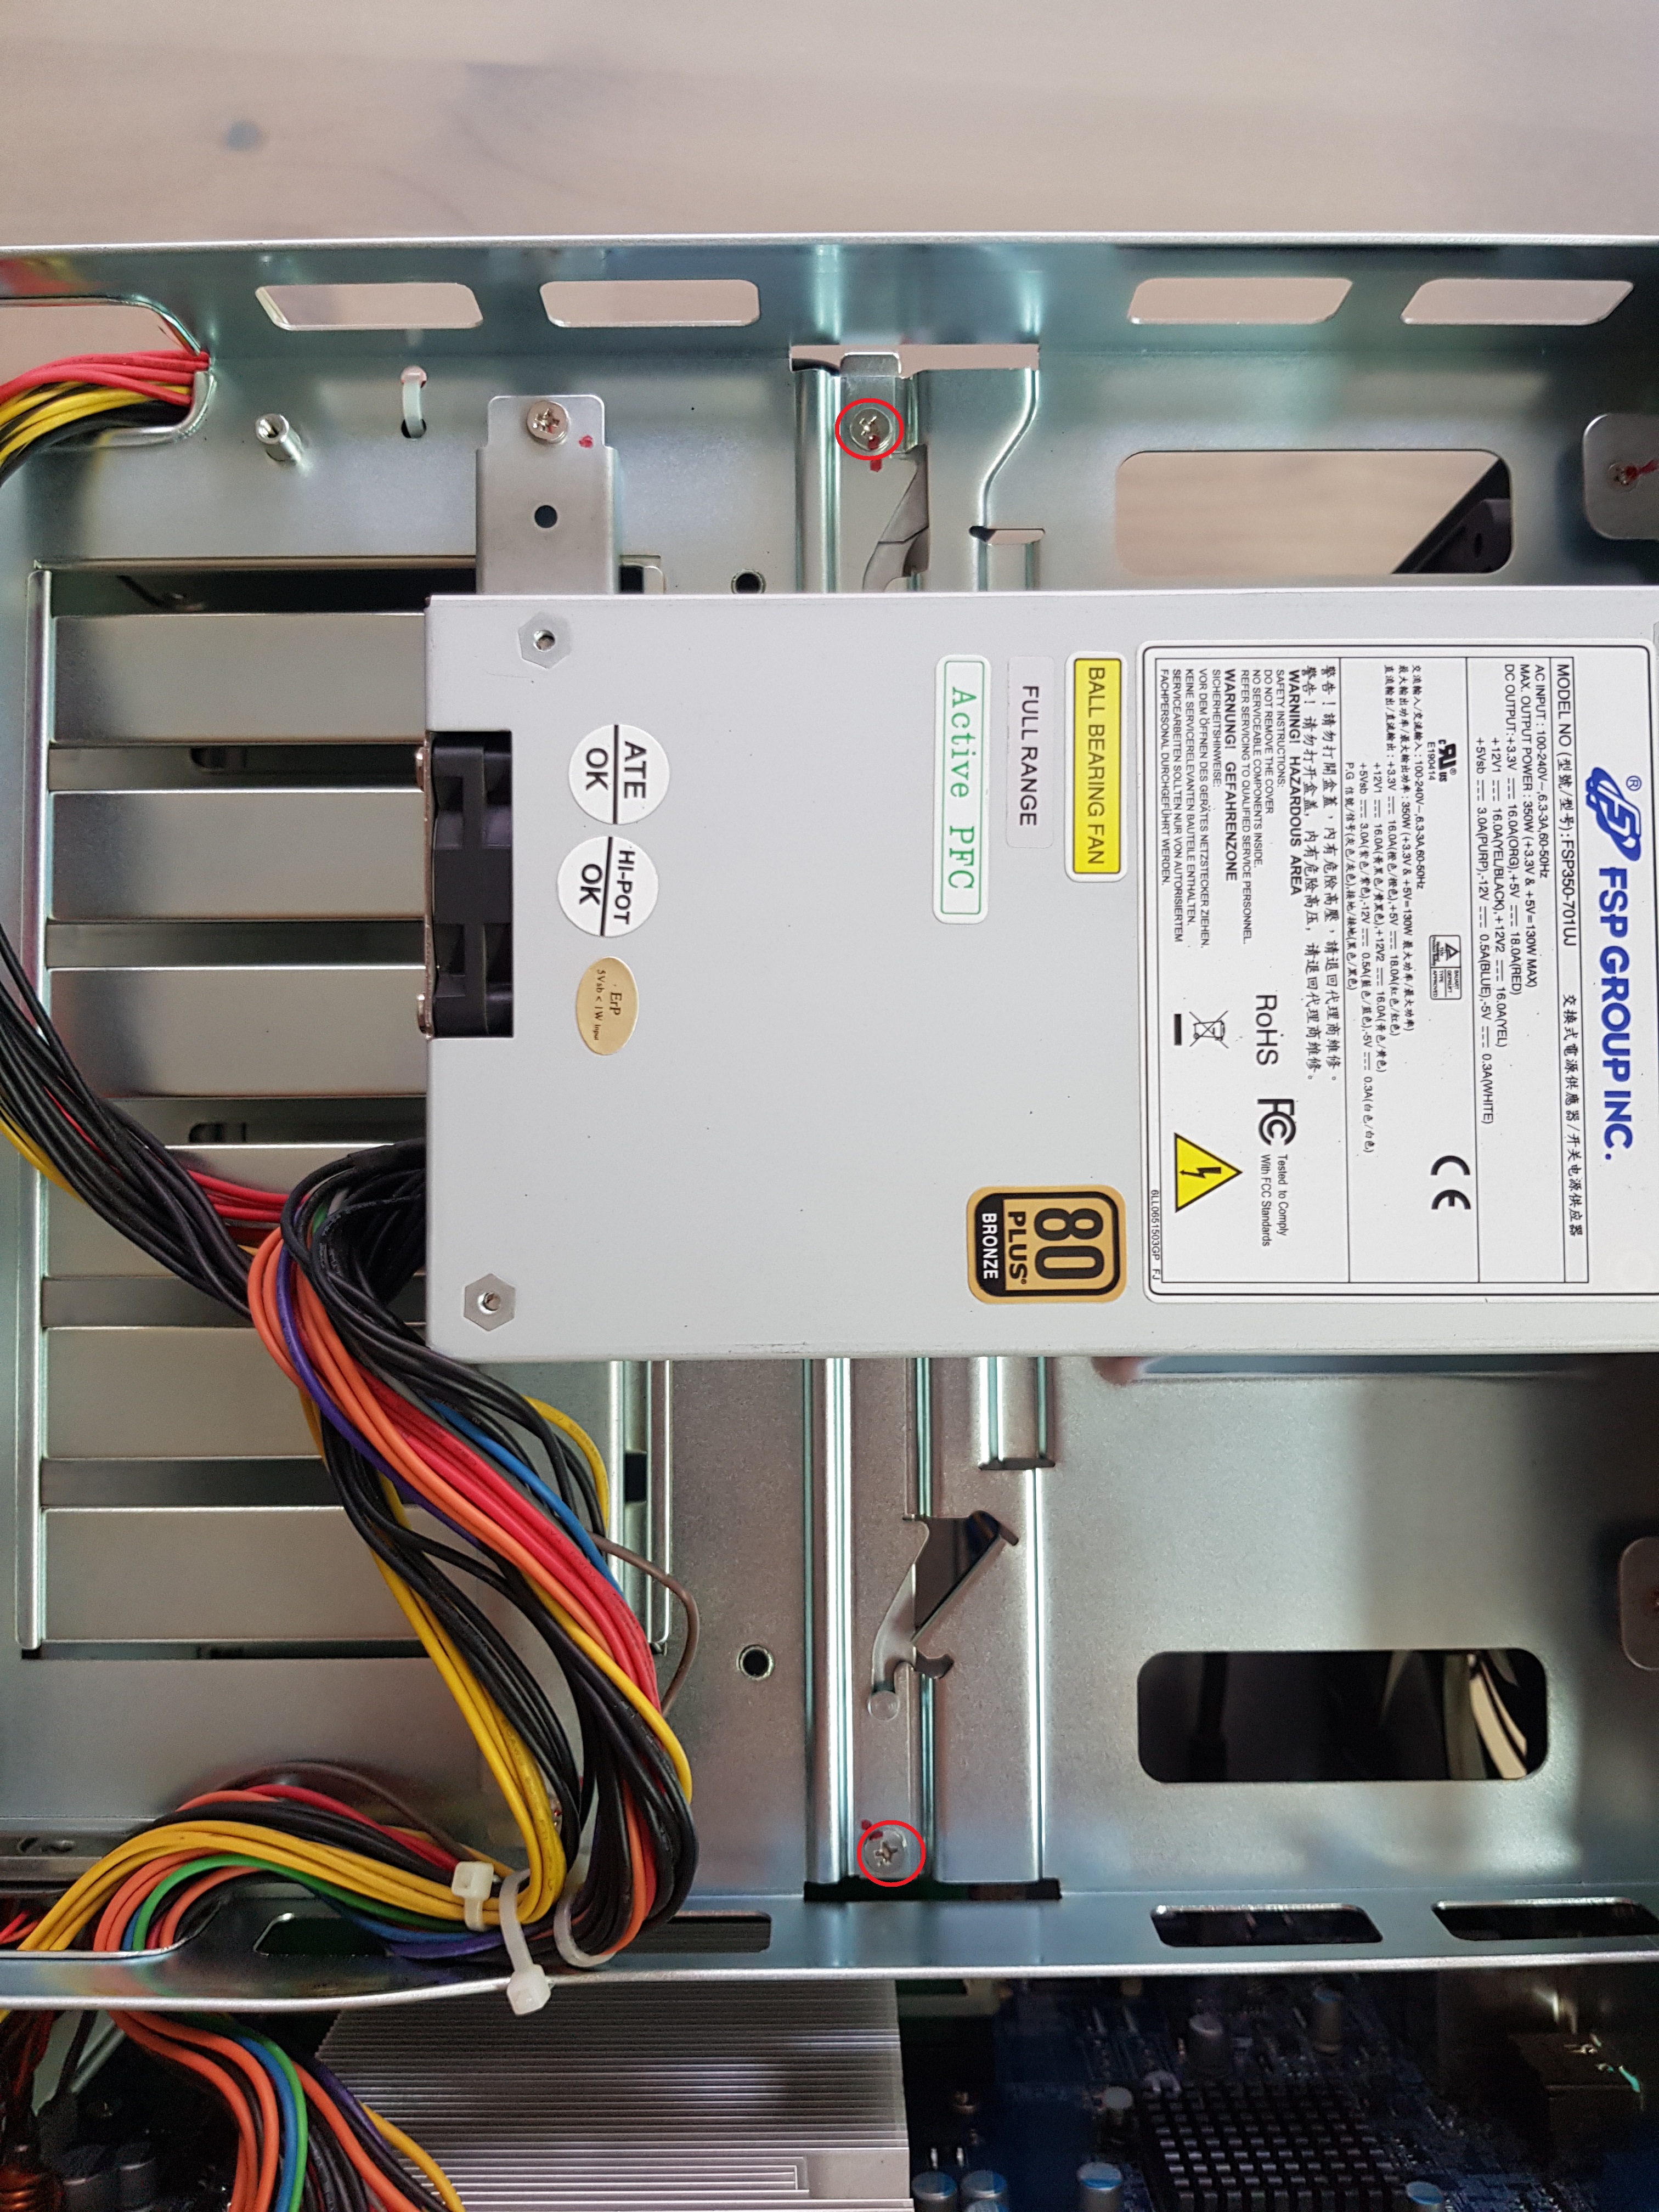
Pull the board.


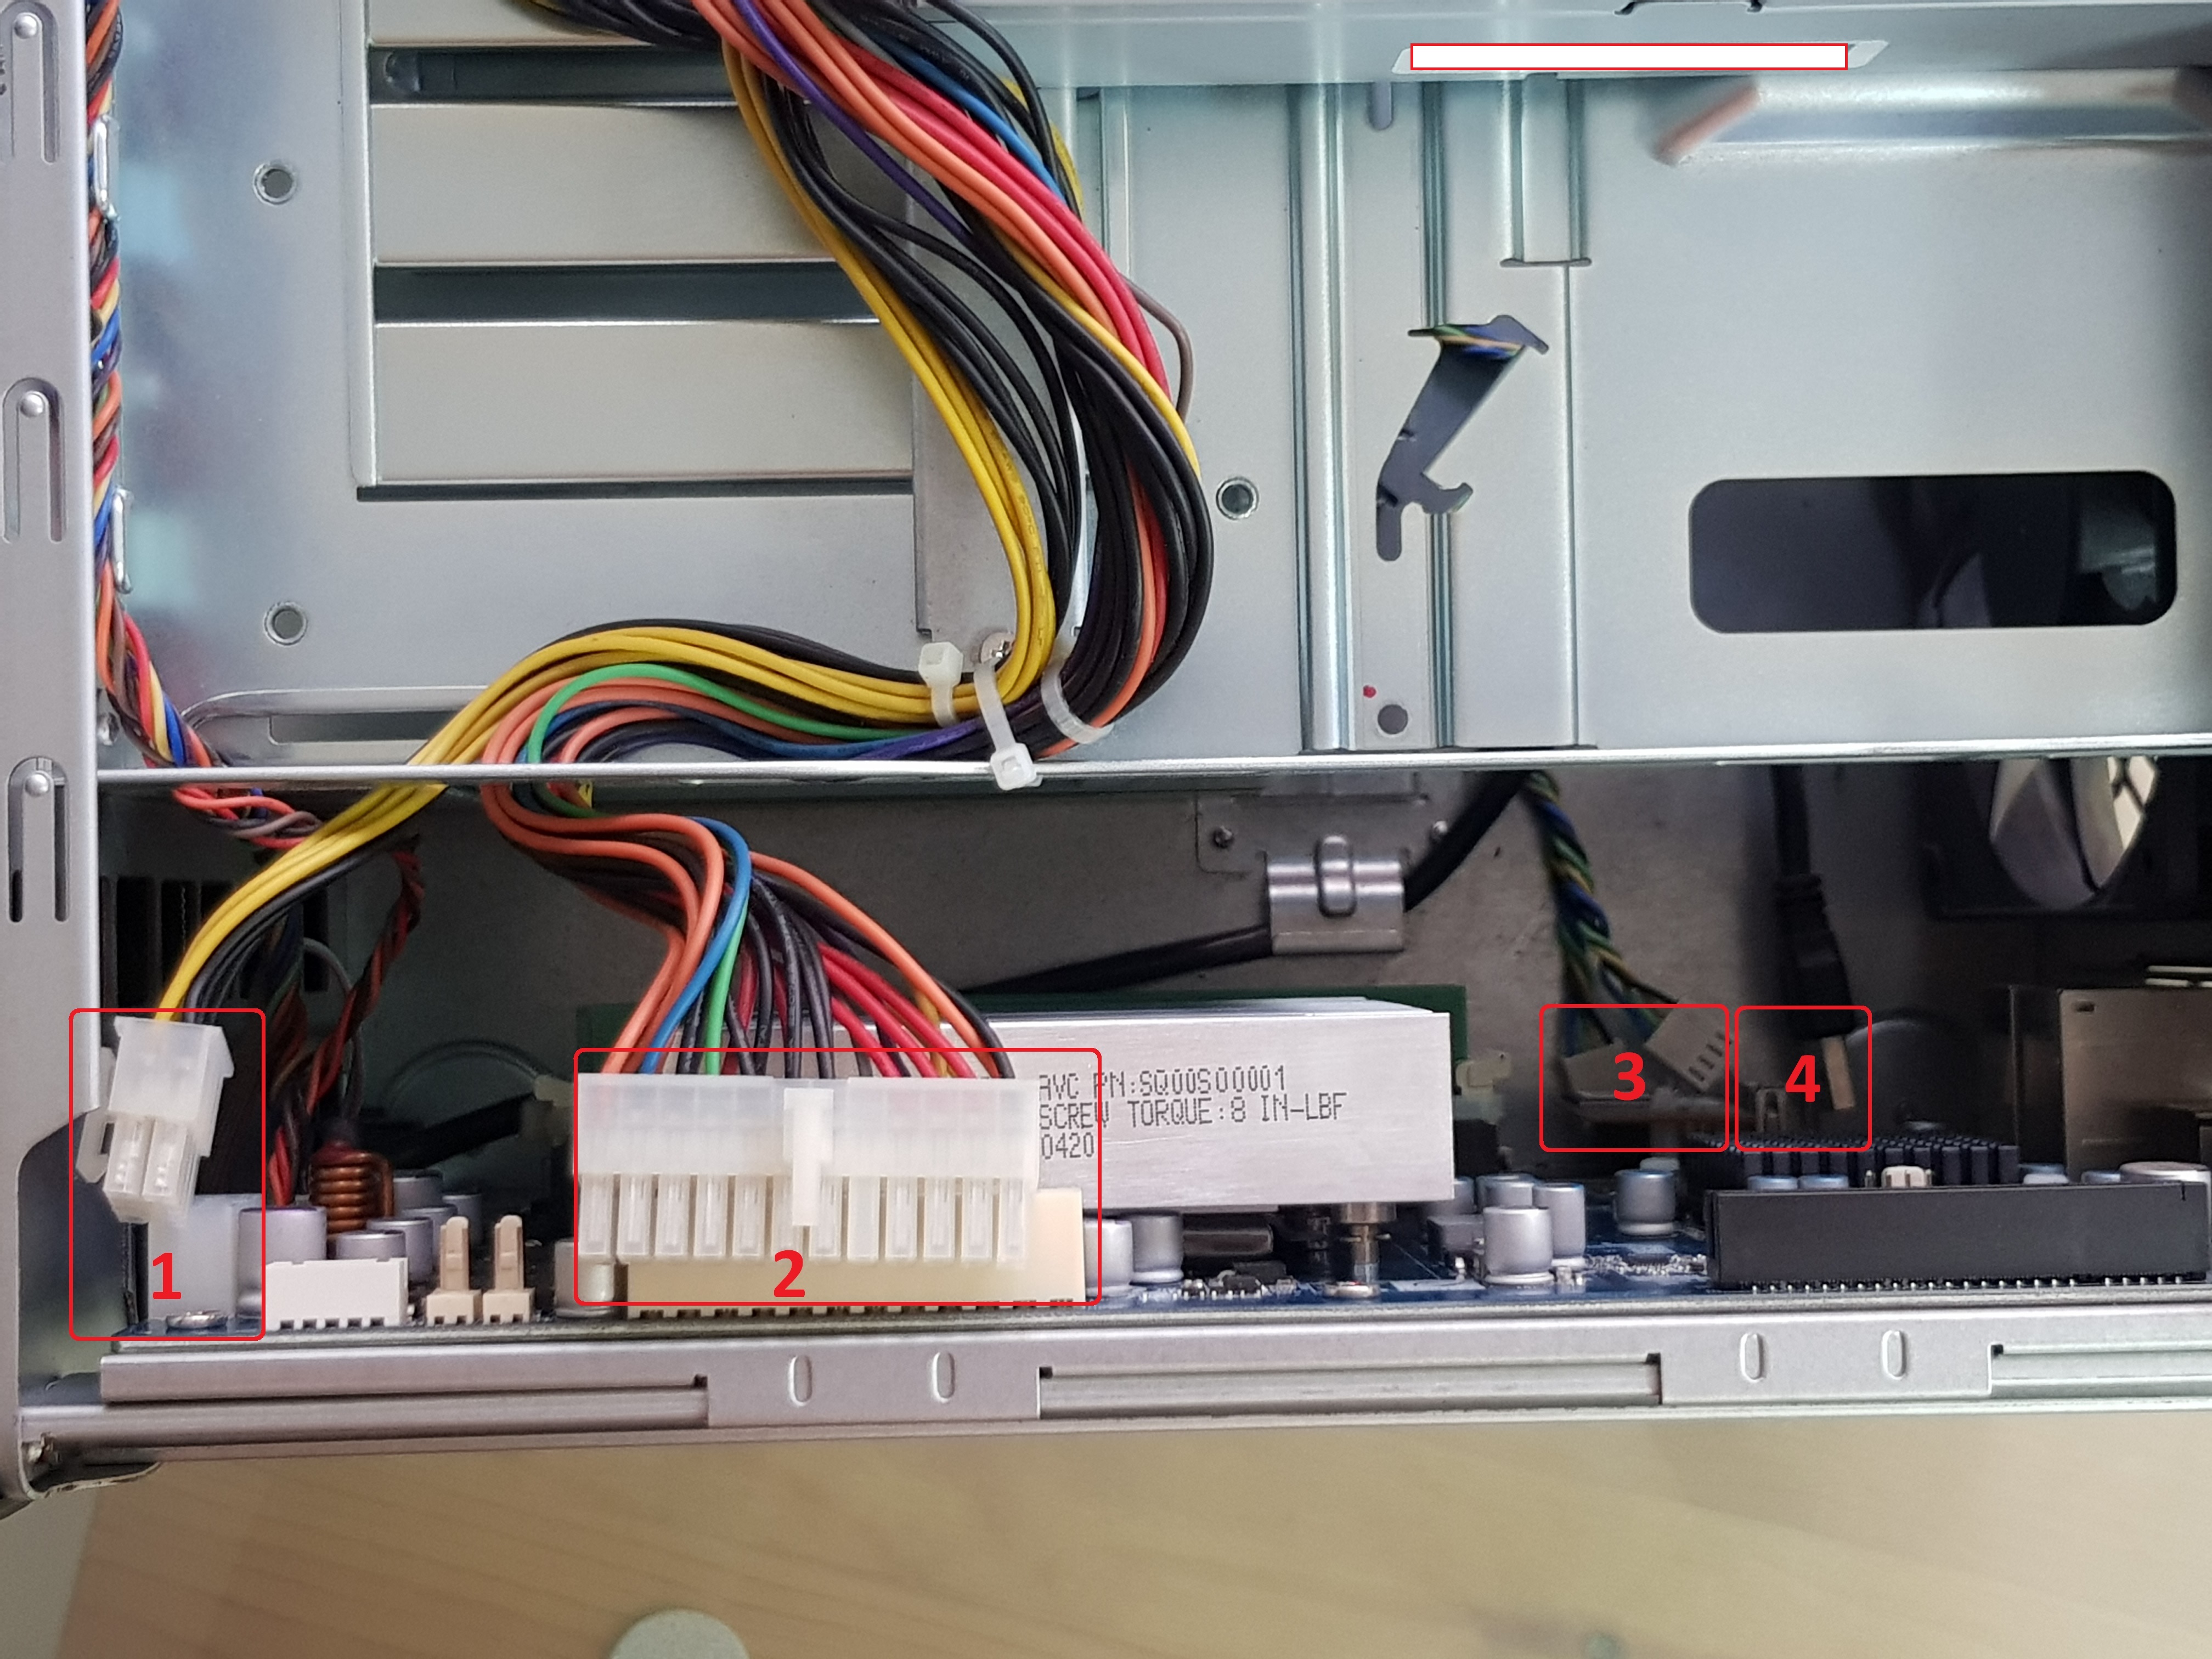
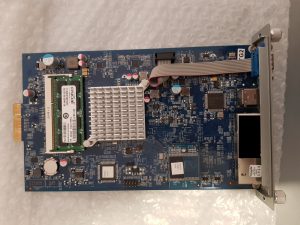
Time to work on getting the motherboard out, unplug the following connectors:
- 1) PCI-E 8-pin power connector
- 2) ATX 24 pin 12V power connector
- 3) 2 Fans connector
- 4) USB3 connector
To make it easier to lift the motherboard out, try and feed the two power connector out of the way through the casing hole.

Need to remove the VGA screw nuts, with a 5mm spanner before lifting.

Remove 4 screws that hold the motherboard tray to the casing.
Now begin lifting the motherboard up, best to grip onto the heatsink. You have to stop half way to remove 3 connectors, try not to forcibly remove the motherboard.
Pull the 3 connector off.

You should be able to pull the motherboard out of the casing.
You would need something sharp to cut the thick cable ties, I’ve used wire cutters.

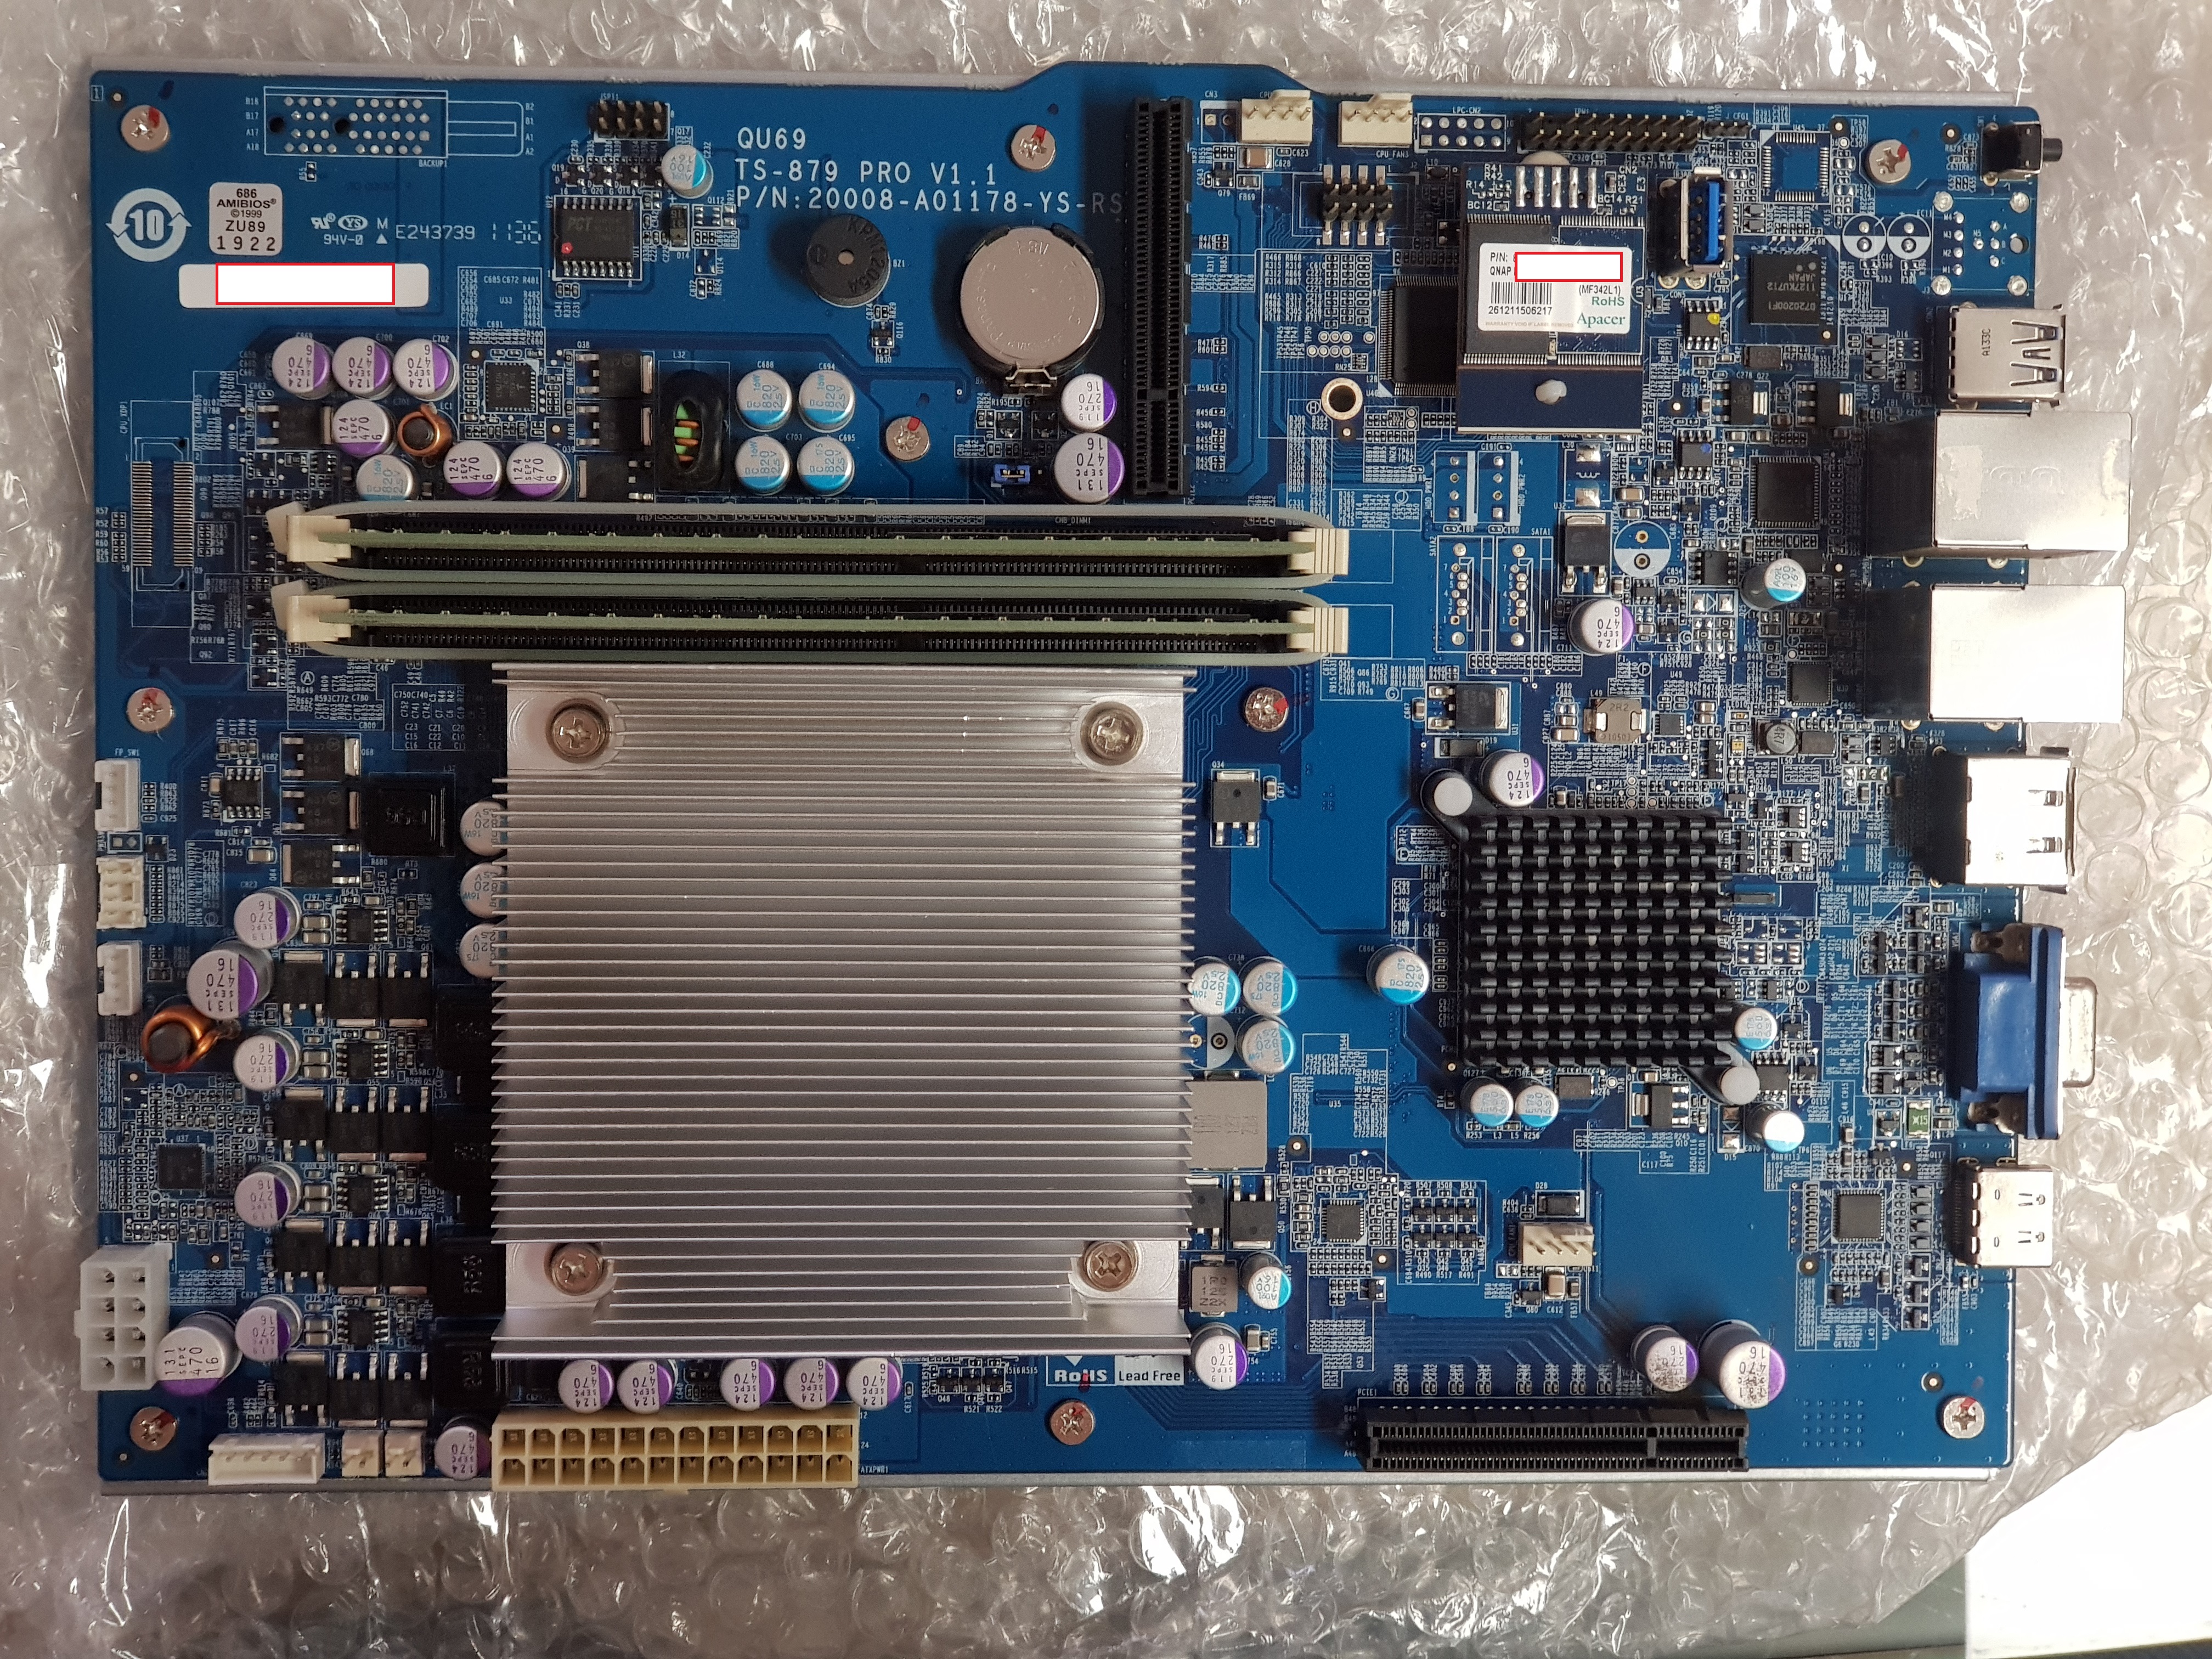
Default RAMs are 2*1GB ADATA DDR3 1333 1GX8 UDIMM, I’ve replace them with 2*8GB Crucial CT102464BA160B DDR3 1600 UDIMM 1.5V CL11.

Just reverse the steps to put the device back together.
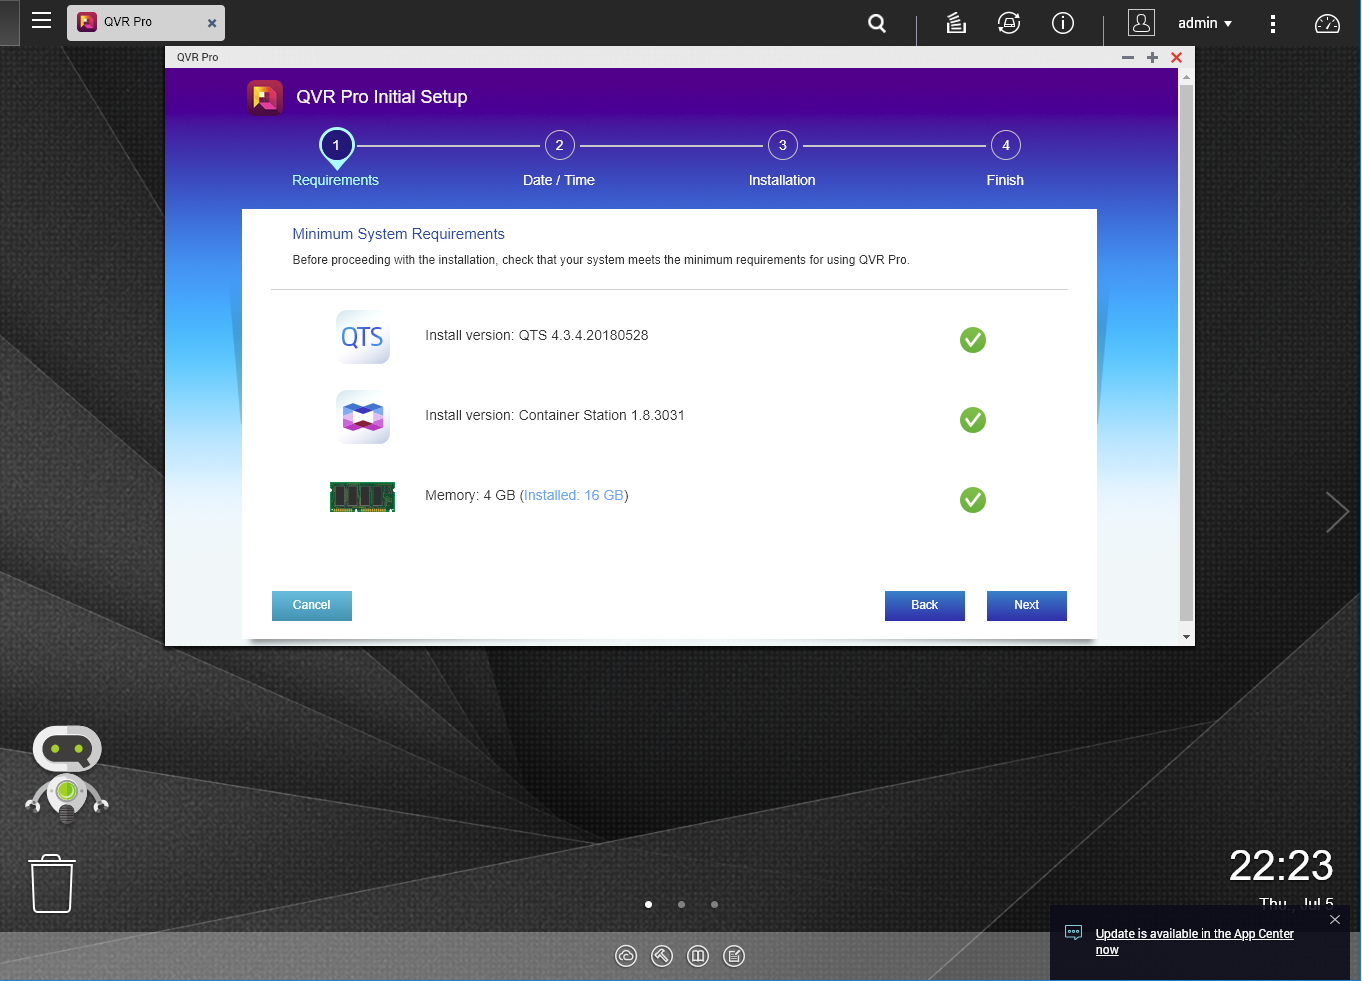
Do a memory test to ensure that the new RAMs are working.

Benchmark result between the 2GB and 16GB RAM, link
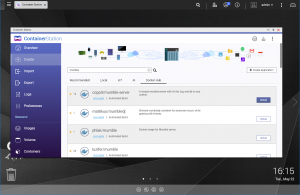
The TS-879 Pro was clearly struggling for the much needed RAM, this prevent the system to maximise multi-tasking performance. With the additional RAM you are able to install the
QVR Pro with no issues, and give your device the breathing space to store essential resources into RAM. Would highly recommend doing this RAM upgrade for the speed boast.

great job
now i try to find and replace a 512MB DOM with any compatible ?
can you pls post a part number from apacer ?
Hello Ryszard, you can use any USB DOM, it doesn’t have to be Apacer. For example Transcend will work too, most DOM are USB 2.0 and should plug and play.