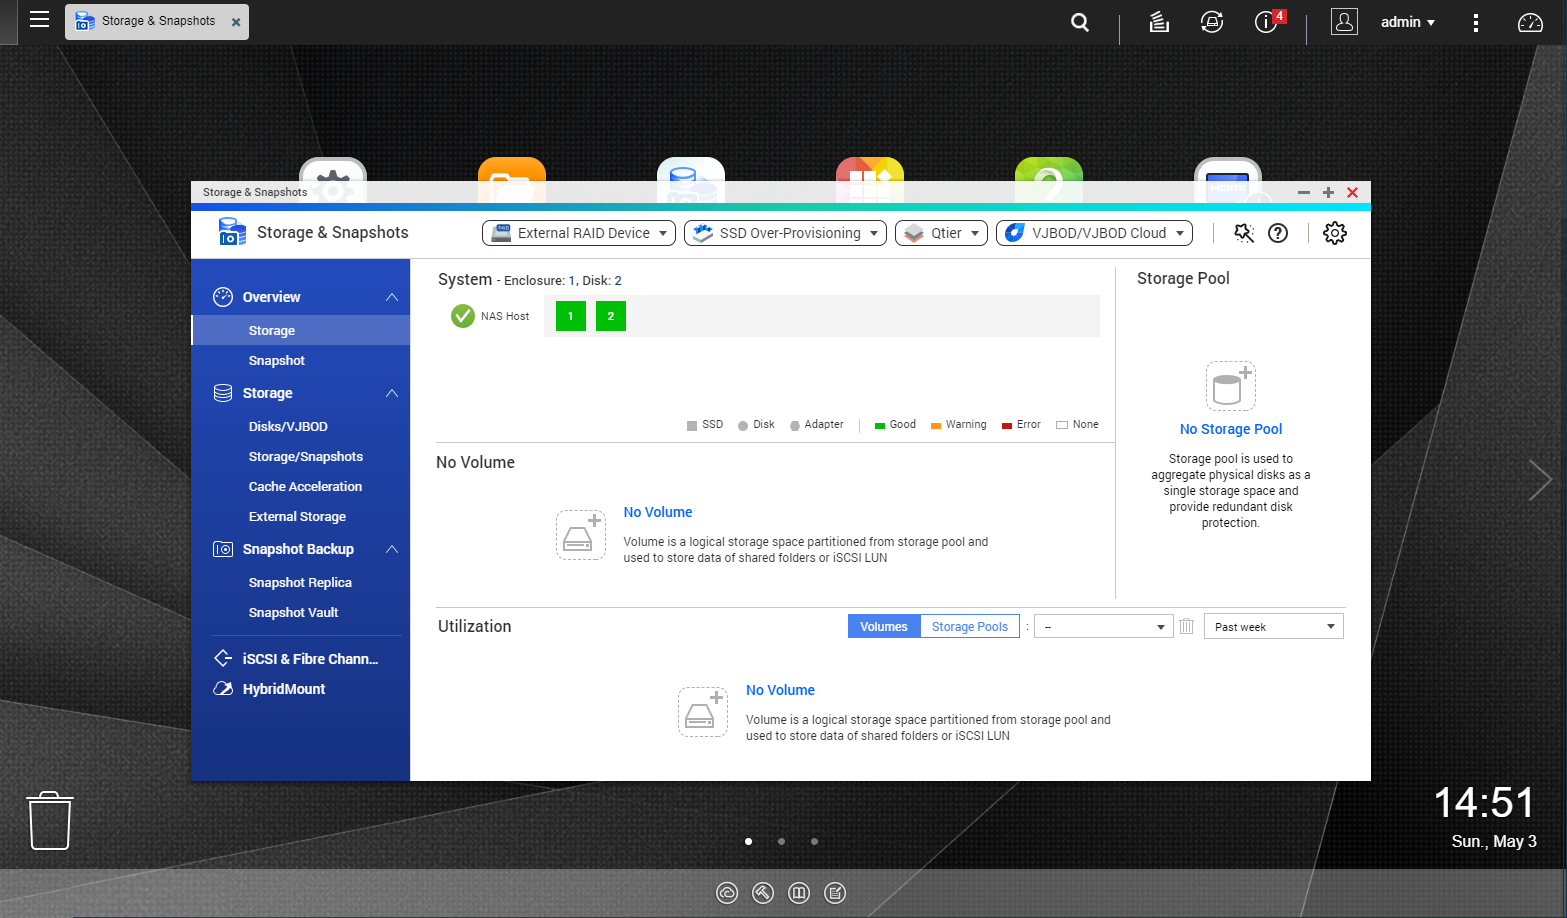
It’s time to create that volume, to be able to install anything on the QNAP QGD-1600P. You must initialise the storage pool for the volume, this is to tell what drive to use for the volume.
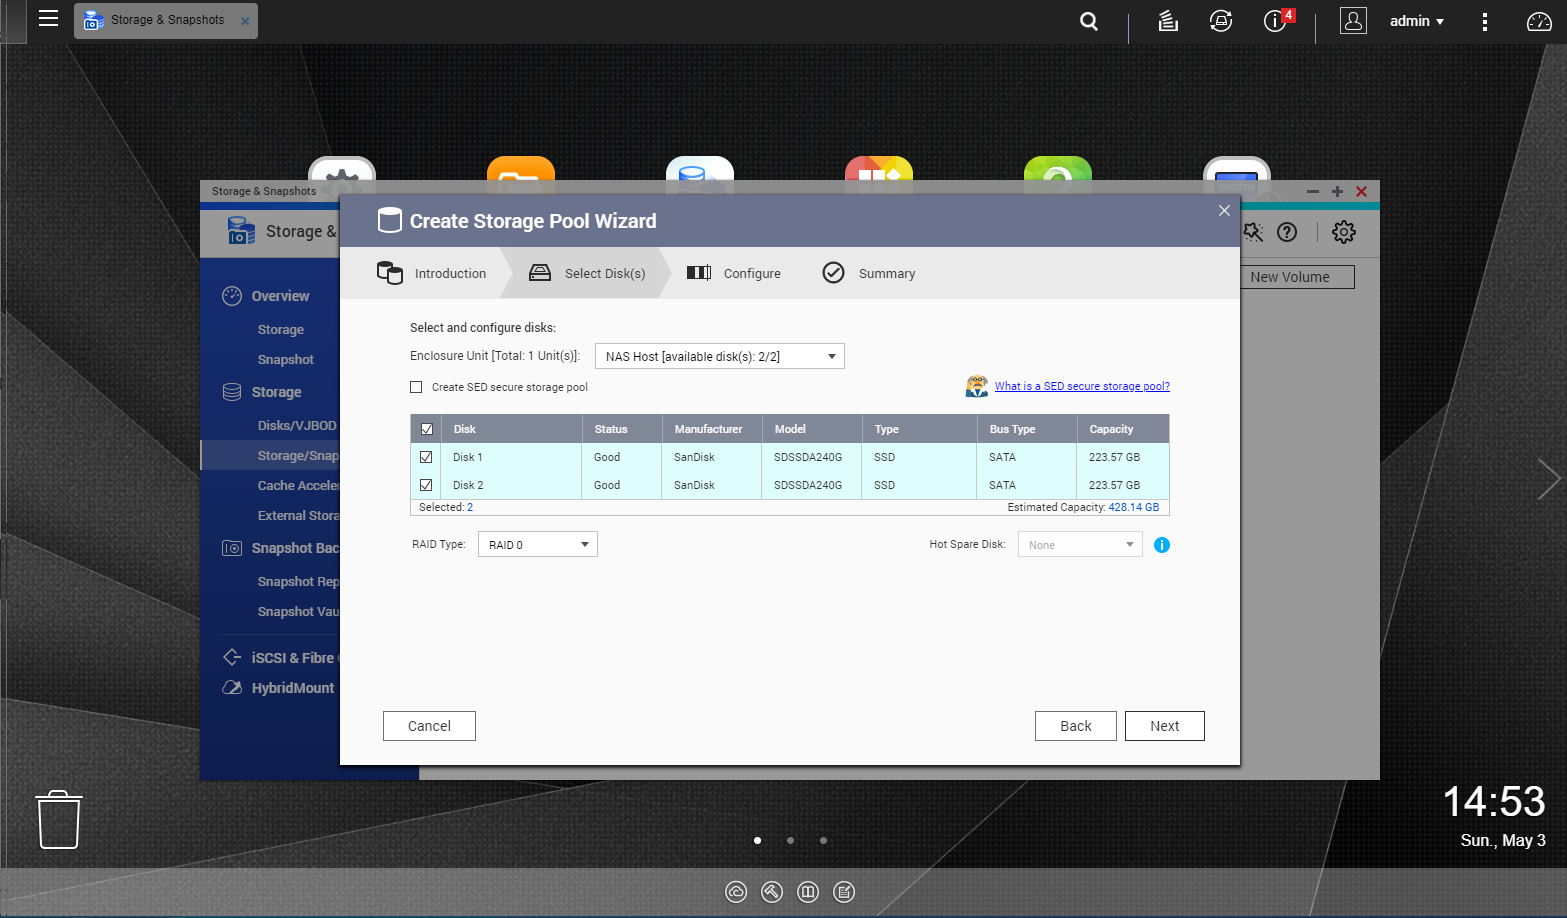
I’ve decided to install the storage pool as RAID-0, as this would only be used for routing and it be backed up on the main server. If you wish to have some form of redundancy please choose RAID-1, though you would have half the storage available.

Summary of the disk configuration for your storage pool, with 2x 240GB I’ve got 428.14GB total available capacity.
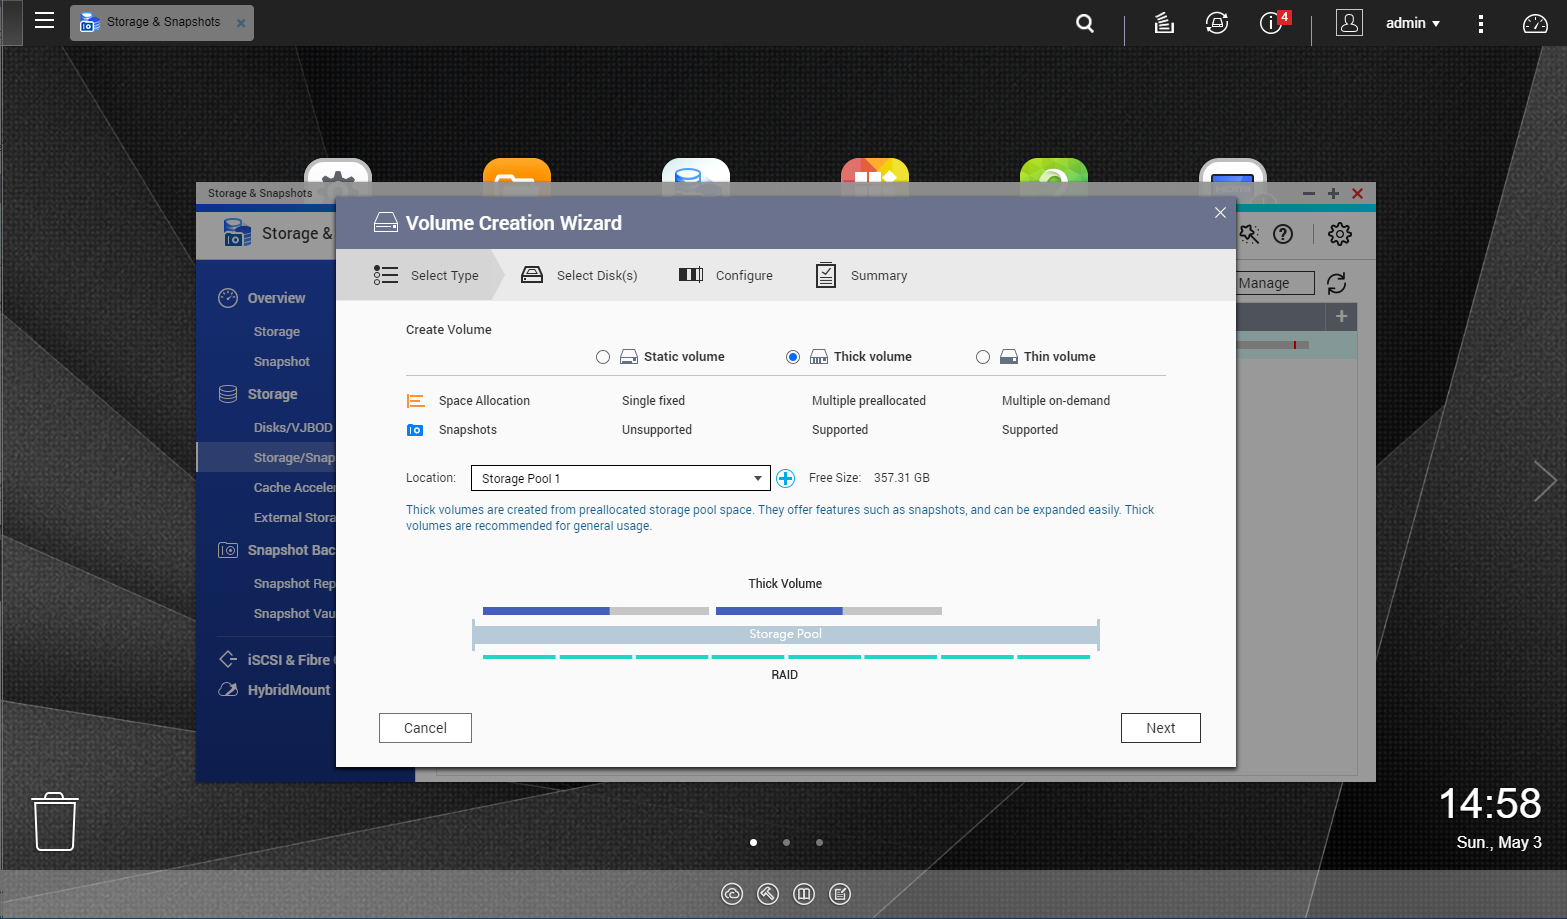
Now create the Volume that uses the new storage pool that I’ve made, which is named “Storage Pool 1”

QNAP can also encrypt the volume for extra security though you must bring down the “Advanced Settings” option to enable this feature. Please note that you need the password ready whenever you want to restart the system. But you can choose to auto load your key upon boot, which may defeat the purpose of encryption.
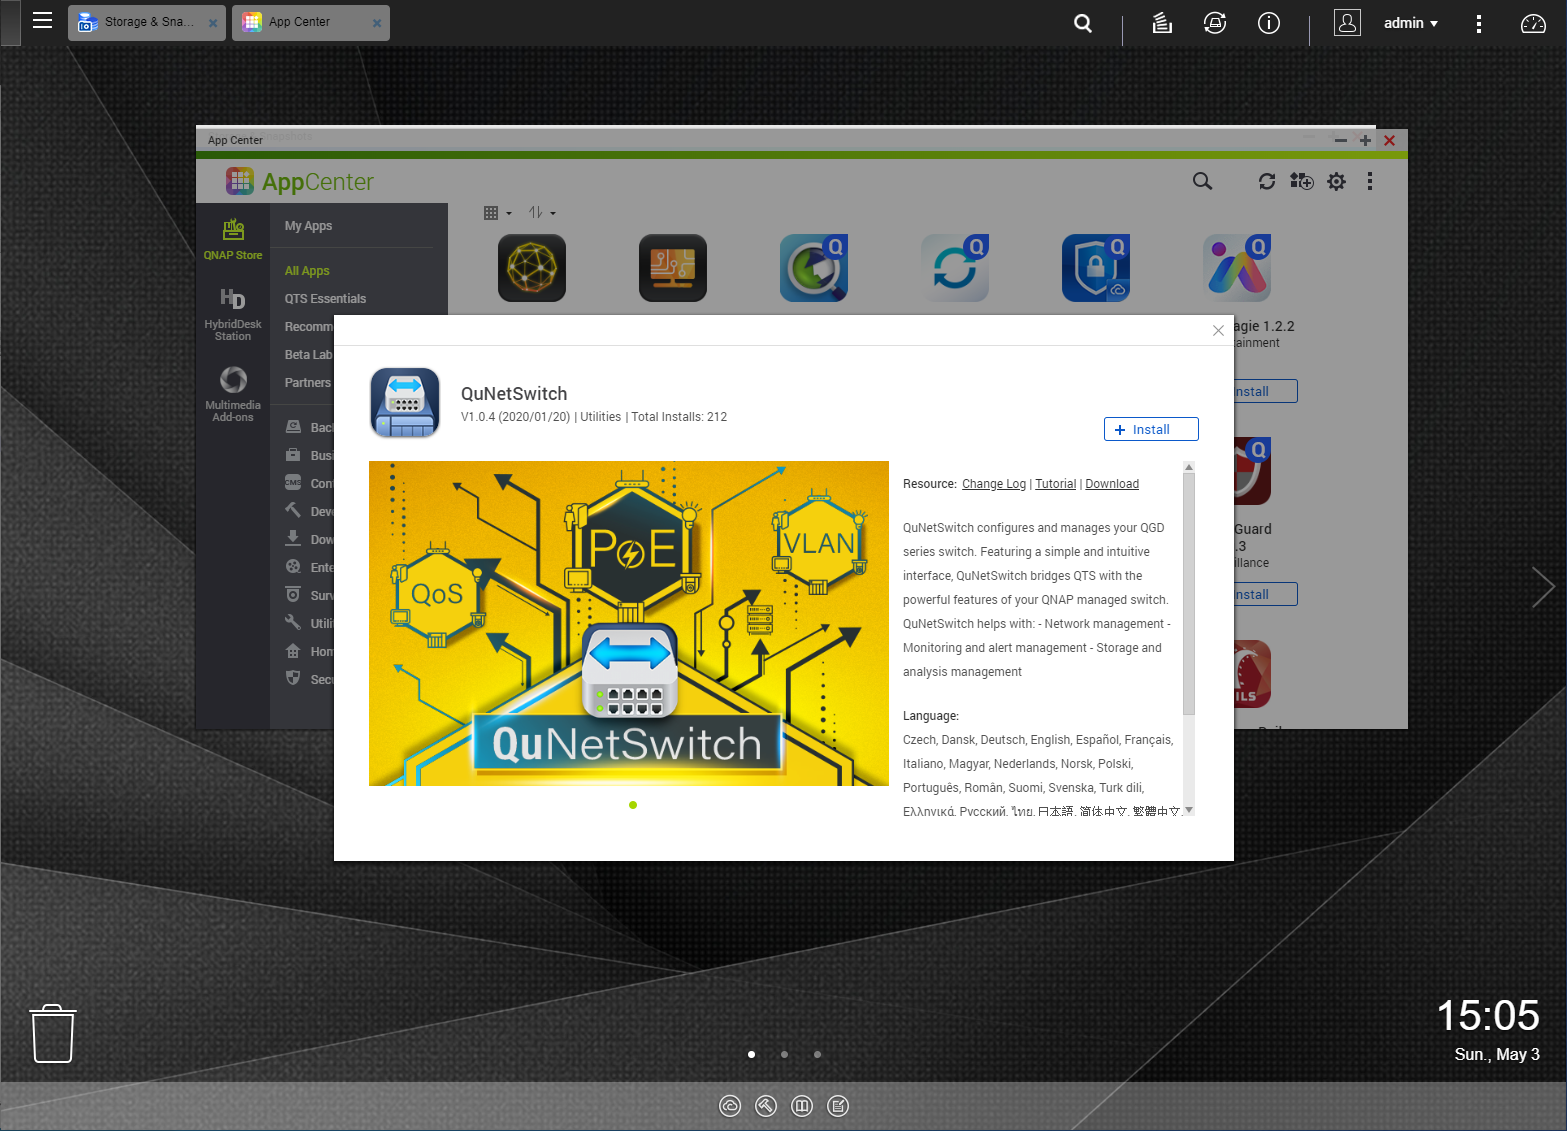
Time to install the required application, go get the QuNetSwitch application from the AppCenter, this is to update the switch and provide the interconnection drivers for the switch.

Opening the QuNetSwitch can only tell you when there is a firmware update
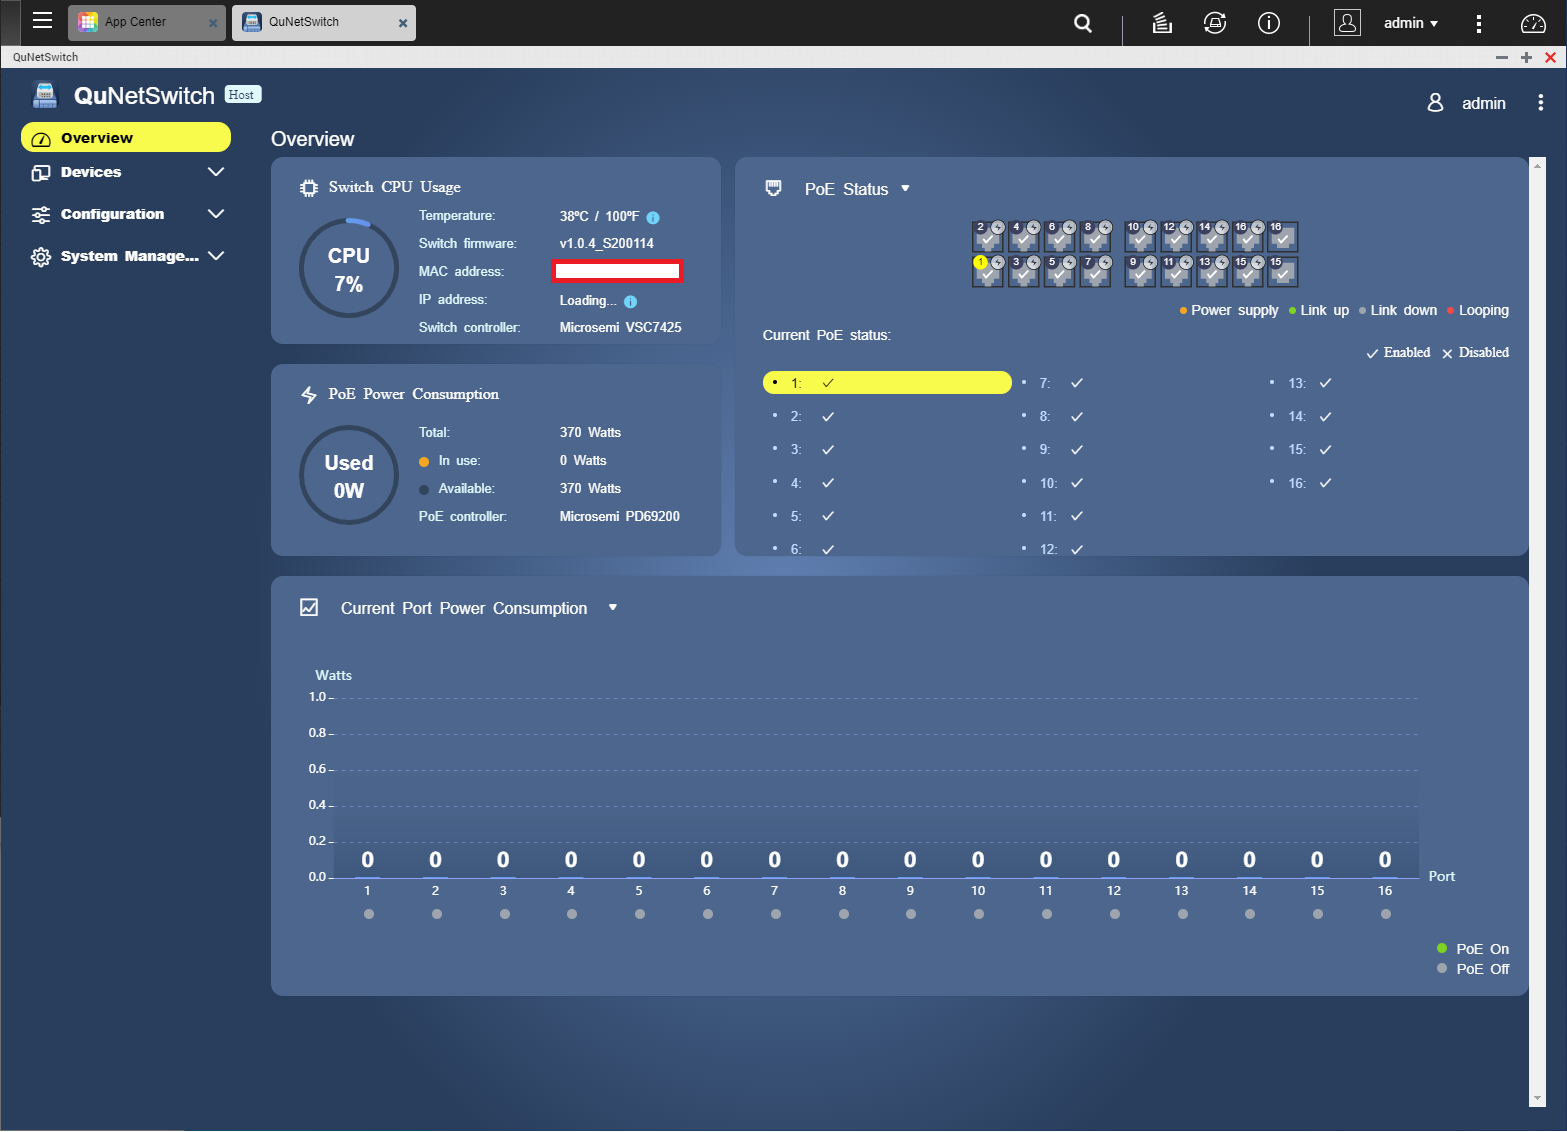
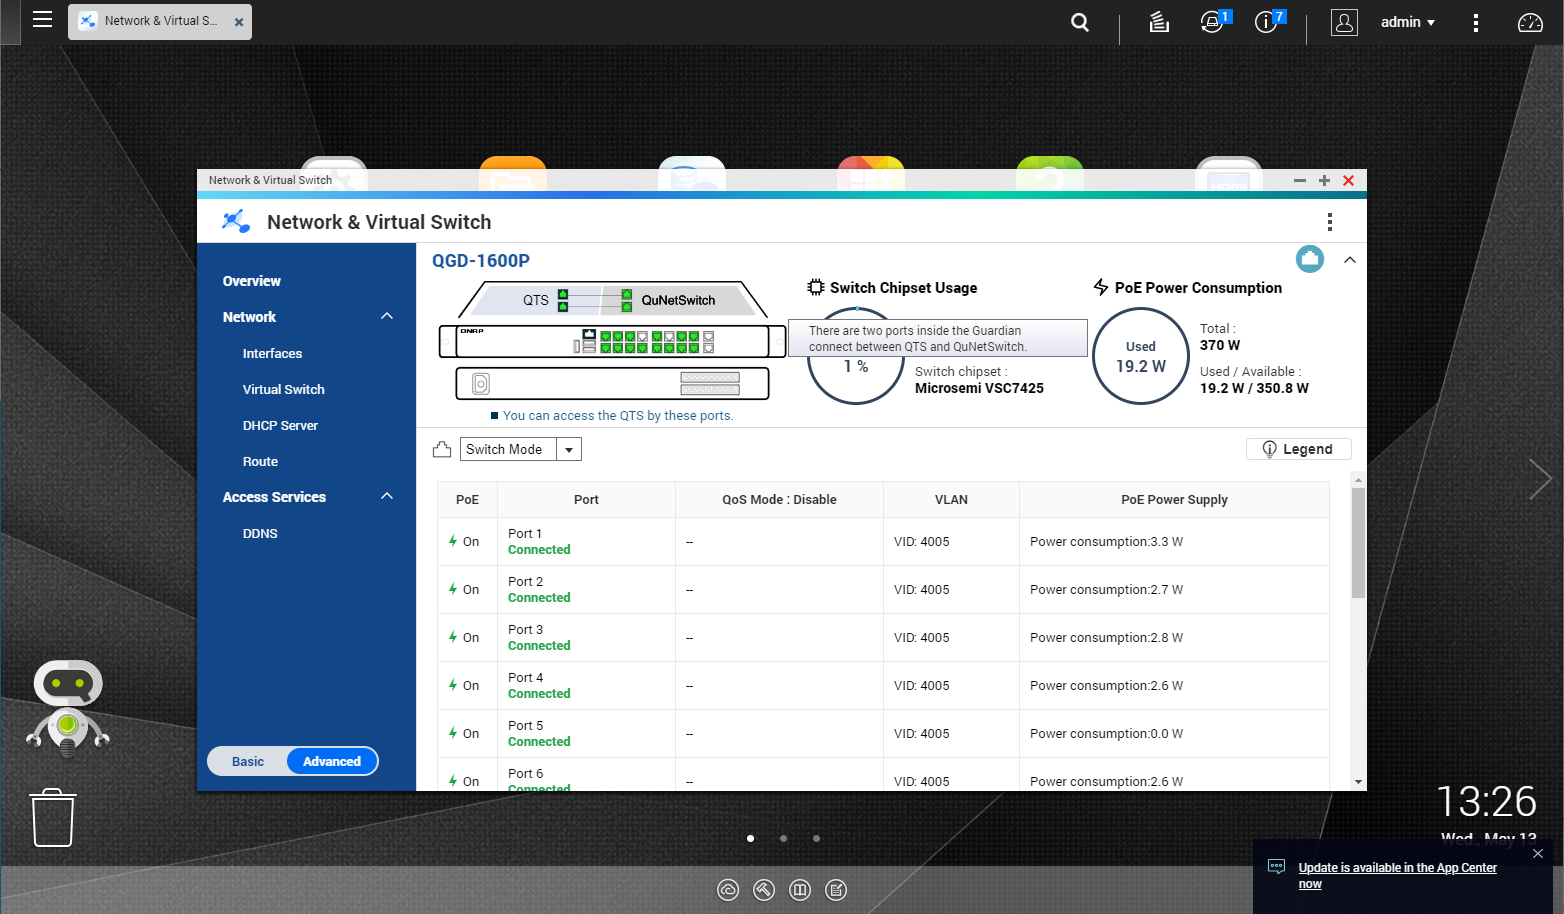
This app communicate to the switch, where it can give you an overview of the power consumption, the ports traffic and the temperature

Switch CPU:
Microsemi SMBStaX Switch VSC7425
PoE Controller:
Microsemi PD69200

Need to install Virtualization Station from AppCenter, this is to get your virtual machine router OS up and running.

To help generate the correct network configuration for the switch, it is best to use VM Installer.

The VM Installer not just provide pfSense, it can also install RouterOS CHR and OpenWrt if you wish

Select which port is the WAN, in this example I’ve chosen the last port 16 to be my WAN
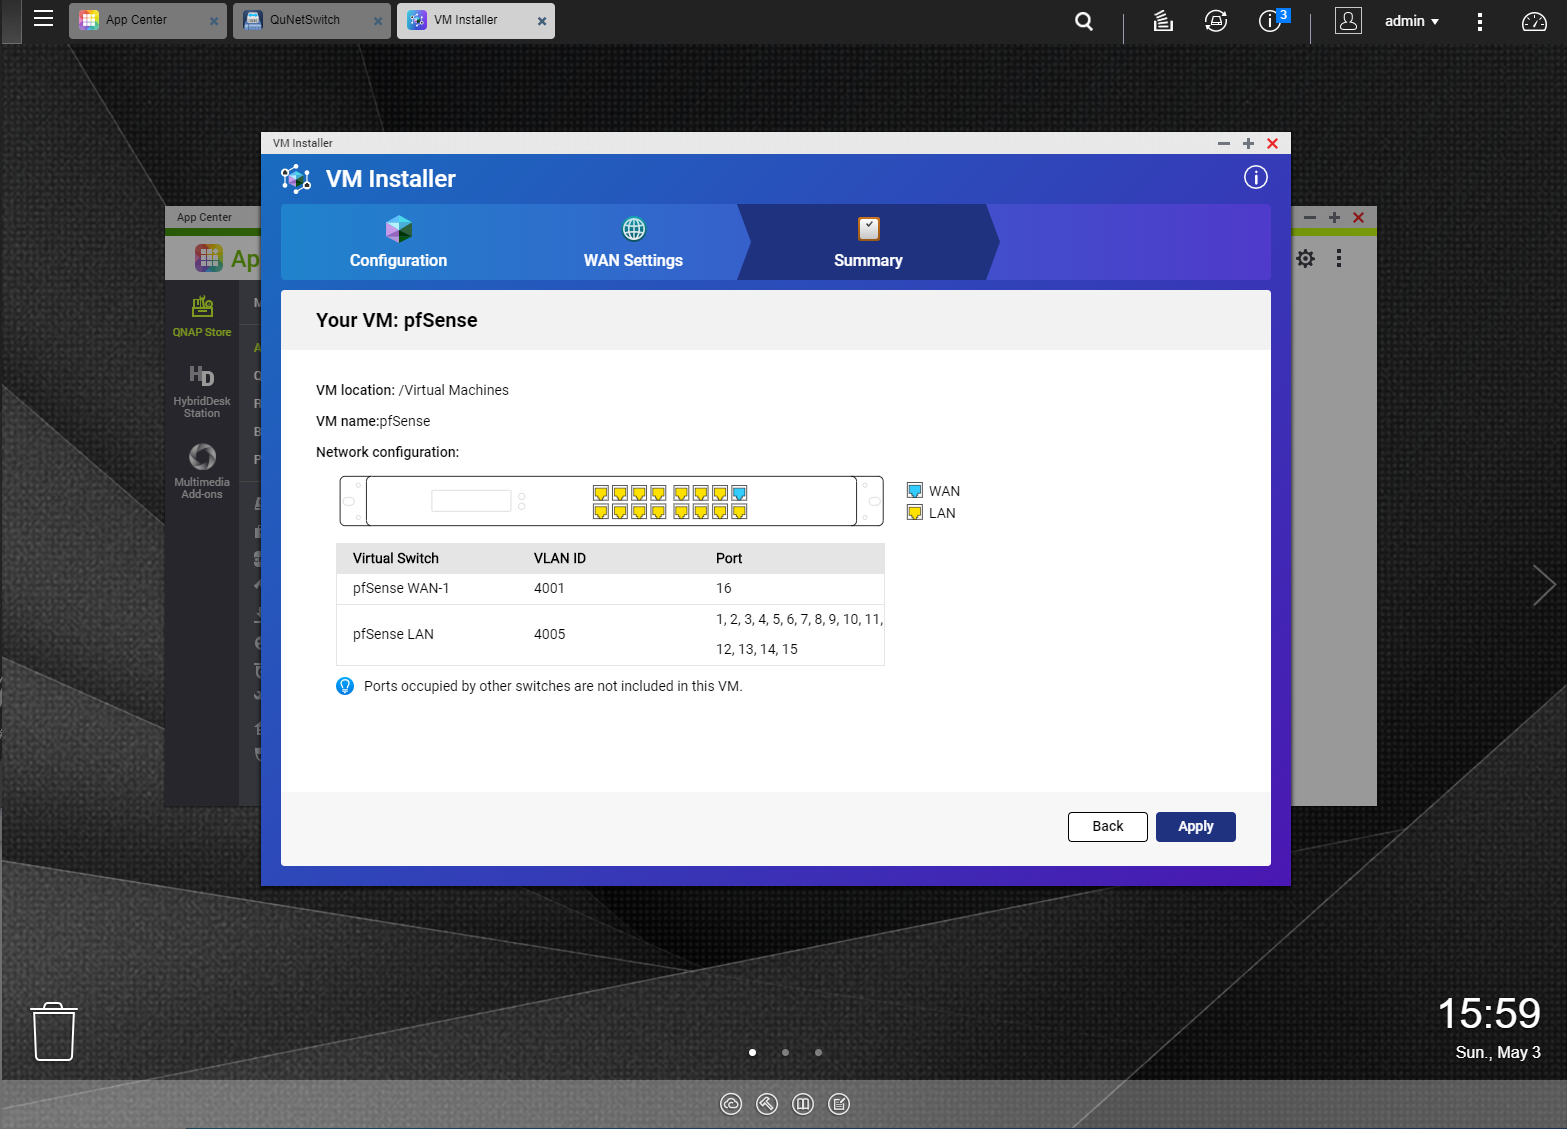
The summary will then show the remaining port will become LAN for your chosen router OS. New VLAN 4001 and 4005 will be made, this is used for the router OS VM. After this point you can then uninstall VM Installer, don’t worry it won’t uninstall your router OS.

pfSense is up and running, click on the screen to bring up the remote desktop.
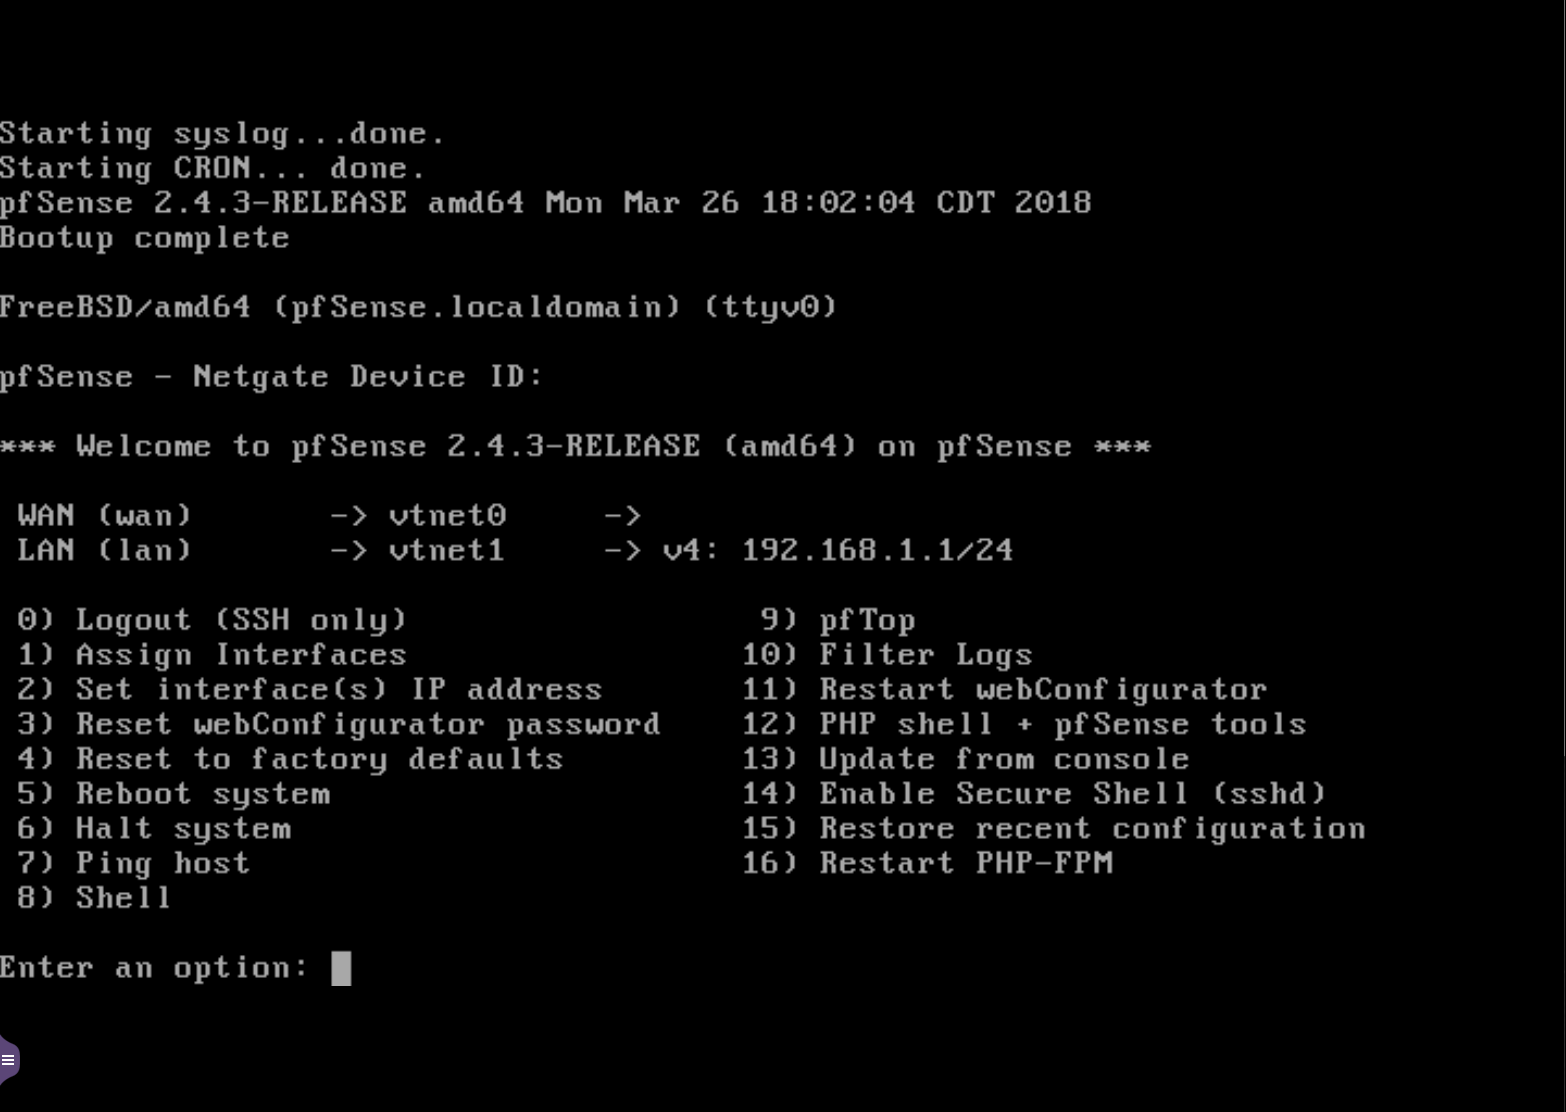
Now to setup your DHCP server for your LAN ports, type ‘2’ to Set interfaces(s) IP Address.
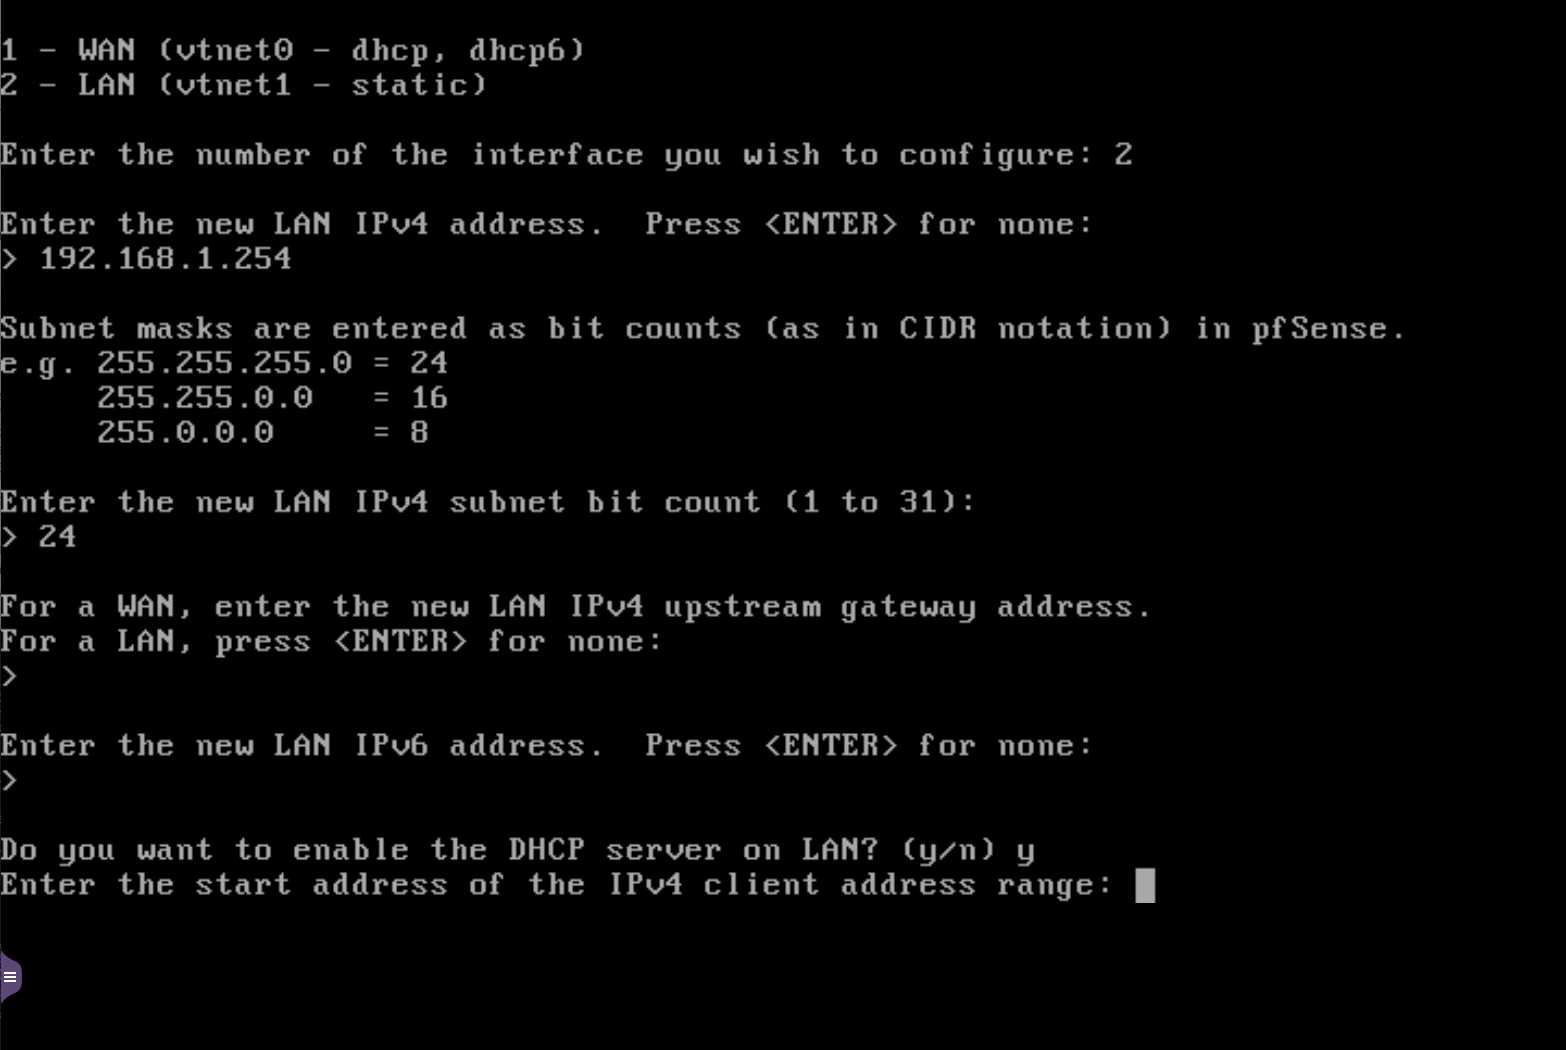
Type ‘2’ to config just the vtnet1 of the LAN.
Choose a new LAN address of the router IP, most people chooses the end of the I.P range such as 192.168.1.254.
Next would be Subnet, just choose ’24’.
Then it would ask whether you want DHCP server on for this LAN interface, choose ‘y’. You can now connect your devices to the switch, and the pfSense is ready for your environment.

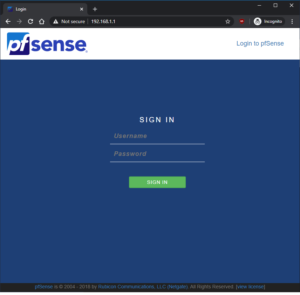
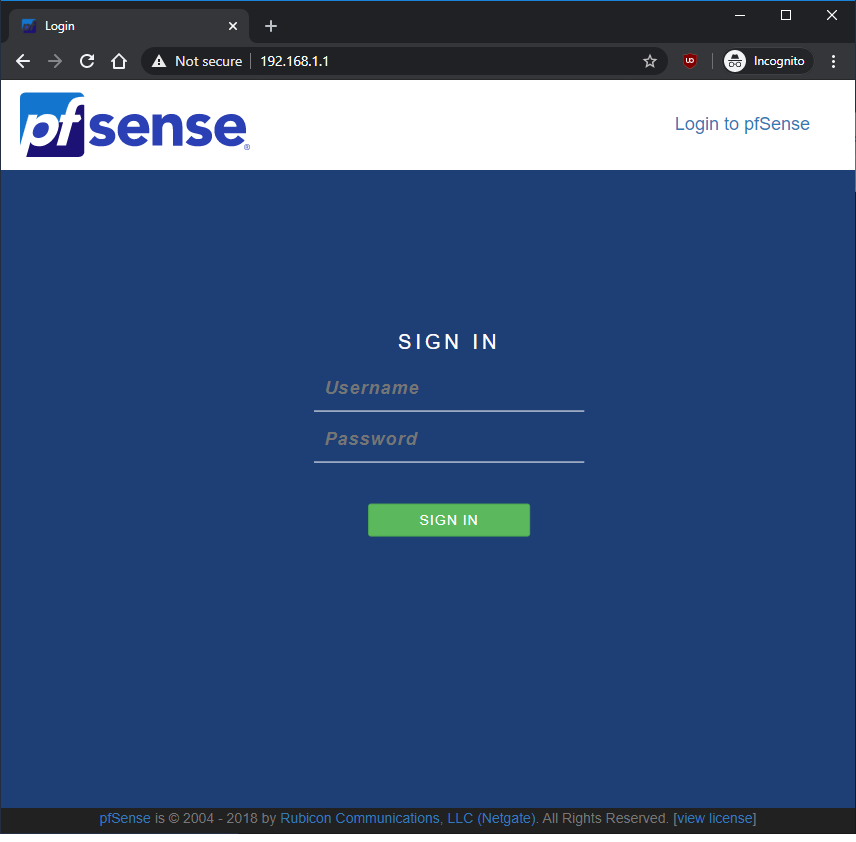
The login uses these default values.
Username:
admin
Password:
pfsense
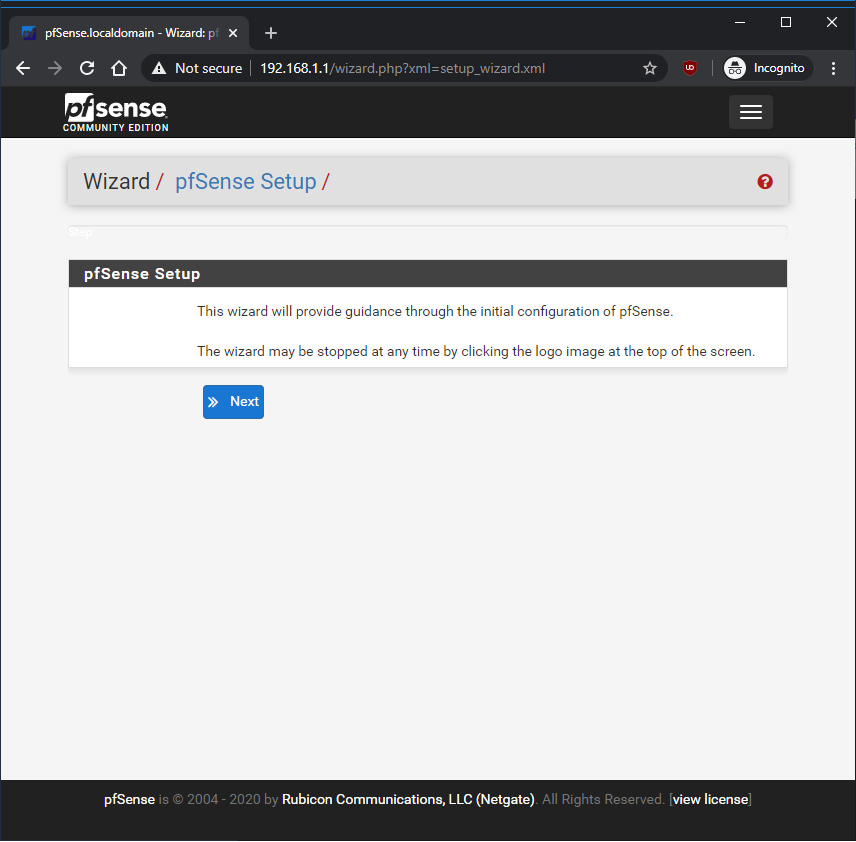
The wizard installation will begin, and you can set up the router to your liking using the web interface.
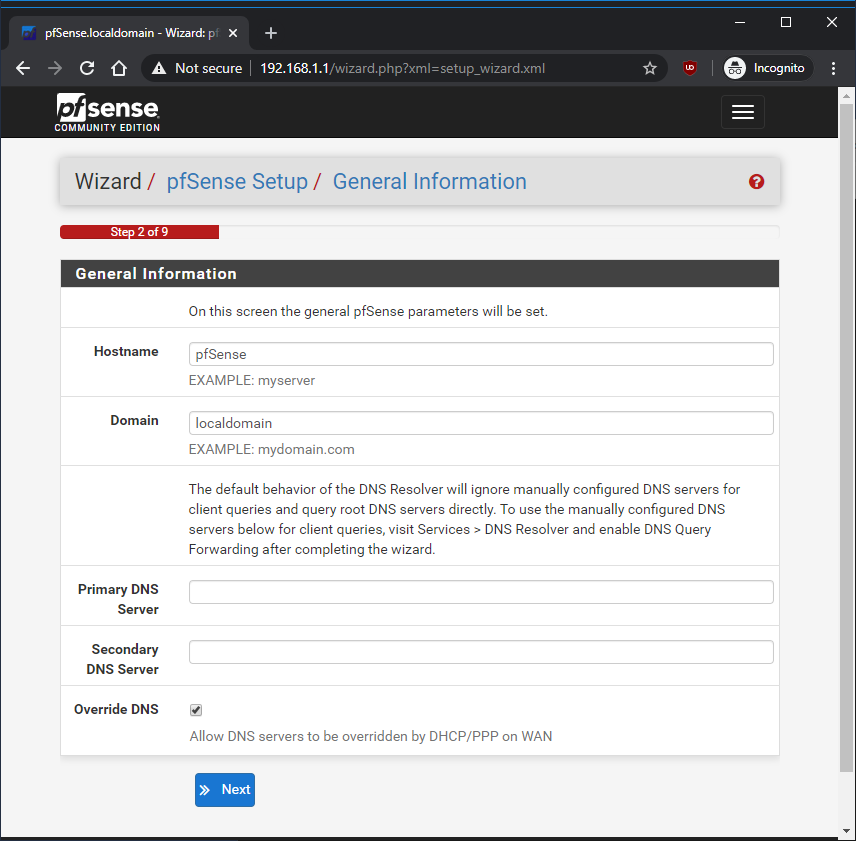
After finishing the setup, you must “Disable hardware checksum offload” through System > Advanced > Networking under the Network Interfaces section. Otherwise you will have really slow upload like 0.1mbps, though your download will look fine.

Here is a speedtest between the two modes, as you can tell the download speed increment ever so slowly to your download limit but the upload will just crawl to the finish line.

Now you have pfSense installed on the QNAP QGD-1600P, just a note that you’re no longer need to connect the NAS via the host Ethernet anymore. There are 2 internal ports between the NAS QTS and the QuNetSwitch, this would mean there is 18 ports on the switch. Which does make sense when the switch controller Microsemi VSC7425 can handle 18-port Gigabit Ethernet.
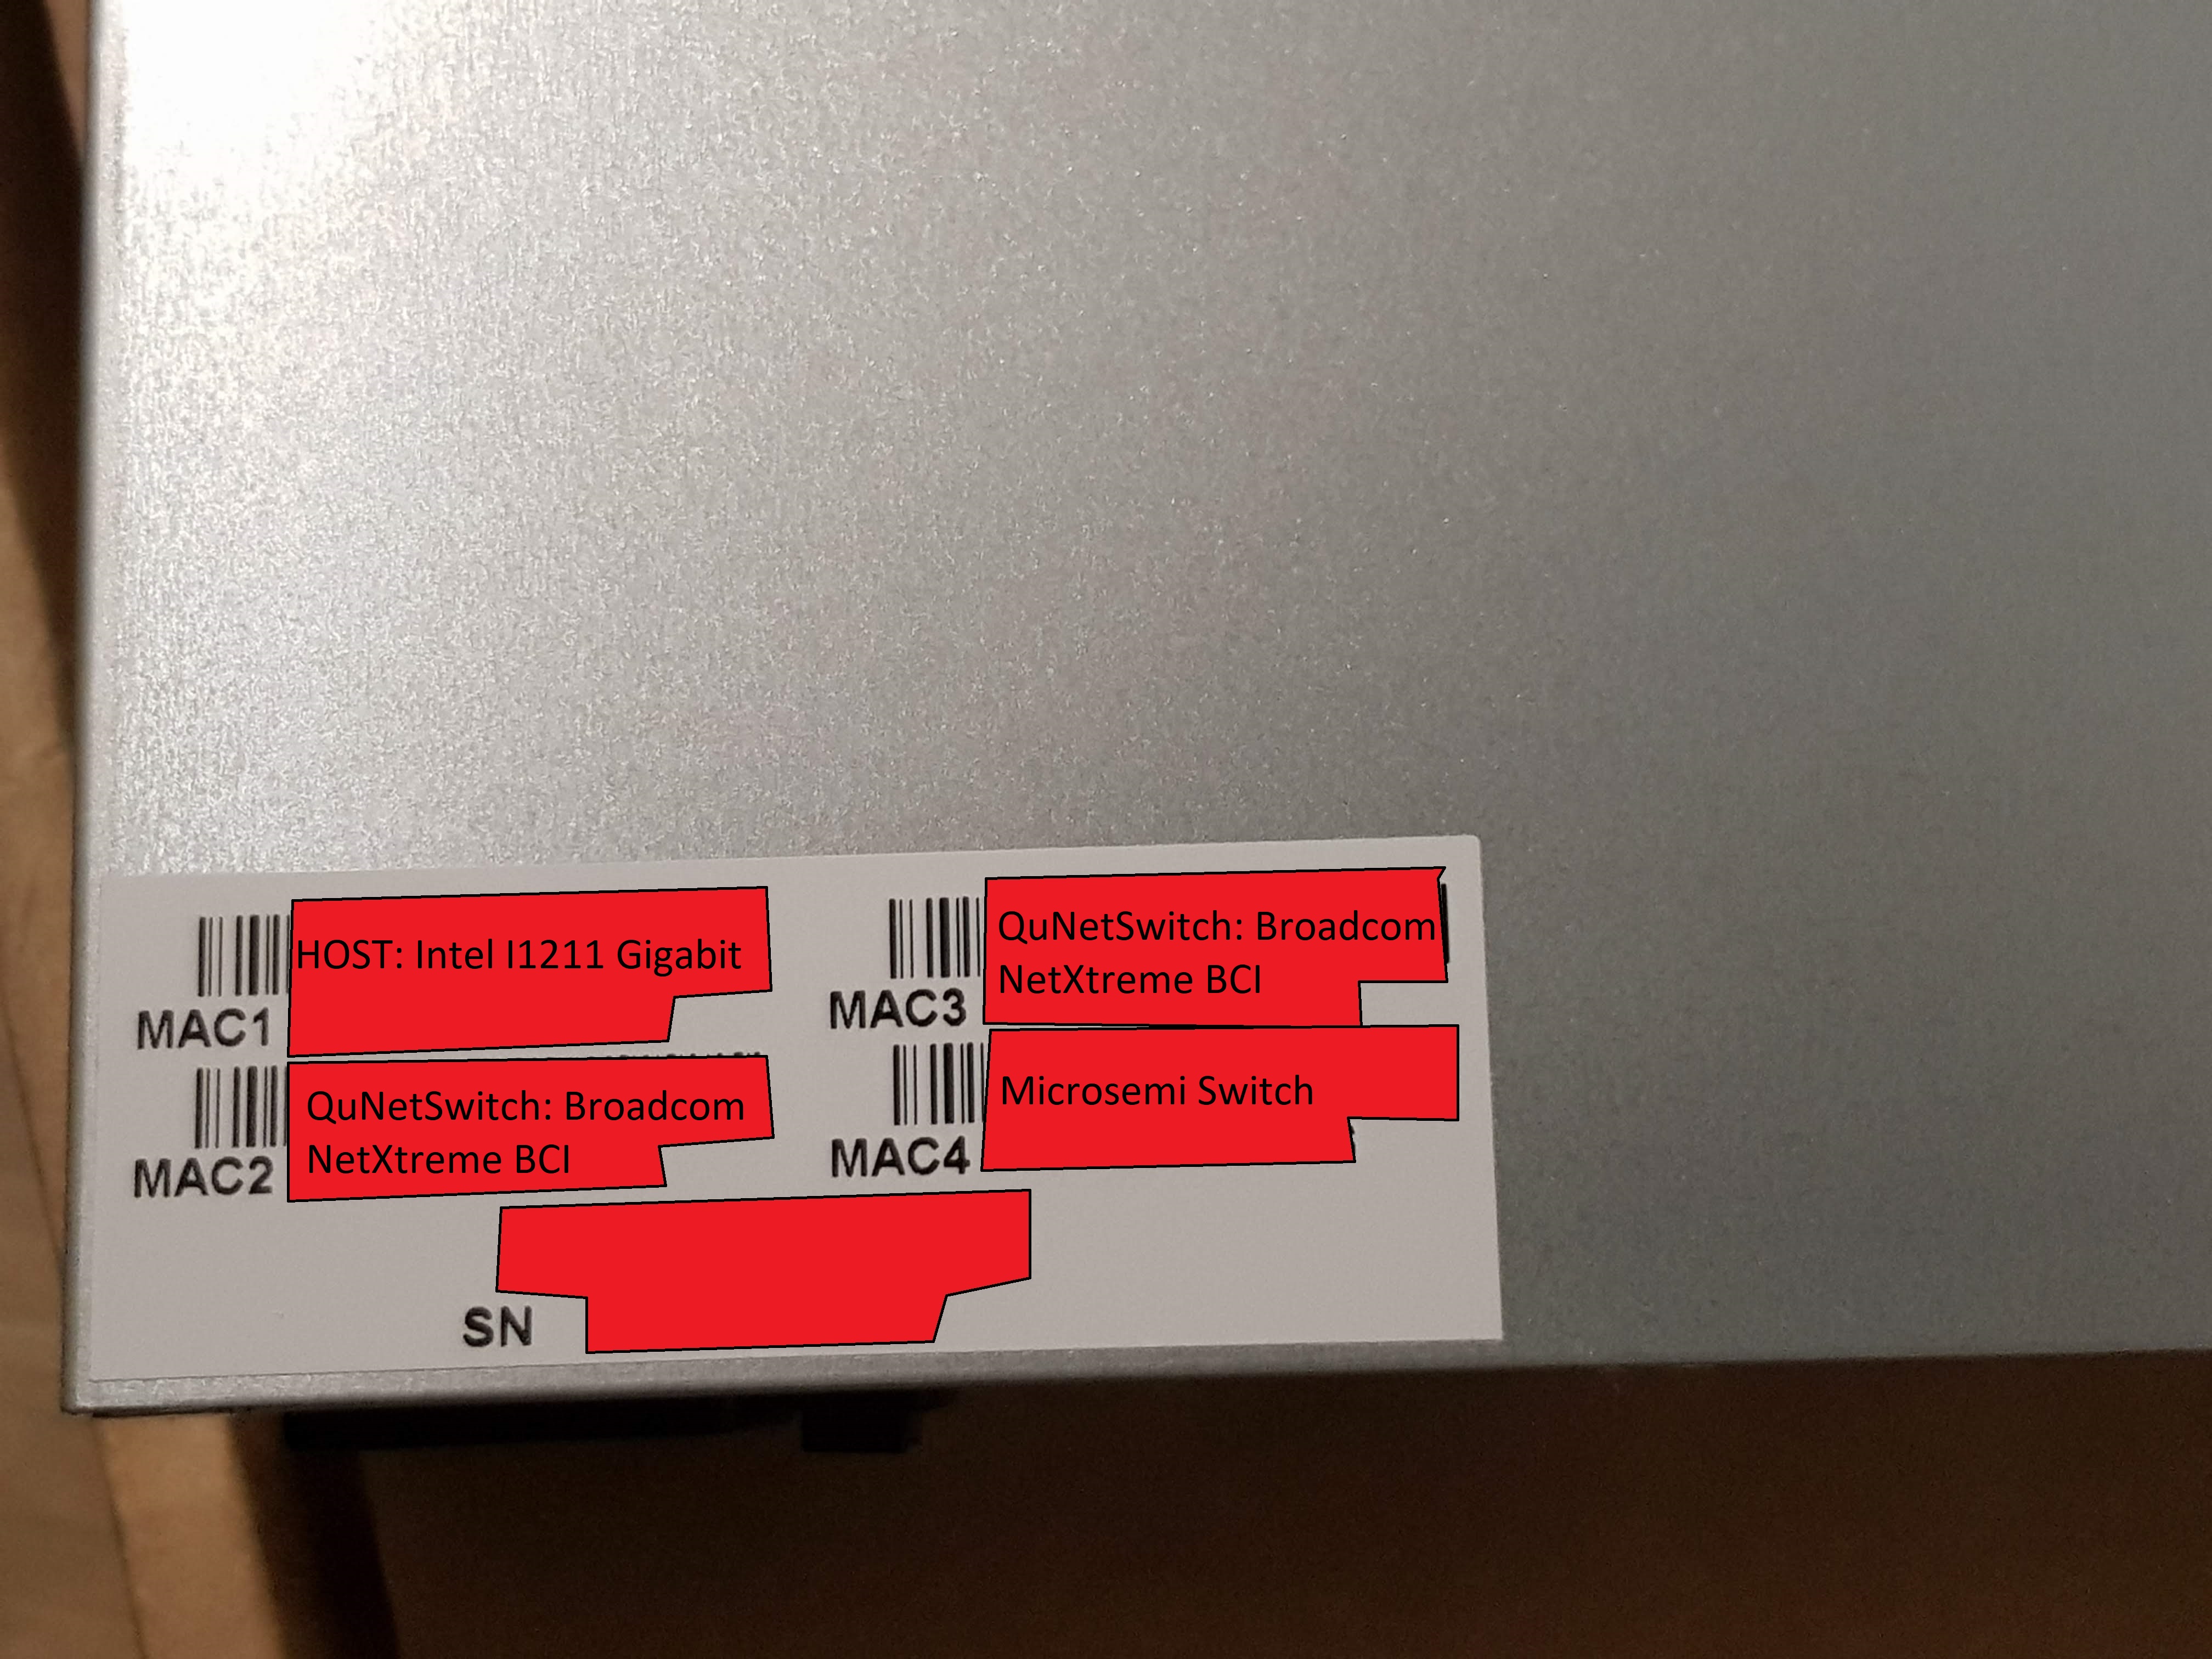
QNAP did not label what MAC address is which, got me confused when I first got it.
You probably wonder why do all this on the QNAP QGD-1600P where there is a pfsense rack solution from Netgate the model XG-7100 1U.
https://www.netgate.com/solutions/pfsense/xg-7100-1u.html
Intel Atom C3558
2x 10GbE Intel x553 SFP+ Port
8x 1GbE Marvel
The QGD-1600P-4GB is currently around £650 and the QGD-1600P-8GB is £700, while the XG-7100 1U is £1,080.
The money you can saved, can be put towards 10GbE network expansion card via the PCI-E port, and you have the benefit of utilising PoE++ devices. With a newer and faster Intel CPU, which also has a built-in GPU (Intel UHD 600) to output any one of your VM to a physical monitor.
This device is flexible due to the HDMI you can make it as a standard node with Ubuntu, or perhaps a Plex server that can utilise the decoding and encoding of the GPU. This is where QNAP is beyond other NAS solution, venturing with new tech and ideas though if you like to dabble on new things give this device a try. But if you wish to have just a pfSense device this maybe overkill and the reboot will be much slower than installing the pfSense as a standalone OS.